Stove drip pans have one job: catch the bubbling pasta water, runaway sauce, bacon splatter, and mysterious kitchen crumbs that somehow appear even when you swear you only boiled tea. The problem is that drip pans sit directly under hot burners, so spills do not simply dry therethey bake, harden, darken, and eventually turn into a stubborn layer of “kitchen archaeology.”
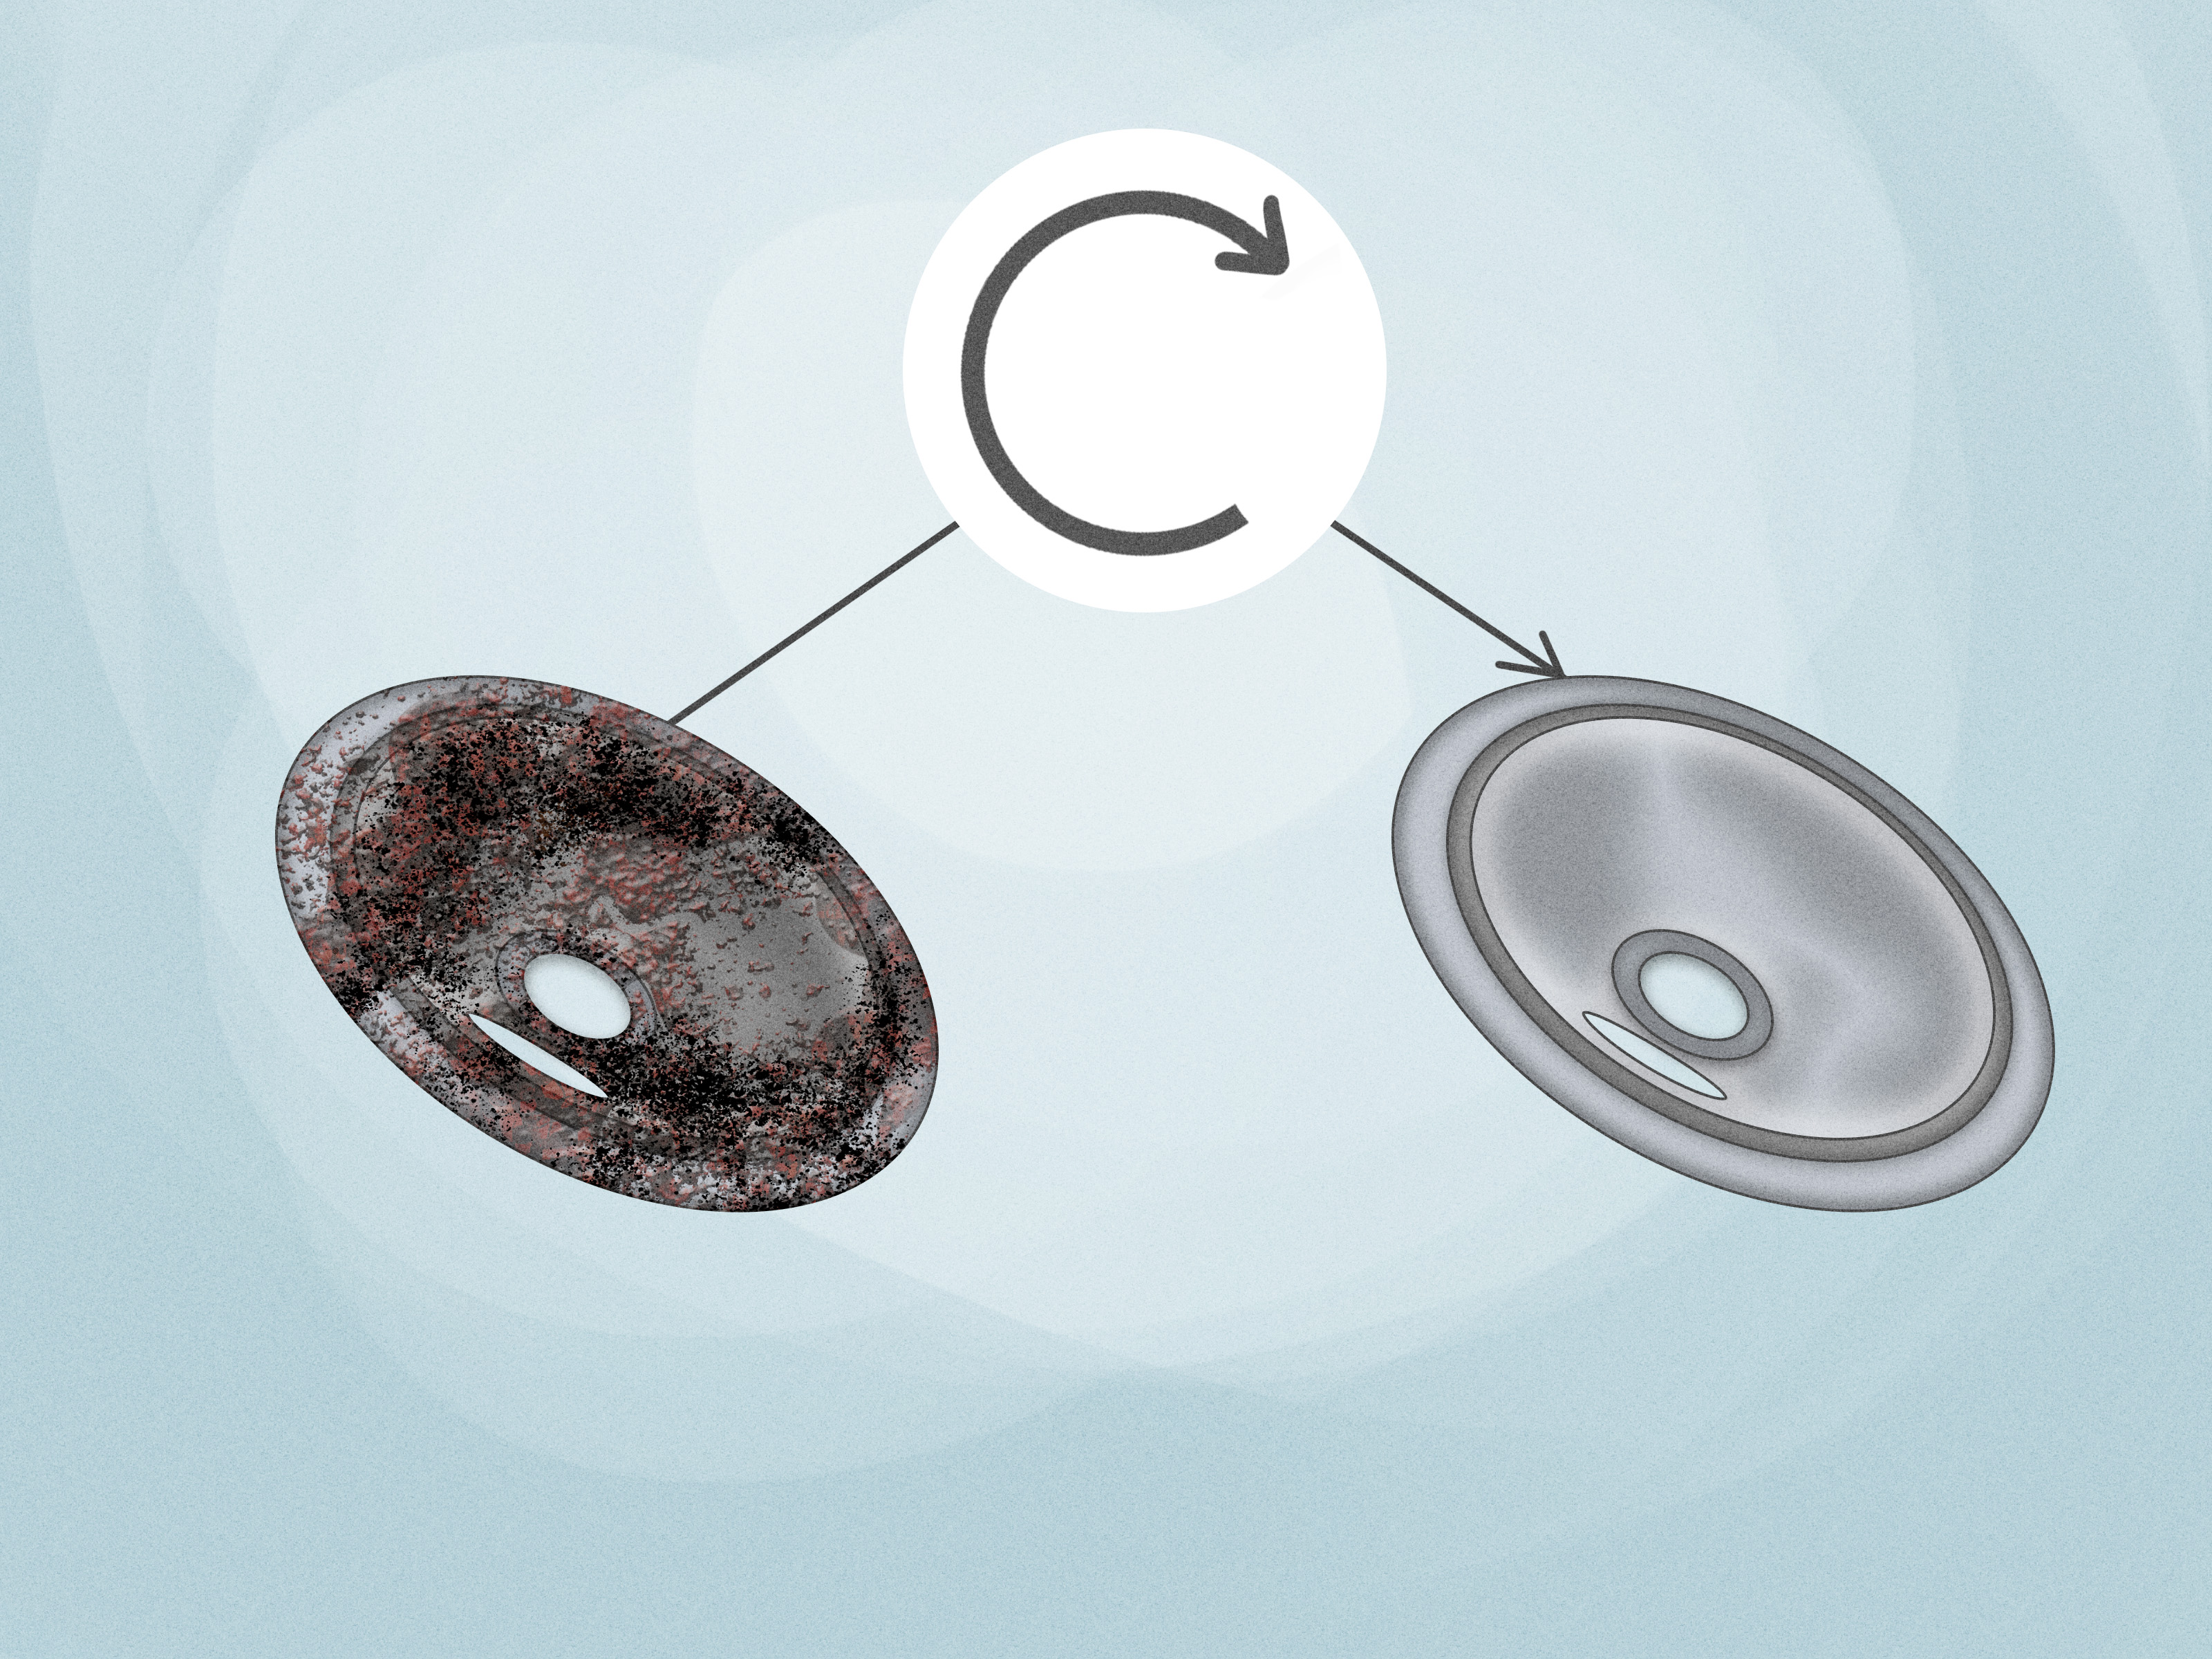
The good news is that you usually do not need fancy supplies or a dramatic shopping trip to make them look much better. With the right soaking method, a little patience, and a realistic understanding of when a pan is too far gone, you can clean stove drip pans so they look close to new again. This guide explains four practical methods, from gentle dish soap to heavy-duty ammonia, plus maintenance tips and real-world cleaning experience to help you avoid scrubbing until your arm files a complaint.
Before You Start: Know What Kind of Drip Pans You Have
Most electric coil stoves use removable drip pans, also called drip bowls or burner bowls. They are commonly made from chrome-plated metal or porcelain-coated metal. Chrome drip pans are shiny and reflective, while porcelain pans often have a darker, smoother finish. The cleaning method you choose should match the material and the level of mess.
Before cleaning, turn off the stove and let everything cool completely. Lift the coil burner carefully, pull it straight out if your model allows removal, and take out the drip pan. Do not force the burner. If you are not sure how it detaches, check your appliance manual. It is better to spend one minute reading than ten minutes wondering why the burner now looks like modern art.
Supplies You May Need
- Dish soap or a grease-cutting liquid detergent
- Hot water
- White vinegar
- Baking soda
- Household ammonia
- Hydrogen peroxide
- Non-scratch sponge or plastic scrubber
- Old toothbrush for edges and corners
- Rubber gloves
- Soft towel or microfiber cloth
- Large resealable bags or a plastic tub for soaking
Important Safety Tips for Cleaning Stove Drip Pans
Cleaning drip pans is simple, but a few safety rules matter. Never mix ammonia with bleach or bleach-based products. This combination can create dangerous fumes. If you use ammonia, work in a well-ventilated area, wear gloves, and keep children and pets away from the cleaning setup.
Avoid using harsh metal tools on porcelain-coated pans because scratches can make future stains cling more aggressively. For chrome pans, some manufacturers allow mildly abrasive cleaners or steel wool for stubborn buildup, but gentle scrubbing should always be your first move. Also, dry drip pans completely before reinstalling them. Moisture trapped under a burner is not invited to your next dinner.
Method 1: Clean Stove Drip Pans With Dish Soap and Hot Water
This is the best method for light grease, fresh spills, and weekly maintenance. If your drip pans are not heavily burned or blackened, dish soap and hot water may be all you need. It is simple, cheap, and gentle enough for regular use.
Best For
Use this method when your drip pans have oily residue, light food splashes, or dull-looking buildup that has not yet turned into a fossil.
Step-by-Step Instructions
- Remove the cool drip pans from the stove.
- Shake loose crumbs into the trash.
- Fill a sink or tub with very hot water and a few drops of grease-cutting dish soap.
- Soak the drip pans for 15 to 30 minutes.
- Scrub with a non-scratch sponge or plastic scrubber.
- Use an old toothbrush around the burner opening and rim.
- Rinse thoroughly with clean water.
- Dry completely with a towel before reinstalling.
For better results, refresh the hot water if it cools too quickly. Heat helps loosen greasy residue, while dish soap breaks down oils. If the water turns brown and suspiciously soup-like, congratulationsthe method is working. Please do not taste the soup.
Pro Tip
Use dish soap as your first cleaning step even if you plan to follow with another method. Removing the top layer of grease allows baking soda, vinegar, or ammonia to work directly on the stuck-on stains instead of wasting energy on surface oil.
Method 2: Clean Stove Drip Pans With Vinegar and Baking Soda
Vinegar and baking soda are the classic kitchen-cleaning duo. They are useful for deodorizing, loosening grime, and lifting baked-on residue without using heavy chemicals. This method is ideal for moderate stains and the kind of greasy buildup that laughs politely at dish soap.
Best For
Choose this method for brown stains, light charring, sticky spills, and drip pans that smell smoky when the burner heats up.
Step-by-Step Instructions
- Start with a quick dish soap wash to remove loose grease.
- Place the drip pans in the sink or a shallow tub.
- Pour enough white vinegar over them to cover the stained areas.
- Let them soak for 20 to 30 minutes.
- Sprinkle baking soda generously over the wet pans.
- Let the mixture fizz and sit for another 15 minutes.
- Scrub with a plastic scrubber or non-scratch sponge.
- Rinse well and dry completely.
The fizzing reaction is satisfying, but the real cleaning power comes from the soak time and the mild abrasiveness of baking soda. Think of the bubbles as the opening act. The headliner is patience.
For Extra Stubborn Spots
Make a paste with baking soda and a small amount of water or vinegar. Spread it over the darkest stains and let it sit for 20 to 30 minutes. Then scrub in small circles. Do not press so hard that you bend the pan or scratch the finish. If the stain does not move after repeated attempts, it may be permanent discoloration rather than removable food residue.
Method 3: Clean Stove Drip Pans With Household Ammonia
When drip pans are covered in baked-on grease, blackened residue, and stubborn stains, ammonia can be very effective. It works especially well because the fumes help loosen grime inside a sealed bag or container. This is a heavy-duty method, so use it carefully and only when gentler methods are not enough.
Best For
Use ammonia for old grease, burnt-on spills, and drip pans that have been “temporarily ignored” for several months. No judgment. Kitchens are used by humans, not showroom robots.
Step-by-Step Instructions
- Put on rubber gloves and open a window.
- Place each drip pan in a large resealable plastic bag or put all pans in a lidded plastic tub.
- Add a small amount of household ammonia. The pans do not need to be submerged.
- Seal the bag or container tightly.
- Let the pans sit for several hours or overnight.
- Open the container away from your face in a ventilated area.
- Discard the liquid safely according to the product label.
- Wash the pans with dish soap and hot water.
- Scrub loosened grime with a sponge or plastic scrubber.
- Rinse and dry thoroughly.
Again, never mix ammonia with bleach, oven cleaner, or any product that may contain bleach. If you already used another cleaner, wash and rinse the pans thoroughly before trying ammonia. Safety is more important than shine.
Why This Method Works
Ammonia is strong at cutting through greasy buildup. In a sealed environment, its fumes soften burnt-on residue so it wipes away more easily the next day. This method can feel almost magical, but it comes with responsibility: ventilate, protect your skin, and read the product label.
Method 4: Clean Stove Drip Pans With Hydrogen Peroxide and Baking Soda
Hydrogen peroxide and baking soda create a powerful paste for stained, dull, or greasy drip pans. This method is less harsh than ammonia but stronger than a simple soap soak. It is especially helpful for spot-treating discoloration and cooked-on splatters.
Best For
Try this method when the drip pans have patchy brown stains, oily residue, or areas that need targeted cleaning. It is also a good choice if you prefer to avoid ammonia.
Step-by-Step Instructions
- Place the drip pans on a protected surface or inside the sink.
- Sprinkle baking soda over the stained areas.
- Pour a small amount of hydrogen peroxide over the baking soda to form a paste.
- Spread the paste evenly with a sponge or gloved fingers.
- Let it sit for 20 to 30 minutes.
- Scrub gently with a non-scratch pad.
- Rinse thoroughly under warm water.
- Dry completely before putting the pans back under the burners.
If needed, repeat the process on the worst areas. The paste should stay damp while it works. If it dries too quickly, add a little more peroxide. You are aiming for a spreadable texture, not a science-fair volcano.
Which Cleaning Method Should You Choose?
The best way to clean stove drip pans depends on how dirty they are. For everyday cleaning, dish soap and hot water are enough. For moderate grime, vinegar and baking soda are reliable and budget-friendly. For heavy burnt-on grease, ammonia is the strongest option. For targeted stain removal, hydrogen peroxide and baking soda offer a useful middle ground.
Quick Cleaning Match Guide
- Light grease: Dish soap and hot water
- Moderate stains: Vinegar and baking soda
- Heavy burnt-on grime: Household ammonia
- Spot stains: Hydrogen peroxide and baking soda
- Bad odor: Hot soapy water plus vinegar, followed by baking soda
- Permanent discoloration: Replace the drip pans
How Often Should You Clean Stove Drip Pans?
If you cook often, wipe spills after the stove cools and wash the drip pans weekly or every two weeks. If you cook occasionally, a monthly cleaning may be enough. The key is to clean spills before they go through multiple heating cycles. Once sauce, oil, or sugar burns onto the surface again and again, it becomes much harder to remove.
Deep cleaning once per season is a good habit for most households. It keeps the stove looking better, reduces odors, and prevents grease from building up to the point where cleaning becomes a Saturday afternoon personality test.
Can You Put Stove Drip Pans in the Dishwasher?
Some porcelain drip pans are dishwasher safe, but not every drip pan should go through the dishwasher. Chrome pans may discolor, rust, or lose their shine depending on the finish and dishwasher detergent. Always check your appliance manual first. If you cannot confirm that your drip pans are dishwasher safe, hand washing is the safer choice.
If you do use the dishwasher, remove loose debris first and place the pans securely so they do not flip around during the cycle. Dry them completely afterward to prevent water spots or rust.
Should You Line Drip Pans With Aluminum Foil?
Lining drip pans with aluminum foil may seem like a clever shortcut, but it is not usually recommended. Foil can shift, trap heat, reflect heat unevenly, or interfere with burner performance. In some situations, it may create a safety hazard. A better approach is to clean spills promptly or use heat-safe liners specifically designed for your stove model, if your manufacturer allows them.
When Should You Replace Stove Drip Pans?
Sometimes cleaning is not the answer. Replace drip pans if they are warped, rusted, deeply pitted, peeling, cracked, or permanently blackened. A damaged drip pan can look bad even after cleaning and may not sit properly under the burner. Replacement drip pans are usually affordable, but make sure you buy the correct size and style for your stove.
Most electric stoves use a combination of smaller and larger drip pans, often around 6-inch and 8-inch sizes, but fit can vary by brand and model. A pan that almost fits is still a pan that does not fit. Measure carefully or search by your appliance model number.
Common Mistakes to Avoid
Using Too Much Force
Aggressive scrubbing can scratch porcelain or bend lightweight chrome pans. Let soaking do most of the work. Your sponge should not need a gym membership.
Skipping the Drying Step
Putting damp drip pans back on the stove can encourage rust or create unpleasant smells. Dry them with a towel and let them air-dry for a few extra minutes if needed.
Mixing Cleaning Products
Do not combine ammonia with bleach, and avoid mixing random commercial cleaners. More chemicals do not mean more clean. Sometimes they mean “open every window immediately.”
Ignoring the Stovetop Under the Pans
While the pans are removed, wipe the area underneath. Crumbs and grease can hide there, especially on electric coil stoves that lift open. Cleaning only the drip pans while ignoring the stove base is like washing your socks and stepping into muddy shoes.
How to Keep Stove Drip Pans Looking New Longer
The easiest drip pan to clean is the one that never gets filthy in the first place. After cooking, wait until the stove cools, then wipe visible spills with a damp cloth. For greasy splatter, use a small amount of dish soap. For odor control, sprinkle a little baking soda during cleaning and rinse well.
Try using lids when simmering sauces, choose appropriately sized pots, and avoid overfilling pans. If pasta water boils over, clean it the same day. Starchy water can dry into a cloudy, sticky film that becomes more annoying with heat.
Real-Life Experience: What Actually Works Best
In everyday kitchens, the biggest secret is not a magic cleaner. It is timing. Fresh spills are easy. Reheated spills become stubborn. Reheated-again-and-again spills become a tiny kitchen villain with a backstory. If you clean drip pans regularly, dish soap and hot water can keep them looking respectable with very little effort.
For a pan with typical weeknight cooking messoil dots, sauce splashes, and a little burnt pasta waterthe vinegar and baking soda method is usually the most satisfying. It is inexpensive, easy to set up, and does not smell as intense as ammonia. The key is to soak first, then scrub. Many people sprinkle baking soda too early, scrub immediately, and then decide the method does not work. Give it time. Let the vinegar loosen the grime and let the baking soda sit long enough to soften the stuck-on layer.
For neglected drip pans, ammonia often wins. It is not the friendliest-smelling method, but it can loosen grime that other methods barely touch. The most important lesson is that the ammonia does not need to cover the entire pan. The fumes do much of the work in a sealed bag or container. After several hours, the residue usually wipes off more easily. However, ammonia should be treated with respect. Use gloves, ventilate well, and never combine it with bleach or other cleaners.
Hydrogen peroxide and baking soda are excellent for spot treatment. This paste is especially useful when the pan is mostly clean but has a few brown patches near the burner opening. It is also a good choice for people who want a stronger cleaning paste without using ammonia. The paste works best when it stays wet, so do not spread it too thin. A thicker layer gives the ingredients time to break down residue.
One practical trick is to clean all four drip pans at the same time, even if only one looks terrible. A freshly cleaned pan next to three dull ones makes the whole stove look uneven. Cleaning the full set gives the stovetop a more polished, “yes, adults live here” appearance. It also helps you spot pans that are bent, rusted, or beyond saving.
Another real-world lesson: some stains are not dirt. They are heat discoloration, worn coating, or damage. If you scrub and soak repeatedly but the dark area does not change at all, it may be permanent. At that point, replacing the drip pan is smarter than turning cleaning into a personal feud. New drip pans can instantly improve the look of an older electric stove, and the cost is often reasonable compared with the time spent battling stains that will never leave.
For renters, clean drip pans can make a surprisingly big difference during move-out. A stove with shiny drip pans looks cared for, even if the appliance is older. If the pans are badly damaged, replacing them before inspection may be worth it. Just make sure the replacements fit correctly and match the stove style.
For busy households, the best routine is simple: wipe spills once the stove cools, do a soap soak every week or two, and use vinegar and baking soda once a month. Save ammonia for deep cleaning or emergency rescue missions. This rhythm prevents most stains from becoming permanent and keeps the stovetop from looking like it has survived a chili explosion.
Finally, remember that drip pans are hardworking, replaceable parts. They are designed to catch messes, not remain museum-perfect forever. Clean them regularly, treat them gently, and replace them when they are worn out. A clean stove does not just look betterit smells better, feels better to cook on, and makes the whole kitchen seem more put together.
Conclusion
Learning how to clean stove drip pans so they look like new is mostly about matching the method to the mess. Dish soap and hot water handle light grease. Vinegar and baking soda tackle everyday stains. Ammonia helps rescue heavily burned pans. Hydrogen peroxide and baking soda are perfect for stubborn spots. With regular maintenance, careful drying, and a little patience, your drip pans can go from grimy to gleaming without turning cleaning day into an Olympic event.
Clean drip pans also make your stove look newer, reduce smoky smells, and help your kitchen feel fresher overall. And if the pans are rusted, warped, or permanently stained, replacing them is not failureit is wisdom wearing rubber gloves.
Note: Always check your stove manual before using strong cleaners, dishwasher cycles, abrasive pads, or replacement parts. Never mix ammonia with bleach or bleach-based products.