Installing an AC filter is one of those home maintenance jobs that looks suspiciously too easylike making toast or pretending you understand your thermostat. But this tiny cardboard-framed rectangle does a lot of heavy lifting. A clean, properly installed air conditioner filter helps protect your HVAC system, improves airflow, supports better indoor air quality, and may keep your energy bill from acting like it bought a yacht.
The best part? You do not need a toolbox, a contractor’s license, or a dramatic home-renovation montage. Most homeowners can change an AC filter in a few minutes. The trick is knowing where the filter goes, which direction the airflow arrow should face, what size to buy, and when to replace it again. This guide breaks the process into 12 clear steps, with practical tips for central air systems, furnaces, heat pumps, and return vent filters.
Why Your AC Filter Matters More Than You Think
Your AC filter is not just there to catch dust bunnies before they unionize. It protects the blower motor, evaporator coil, and other HVAC components from dirt buildup. When a filter becomes clogged, air cannot move freely through the system. That means your air conditioner has to work harder to cool the same space, which can increase energy use, reduce comfort, and add unnecessary strain to expensive equipment.
A good filter also helps trap common airborne particles such as dust, lint, pollen, pet hair, and some allergens. It will not turn your house into a laboratory clean room, but it can make a noticeable differenceespecially in homes with pets, allergy sufferers, nearby construction, wildfire smoke, or that one room where dust appears five minutes after you clean it.
Before You Start: What You Need
Most AC filter replacements require only a new filter and a few minutes. Still, it helps to gather the basics first so you are not standing on a step stool whispering, “Now what?”
- A replacement AC or HVAC filter in the correct size
- A phone camera or notepad to record the old filter size
- A vacuum or damp cloth for dust around the filter slot
- A marker to label airflow direction on the filter housing
- A step stool if your return vent is on the ceiling
- Gloves, if the old filter looks like it fought a dragon
How to Install an AC Filter: 12 Steps
Step 1: Turn Off the AC System
Start by turning off your air conditioner at the thermostat. You do not always need to shut off power at the breaker for a simple filter change, but the system should not be actively running while you remove the old filter. Turning it off helps prevent loose dust from being pulled into the unit while the filter slot is open.
If your filter is inside the air handler or furnace cabinet and you must remove an access panel, be more cautious. Follow your owner’s manual and shut off power if recommended. Safety first; cool air second.
Step 2: Locate the AC Filter
The filter is usually found in one of three places: behind a return air grille on a wall or ceiling, inside a filter slot near the furnace or air handler, or inside a dedicated filter cabinet connected to the return duct. In many homes, the return vent is the large grille that pulls room air back into the HVAC system.
If you have more than one return vent, check whether each one has a filter. Some homes use one main filter at the air handler, while others use multiple filters behind return grilles. Do not assume there is only one. HVAC systems enjoy hiding filters the way toddlers hide snacks.
Step 3: Open the Filter Cover or Slot
If your filter sits behind a return grille, release the latches or screws and swing the grille open. If it sits in a furnace or air handler slot, remove the narrow cover or access panel. Set screws or clips in a safe place. A magnetic tray is nice, but a coffee mug works in a pinch.
Before pulling the filter out, look carefully at how it is positioned. Notice the airflow arrow printed on the filter frame. If you are unsure, take a photo. Future-you will be grateful, and future-you is already dealing with enough.
Step 4: Remove the Old Filter Carefully
Slide the old filter out slowly. Try not to shake it, bend it, or celebrate too aggressively. A dirty filter can release dust and debris if handled roughly. If the filter is packed with gray fuzz, pet hair, or mystery lint, place it directly into a trash bag.
Do not vacuum and reuse a disposable filter. Disposable filters are designed to be replaced, not resurrected. Washable filters are different, but they must be cleaned and fully dried according to the manufacturer’s instructions before reinstalling.
Step 5: Check the Filter Size
Look for the size printed on the cardboard frame of the old filter. Common sizes include 16x20x1, 20x20x1, 16x25x1, and 20x25x1, but there are many variations. The first two numbers are length and width; the last number is thickness.
If there is no old filter, measure the filter slot carefully. Use the nominal filter size recommended by your HVAC system or owner’s manual whenever possible. A filter that is too small can leave gaps where dust sneaks through. A filter that is too large may bend, crush, or refuse to fit like a suitcase packed five minutes before vacation.
Step 6: Choose the Right Filter Type
Most homes use fiberglass, pleated, electrostatic, washable, or high-efficiency media filters. Basic fiberglass filters are inexpensive and mostly protect the equipment from larger particles. Pleated filters usually capture more dust and allergens and are a popular choice for everyday residential use.
Pay attention to the MERV rating, which stands for Minimum Efficiency Reporting Value. A higher MERV rating generally means the filter captures smaller particles more effectively. However, higher is not always better for every system. A very restrictive filter can reduce airflow if your HVAC equipment is not designed for it. Many residential systems work well with filters in the MERV 8 to MERV 13 range, but the safest move is to check your system manual or ask an HVAC professional.
Step 7: Find the Airflow Arrow on the New Filter
This is the step that makes many homeowners pause and stare at the filter like it just asked a riddle. Most disposable AC filters have an arrow printed on the frame. That arrow shows the direction air should flow through the filter.
In most central HVAC systems, air flows from your home into the return duct, through the filter, and toward the furnace, air handler, or blower motor. So the arrow should usually point toward the unitnot toward the room. If the filter is behind a return grille, the arrow often points into the wall or ceiling. If it is in a slot beside the furnace, the arrow usually points toward the furnace or blower cabinet.
Step 8: Slide the New Filter Into Place
Insert the new filter gently with the airflow arrow facing the correct direction. It should slide in snugly without being forced. If you have to bend or crush the filter, stop and check the size. A filter should not enter the slot with the same energy as someone stuffing one more sweater into an overhead bin.
Make sure the filter sits flat and covers the opening completely. Gaps around the edges allow unfiltered air to bypass the filter, which can lead to dust buildup inside the system. If the slot is loose, ask an HVAC technician whether the filter rack needs adjustment or sealing.
Step 9: Close the Grille, Door, or Filter Cover
Once the new filter is installed, close the return grille or replace the filter slot cover. Secure all latches, clips, or screws. A loose cover can rattle, leak air, or create whistling noises that make your house sound haunted by a very small flute.
If you removed an air handler panel, make sure it is seated correctly. Some systems have safety switches that prevent operation when the panel is not properly closed.
Step 10: Turn the AC Back On
Return to the thermostat and turn the system back on. Listen for normal startup sounds. Air should begin moving through the vents, and the system should run smoothly. If you hear rattling, whistling, scraping, or a dramatic new noise that was not there before, turn the system off and recheck the filter placement and cover.
Also check that air is coming from supply vents as expected. A filter installed backward or crushed in the slot can restrict airflow, which may affect comfort and system performance.
Step 11: Mark the Date
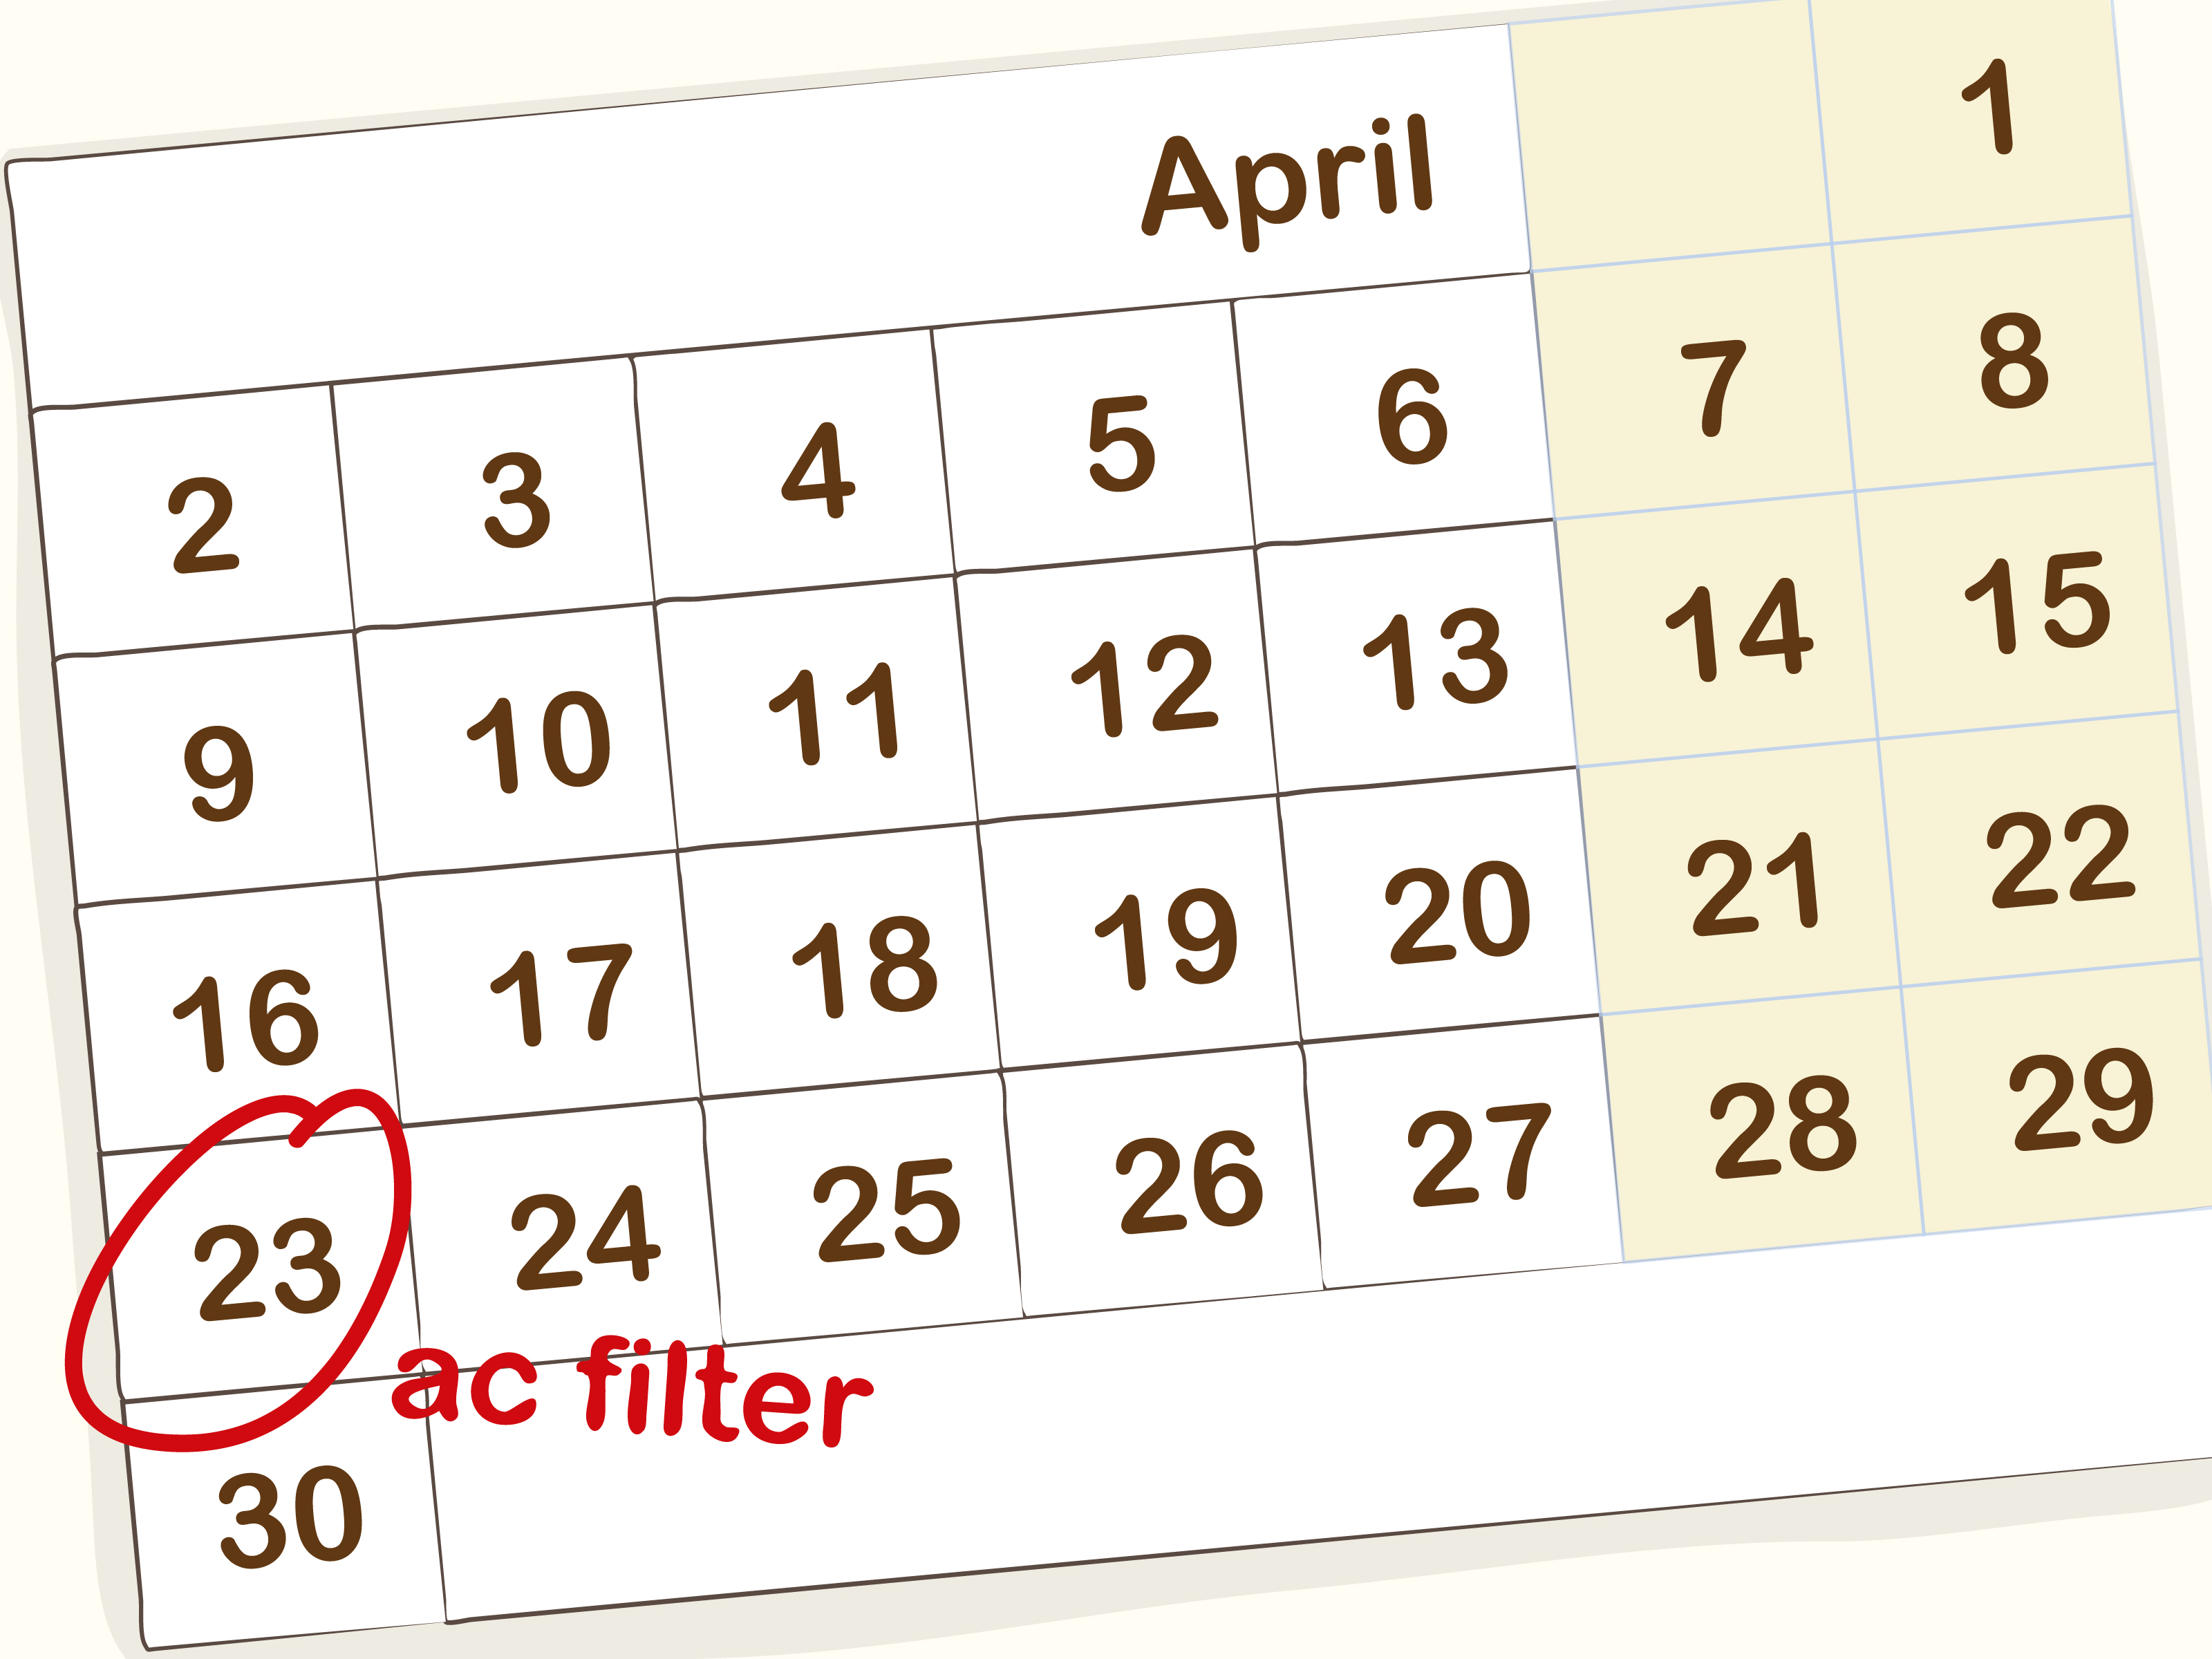
Write the installation date on the filter frame with a marker, or set a reminder on your phone. Some homeowners tape a small note near the filter slot with the filter size and replacement schedule. This tiny habit saves time later, especially when you are standing in the hardware store trying to remember whether your filter is 16x25x1 or “the rectangular one.”
For extra convenience, keep one spare filter in a closet or utility room. Replacing the filter becomes much easier when you do not have to make a special trip every time.
Step 12: Check the Filter Monthly
Even if your filter packaging says it lasts up to 90 days, check it monthly. Heavy AC use, pets, allergies, smoke, construction dust, and high pollen seasons can clog filters faster. A filter that looks dirty after one month should be replaced. A clean-looking filter may last longer, depending on your home and system.
As a general rule, many 1-inch filters are replaced every 30 to 90 days, while thicker media filters may last longer. The best schedule is the one that matches your equipment, your household, and the actual condition of the filter.
Common Mistakes to Avoid
Installing the Filter Backward
The airflow arrow matters. Installing a filter backward can reduce performance because the filter media and support structure are designed for air to pass through in one direction. Always point the arrow toward the blower or air handler.
Buying the Wrong Size
A filter that almost fits does not fit. Small gaps let dust bypass the filter, while oversized filters can bend and restrict airflow. Use the size printed on the old filter, the system manual, or the filter cabinet label.
Using Too High a MERV Rating
High-efficiency filters can be great, especially for households with allergies or pets, but not every HVAC system can handle very restrictive filters. When in doubt, choose a manufacturer-approved filter or ask a qualified technician.
Forgetting About Multiple Filters
Some homes have more than one return vent or more than one HVAC zone. If one filter is clean and another looks like a carpet sample, your system may not perform evenly. Check every return grille and air handler location.
Running the System Without a Filter
Never run your AC without a filter. Even a short period can allow dust and debris into the blower compartment and evaporator coil. That can reduce efficiency and may lead to costly cleaning or repairs.
How Often Should You Replace an AC Filter?
For many households, replacing a standard 1-inch pleated filter every 60 to 90 days works well. However, monthly checks are smarter than relying on a calendar alone. Replace the filter more often if you have shedding pets, allergy concerns, frequent AC use, indoor smoking, recent remodeling, nearby road dust, or poor outdoor air quality.
Here is a practical schedule:
- Every 30 days: basic fiberglass filters, heavy dust, multiple pets, allergies, or high usage
- Every 60 days: homes with one pet, moderate HVAC use, or seasonal pollen
- Every 90 days: average homes using standard pleated filters under normal conditions
- Every 6 to 12 months: some thicker media filters, depending on manufacturer instructions
The filter itself is your best clue. If it is visibly dark, clogged, bent, damp, or dusty enough to make you question your life choices, replace it.
How to Tell If Your AC Filter Needs Replacing
Look for reduced airflow from vents, more dust around the house, longer cooling cycles, higher utility bills, musty smells, or an AC system that seems to struggle on hot days. You can also hold the filter up to a light. If very little light passes through, it is probably time for a new one.
Do not ignore a damp filter. Moisture can encourage mold growth and may signal a separate HVAC issue, such as drainage trouble, poor airflow, or coil problems. Replace the wet filter and investigate the cause.
Best AC Filter Tips for Homes With Pets, Allergies, or Dust
If you have pets, your filter works overtime. Dog hair, cat dander, litter dust, and general fur confetti can clog filters quickly. Check monthly and consider a pleated filter with a suitable MERV rating for your system.
For allergies, a better filter may help reduce airborne irritants, but it is only one part of indoor air quality. Vacuum regularly with a HEPA-style vacuum, control humidity, wash bedding, and keep return vents clear. Your AC filter cannot do everything. It is a filter, not a wizard.
For dusty homes, inspect return ducts and grille areas. A return leak can pull attic, crawlspace, or wall cavity dust into the system. If the new filter gets dirty unusually fast, it may be worth having the ductwork inspected.
My Real-World Experience: What Homeowners Learn After Changing AC Filters
The first time many people change an AC filter, they expect a complicated mechanical procedure. Then they discover it is basically “open, remove, match arrow, insert, close.” The difficulty is rarely the installation itself. The real challenge is remembering to do it before the filter looks like it has been used to clean a chimney.
One common experience is buying the wrong size. The filter aisle can feel strangely overwhelming because every box looks almost identical. A homeowner may confidently grab a 20x25x1 filter, only to get home and realize the system needs 20x20x1. That one tiny number turns a five-minute job into a second trip to the store. The easy fix is to take a photo of the old filter size and keep it in a phone album labeled “Home Stuff.” Not glamorous, but very effective.
Another lesson is that airflow direction is more important than it appears. People often assume the arrow should point outward because they can see the grille from the room. In reality, the arrow follows the air as it travels back toward the HVAC unit. Once you understand that air moves from the room into the return and toward the blower, the arrow finally makes sense. Marking the correct direction on the filter housing with a permanent marker is one of those small tricks that saves mental energy forever.
Pet owners usually learn the fastest. A house with two dogs and a cat can clog a filter much sooner than the package suggests. The filter may be technically rated for 90 days, but by day 35 it looks like it has collected enough fur to assemble a bonus pet. In those homes, monthly checks are not excessive; they are survival.
Another experience is noticing comfort changes after replacement. A severely clogged filter can reduce airflow enough that rooms feel uneven. After installing a clean filter, vents may seem stronger, the system may run more smoothly, and cooling may feel more consistent. It is not magic; it is airflow. Your HVAC system cannot perform well if it is trying to breathe through a dusty sweater.
Some homeowners also learn that filter quality matters, but compatibility matters more. A premium high-MERV filter may sound impressive, but if it restricts airflow too much for the system, it can cause problems. The best filter is not always the most expensive one. The best filter is the one your system can handle while meeting your household’s air quality needs.
Finally, filter replacement teaches a bigger home maintenance lesson: small tasks prevent big headaches. A filter is inexpensive compared with blower repairs, coil cleaning, or emergency HVAC service in the middle of July. Changing it regularly is not exciting, but neither is sweating indoors while waiting for a technician. Put it on the calendar, keep spare filters nearby, and treat the job like brushing your home’s teeth. Your AC will not send a thank-you card, but it may reward you with better airflow, cleaner equipment, and fewer dramatic breakdowns.
Conclusion
Installing an AC filter is simple, but doing it correctly makes a real difference. Turn off the system, find the filter location, remove the old filter, match the size, check the airflow arrow, slide the new filter into place, and close everything securely. Then mark the date and check the filter every month.
A clean AC filter supports better airflow, helps protect your HVAC system, and can improve indoor comfort. Whether you live with pets, allergies, dust, or just a mysteriously lint-producing household, this small maintenance habit is one of the easiest ways to keep your cooling system happier. And unlike many home projects, it does not require demolition, three weekends, or a relationship-testing trip to the hardware store.