Every astronaut needs a helmet. Not because your living room has suddenly lost cabin pressurealthough the couch cushions do sometimes create suspicious cratersbut because a great helmet instantly turns a simple costume into a mission-ready adventure. Whether you are planning a school project, a Halloween costume, a space-themed birthday party, a classroom STEM activity, or a weekend craft that keeps curious kids happily occupied, learning how to make a space helmet is one of the most satisfying DIY projects in the galaxy.
The best part? You do not need a NASA budget, a clean room, or a team of engineers whispering into headsets. A homemade space helmet can be built with cardboard, paper, balloons, bowls, foam sheets, recycled containers, paint, and a little imagination. Real astronaut helmets are designed to help protect spacewalkers from pressure changes, harsh sunlight, micrometeoroids, and extreme temperatures. Your DIY space helmet is not for actual safety or space travel, of course, but borrowing design ideas from real spacesuitsclear visors, rounded shells, communication details, reflective colors, and comfortable paddingcan make your craft look surprisingly convincing.
This guide covers four practical ways to make a space helmet, from a quick cardboard version to a sturdier EVA foam build. Each method includes materials, step-by-step instructions, design tips, and smart safety reminders. So clear your launch pad, protect the table, and prepare for countdown. The craft glue is ready for liftoff.
Before You Start: What Makes a Good DIY Space Helmet?
A convincing astronaut helmet usually has three visual features: a rounded head shape, a large face opening or visor, and futuristic details such as side panels, decals, vents, buttons, tubing, or a pretend microphone. White, silver, gray, black, orange, and metallic gold are classic space-costume colors because they resemble NASA-style spacesuits and reflective visors.
Comfort matters just as much as appearance. The helmet should sit lightly on the head, leave plenty of room around the face, and allow clear vision. Never build a helmet that seals tightly around the nose or mouth. This is a costume prop, not protective gear. For children, make sure the face opening is wide, the edges are soft, and the helmet can be removed easily without tugging or panic. Space exploration is dramatic enough without a craft-table emergency.
Basic Supplies That Work for Most Methods
Many homemade space helmet projects use the same simple supplies: scissors, craft knife, masking tape, hot glue or school glue, white or silver paint, aluminum foil, cardstock, elastic, markers, stickers, foam padding, and recycled packaging. Adult supervision is important when cutting cardboard, using hot glue, spray painting, or trimming plastic.
For the best finish, work in stages. Build the structure first, reinforce weak areas second, paint third, and add decorative details last. Rushing the paint step is how many promising space helmets become sticky moons.
Way 1: Make a Quick Cardboard Box Space Helmet
The cardboard box space helmet is the fastest and most beginner-friendly option. It is perfect for kids, classroom projects, last-minute costumes, and anyone who wants maximum astronaut energy with minimum mess. If you have a medium cardboard box, tape, and paint, you are already halfway to orbit.
Best For
This method is best for younger children, group activities, quick Halloween costumes, school space units, and recycled craft projects. It is also the easiest version to customize because cardboard accepts paint, stickers, foil, buttons, pipe cleaners, and paper panels beautifully.
Materials
- One cardboard box large enough to fit over the head
- Pencil or marker
- Scissors or craft knife
- Masking tape or duct tape
- White, silver, or gray paint
- Black cardstock or craft foam
- Aluminum foil or metallic paper
- Optional: bottle caps, stickers, pipe cleaners, small paper tubes
Steps
- Choose the right box. Pick a box that fits comfortably over the wearer’s head without resting tightly against the face. A cube-shaped box creates a charming retro robot-astronaut look, while a taller box gives more room for decoration.
- Cut the face opening. Draw a large rounded rectangle on one side of the box. Cut it out carefully. The opening should allow the wearer to see clearly from side to side.
- Trim the bottom. If the box sits too low on the shoulders, cut a larger neck opening at the bottom. Keep it wide enough so the helmet can slide on and off easily.
- Reinforce edges. Cover raw cardboard edges with masking tape. This makes the helmet stronger and more comfortable.
- Paint the shell. Paint the box white for a classic astronaut helmet or silver for a futuristic deep-space explorer vibe. Let it dry fully.
- Add the visor frame. Cut a frame from black cardstock or craft foam and glue it around the face opening. This instantly makes the helmet look more polished.
- Decorate the helmet. Add foil panels, bottle-cap buttons, paper “vents,” a mission patch, or a pretend radio antenna made from a pipe cleaner.
Design Tips
For a more realistic astronaut helmet craft, add a gold visor effect by taping a strip of transparent yellow cellophane across the top of the face opening. Do not cover the entire opening unless visibility and airflow remain excellent. You can also glue two small cardboard circles on the sides to mimic communication modules. A short paper straw or flexible tube can become a pretend oxygen connector.
The cardboard method wins the “least likely to destroy your kitchen” award. It is simple, cheap, and surprisingly photogenic. The only downside is that it looks more blocky than round, but that can be part of the charm. Think “NASA meets cereal box,” and embrace it.
Way 2: Make a Papier-Mâché Space Helmet with a Balloon
If you want a rounded helmet that looks closer to a real astronaut dome, papier-mâché is the classic choice. This method takes longer because of drying time, but the result can be lightweight, smooth, and wonderfully costume-ready. It is ideal for a homemade space helmet that looks handmade in the best possible way.
Best For
This method works well for school displays, theater props, space-themed parties, and creative families who do not mind a little paste on the table. Papier-mâché is also a great lesson in patience, which is basically astronaut training with fewer centrifuges.
Materials
- Large balloon
- Newspaper or scrap paper strips
- White copy paper strips for the final layer
- Flour and water paste or diluted white glue
- Mixing bowl
- Masking tape
- Cardboard strip for the lower helmet band
- Paintbrush
- White and silver paint
- Craft knife or scissors
- Optional: clear plastic sheet or colored cellophane for visor detail
Steps
- Inflate the balloon. Blow up the balloon until it is slightly larger than the wearer’s head. Set it in a bowl so it stays steady.
- Add a cardboard band. Wrap a strip of cardboard around the lower half of the balloon to create a helmet base. Tape it in place. This gives the helmet a more structured astronaut shape.
- Prepare the paste. Mix flour and water into a smooth paste, or use white glue diluted with a little water. The texture should be thick enough to coat paper but not so thick it clumps like lunar oatmeal.
- Apply paper strips. Dip strips of newspaper into the paste, remove excess paste with your fingers, and layer them over the balloon and cardboard band. Leave the lower neck area open.
- Build two to three layers. Add layers in different directions for strength. Avoid making the helmet too thick, or it may become heavy.
- Let it dry completely. Drying can take several hours or overnight, depending on humidity and thickness. Do not rush this step.
- Pop and remove the balloon. Once the shell is hard and dry, pop the balloon and pull it out.
- Cut the face opening. Draw a wide visor shape on the front and cut it carefully. Smooth rough edges with tape.
- Paint and decorate. Paint the helmet white, add silver accents, and create a dark or gold visor frame.
Design Tips
Use white paper for the final papier-mâché layer if you want easier painting. Newspaper print can show through light paint, and nobody wants breaking news headlines floating across their astronaut forehead. Add small cardboard rectangles near the jawline to imitate vents, or glue on a printed mission badge for a professional touch.
For a more dramatic helmet, create a raised visor frame by rolling strips of paper into thin tubes and gluing them around the face opening before painting. This adds dimension and helps the helmet look less like a painted balloon and more like something a moon explorer might actually wearassuming the moon explorer shops in the craft aisle.
Way 3: Make a Plastic Bowl or Container Bubble Helmet
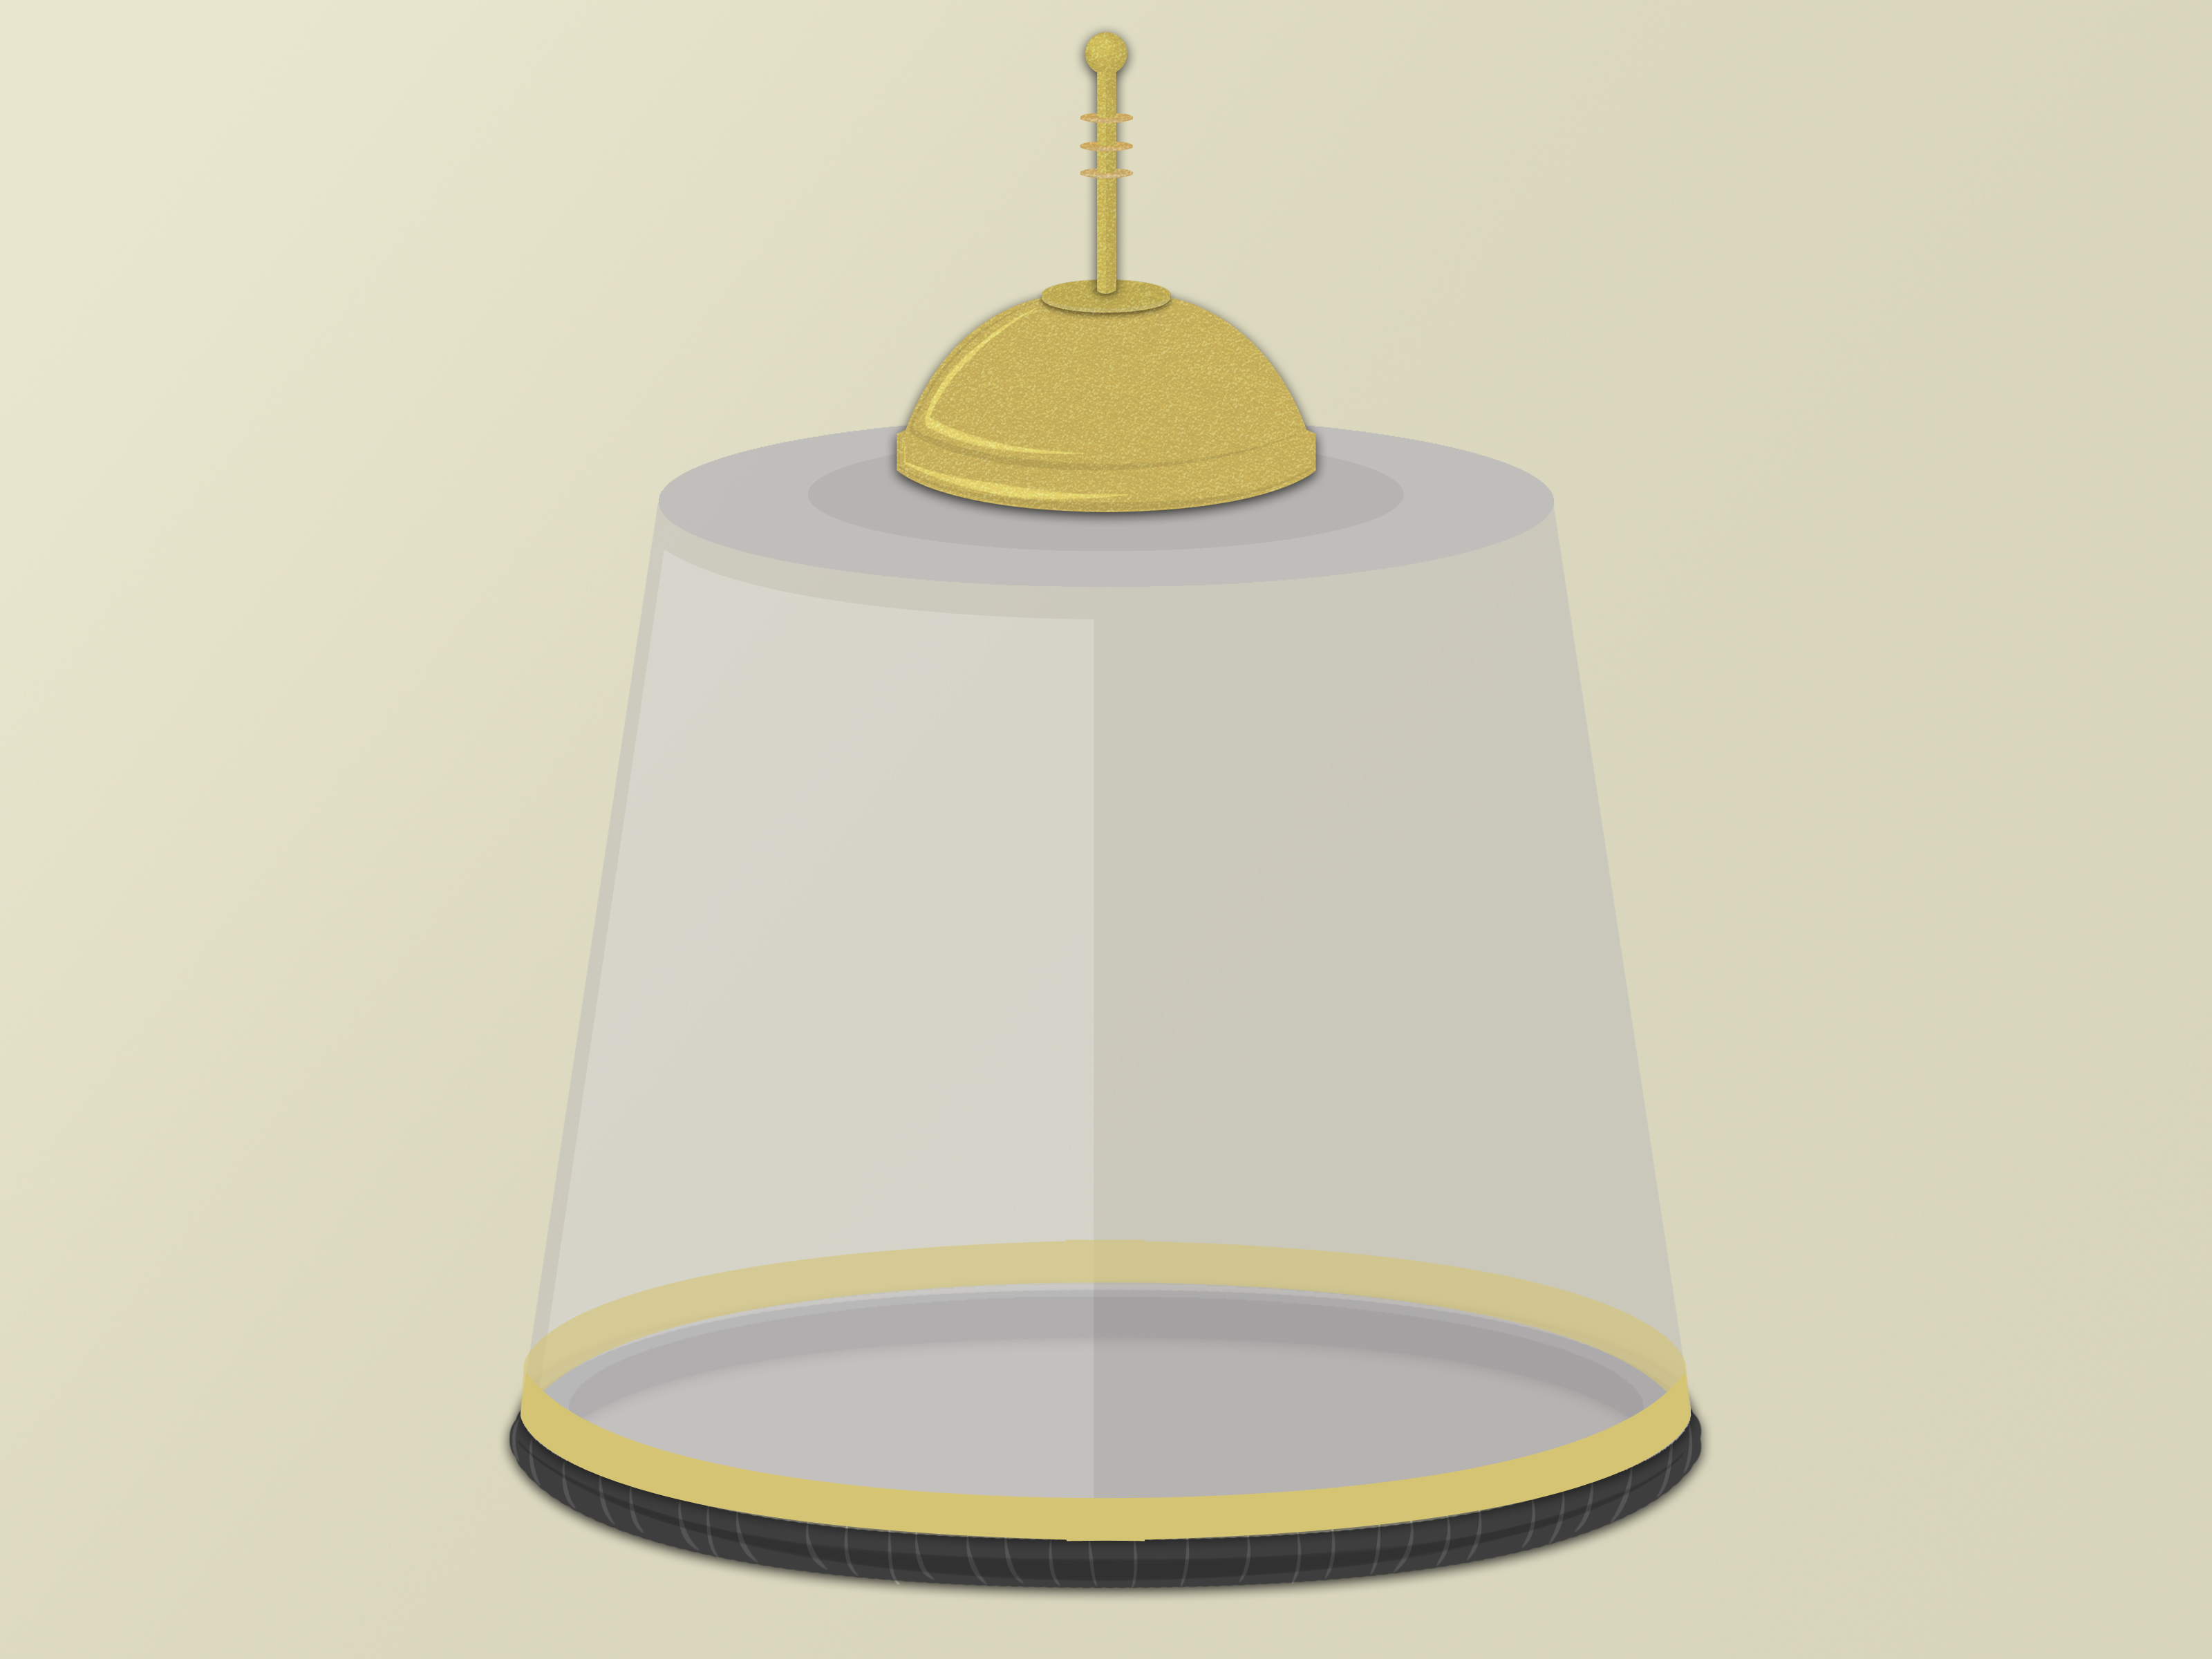
The bubble helmet is the most futuristic-looking version, especially if you use a clear plastic container, large transparent bowl, or lightweight display dome. This approach creates the illusion of a real clear astronaut visor without requiring complicated shaping. It is a great method for costumes, photos, and imaginative play, as long as airflow and visibility stay safe.
Best For
This method is best for older kids, teens, adults, cosplay beginners, and anyone who wants a glossy helmet with a sci-fi feel. It can be adapted into a full bubble helmet or used as a clear visor attached to a cardboard or foam base.
Materials
- Large clear plastic bowl, dome, or lightweight container
- Cardboard or foam board for the base ring
- Craft knife or heavy-duty scissors
- Painter’s tape
- Hot glue or strong craft adhesive
- White or silver paint
- Foam padding
- Optional: metallic tape, decals, LED tea lights, flexible tubing
Steps
- Test the fit first. Hold the plastic dome near the wearer’s head and check visibility, comfort, and breathing space. Do not use any container that traps the face tightly.
- Create a base ring. Cut a wide ring from cardboard or foam board that rests around the shoulders or lower head area. This ring will support the dome and make the helmet look intentional.
- Trim the dome if needed. If the plastic bowl has an awkward rim, an adult can carefully trim it. Cover sharp edges with tape or foam.
- Attach the dome. Glue or tape the clear dome to the base ring. Reinforce the connection from the inside with extra strips of tape.
- Add a helmet collar. Use cardboard strips or foam to build a lower collar that resembles a spacesuit neck ring.
- Paint the base. Paint only the cardboard or foam areas. Keep the clear plastic clean so the wearer can see.
- Add details. Metallic tape, pretend screws, small lights, and tubing can transform the helmet from “salad bowl” to “interplanetary commander.”
Safety Tips for Plastic Helmets
Never place a sealed plastic container over a child’s head. Always keep a large open area for airflow, and make sure the helmet can be removed instantly. Avoid glass bowls entirely. Lightweight plastic is the only sensible option for a costume. If the plastic fogs up quickly, the helmet needs more ventilation.
A smart compromise is to use the clear plastic only as a front visor instead of a full dome. Cut a large face opening in a cardboard or foam helmet, then attach a curved piece of transparent plastic above or around the opening. This gives the look of a real astronaut visor while keeping the face open and comfortable.
Way 4: Make an EVA Foam Space Helmet for a Sturdier Costume
If you want a homemade astronaut helmet that can survive more than one party, EVA foam is a fantastic choice. EVA foam sheets or foam camping mats are lightweight, flexible, and easy to shape with heat. This method takes more measuring and cutting, but it produces the cleanest costume result. It is especially good for cosplay, theater, school performances, and adult costumes.
Best For
This method is best for makers who enjoy detailed crafting. It is also excellent for older kids working with adult help. EVA foam can create a rounded shell, raised panels, side communication units, and a strong visor frame without becoming too heavy.
Materials
- EVA foam sheets or a foam camping mat
- Paper for making templates
- Marker
- Craft knife
- Contact cement or hot glue
- Heat gun or hair dryer
- Elastic or foam padding
- White, silver, black, and metallic paint
- Optional: clear plastic visor sheet, small LEDs, flexible tubing
Steps
- Make a paper template. Sketch the helmet in sections: top dome panels, side panels, back panel, and visor frame. Test the paper pieces around the wearer’s head before cutting foam.
- Trace and cut the foam. Transfer the pattern to EVA foam and cut slowly with a sharp blade. Clean cuts make cleaner seams.
- Shape the foam. Warm each piece gently with a heat gun or hair dryer, then curve it by hand. Let it cool in shape.
- Glue the pieces. Join the helmet panels one seam at a time. Contact cement creates strong seams, but it should be used only with good ventilation and adult supervision.
- Build the visor frame. Cut a wide front opening and glue an extra foam border around it. Add a clear plastic sheet behind the frame if desired, keeping airflow safe.
- Add padding. Place soft foam inside where the helmet touches the head. This improves fit and prevents wobbling.
- Seal and paint. Use a craft-safe foam sealer if available, then paint the helmet white or silver. Add black panel lines, decals, and mission numbers.
Design Tips
EVA foam loves detail. Add layered strips around the visor, circular side modules, small raised rectangles, and faux bolts made from foam dots. A short piece of flexible tubing attached near the jawline can look like a life-support hose. Battery-powered LED tea lights or small craft LEDs can add a glow effect, but keep electronics simple, cool, and safely secured.
The EVA foam method is the most durable and professional-looking option, but it requires patience. Measure twice, cut once, and accept that the first seam may look like it survived reentry. That is normal. Sand, trim, cover with a panel, and call it “battle-tested.”
How to Choose the Best Space Helmet Method
Choose the cardboard box helmet when you need something fast, affordable, and kid-friendly. Choose papier-mâché when you want a rounded astronaut helmet and do not mind waiting for it to dry. Choose the plastic bowl or container method when you want a bubble-visor look for photos or a futuristic costume. Choose EVA foam when you want a sturdier, more polished space helmet that can be worn again.
For a classroom, cardboard is usually the easiest because every student can personalize a helmet without waiting overnight. For a Halloween costume, papier-mâché or EVA foam gives a more impressive shape. For a party photo booth, a plastic bubble helmet creates instant “space explorer” drama. For cosplay, EVA foam is the winner because it allows more control over shape, fit, and detail.
Decoration Ideas for a Homemade Space Helmet
Small details make a DIY space helmet memorable. Add a name label such as “Commander Riley” or “Mission Specialist Ava.” Create a mission patch with stars, planets, rockets, or a family name. Use black tape to make panel lines. Glue on bottle caps as pretend communication knobs. Add a small paper microphone near the mouth opening. Use metallic silver tape to create reflective trim.
For a NASA-inspired look, keep the helmet mostly white with black and gray accents. For a science-fiction look, use silver, chrome, neon blue, or orange. For a funny costume, add a warning label such as “Do Not Feed the Moon Rocks” or “Helmet Powered by Snacks.” Humor is not required for space travel, but it does improve the mission.
Common Mistakes to Avoid
Making the Helmet Too Tight
A space helmet should be easy to put on and remove. If the wearer has to wrestle with it, the helmet is too small. Leave extra room for hair, glasses, and movement.
Blocking Vision
A narrow visor may look cool, but it can make walking difficult. Keep the face opening wide enough for safe movement, especially for children.
Using Heavy Materials
Heavy cardboard layers, thick paste, or bulky decorations can make the helmet uncomfortable. Lightweight materials are better for long wear.
Skipping Drying Time
Paint over wet papier-mâché and you may trap moisture, soften the shell, or create a wrinkled finish. Let it dry fully before decorating.
Forgetting Ventilation
This is the big one. A costume helmet must never restrict breathing. Keep the face area open, add ventilation gaps, and supervise young wearers.
Experience Notes: What Real Craft Sessions Teach About Making Space Helmets
After seeing space helmet projects used for school science weeks, birthday parties, theater costumes, and rainy-day family crafts, one lesson becomes clear: the best helmet is not always the most complicated one. It is the one the wearer actually enjoys wearing. A perfectly painted helmet that pinches the ears will be abandoned faster than a rocket with no fuel. Comfort is not a bonus feature; it is mission-critical.
Cardboard helmets are often the biggest surprise. Adults sometimes underestimate them because they look simple, but kids love the big flat surfaces. Those surfaces become control panels, sticker zones, mission badges, alien warning labels, and personal artwork. One child may design a serious moon mission helmet, while another creates a “pizza-powered Mars explorer” with a cardboard antenna and glitter stars. Both are successful because the craft invites imagination.
Papier-mâché helmets teach patience in a very hands-on way. The first layer looks messy. The second layer looks questionable. Then it dries, gets trimmed, receives paint, and suddenly everyone says, “Wait, that actually looks like a helmet.” The trick is to keep the paper strips small and smooth. Large strips wrinkle, sag, and create lumpy surfaces. Smaller strips take longer but produce a better curve. Also, drying overnight is worth it. A helmet that feels dry outside may still be damp inside, and painting too soon can turn a proud astronaut dome into a soft pancake with ambitions.
Plastic bubble helmets are crowd-pleasers in photos, but they require the most careful safety thinking. Clear plastic looks amazing, especially under party lights, but airflow must come first. The safest versions usually keep the face open or use the plastic as a partial visor rather than a sealed dome. If a helmet fogs up within seconds, that is useful feedback from physics saying, “Please add ventilation.” Listen to physics. It has been around longer than craft glue.
EVA foam helmets are the favorite among costume makers because they feel like building a real prop. The material bends, layers, and accepts detail beautifully. However, EVA foam rewards planning. Templates matter. A paper mock-up may feel like an unnecessary step, but it prevents expensive mistakes. The best foam builds often start with rough paper patterns taped together around the head. Once the shape works in paper, the foam version becomes much easier.
Another experience-based tip: do not decorate everything at once. Add details in layers. First the visor frame, then side modules, then panel lines, then labels, then final highlights. This prevents the helmet from looking cluttered. Real spacesuit design is functional, so even pretend details should look like they have a purpose. A small rectangle can be a battery pack. A bottle cap can be a radio dial. A straw can be a microphone boom. The story behind each detail makes the helmet more believable.
Finally, take photos before the helmet gets too much action. Space helmets tend to have exciting lives. They are worn during hallway moonwalks, couch-planet landings, backyard Mars missions, and snack negotiations with mission control. A few dents and scratches are part of the adventure, but the fresh-finished moment deserves documentation. After all, every great mission needs a launch photo.
Conclusion
Learning how to make a space helmet is more than a craft project; it is a doorway into imagination, science, design, and hands-on problem-solving. A cardboard box can become a moon mission. A balloon and paper strips can become a rounded astronaut dome. A plastic bowl can become a futuristic visor. EVA foam can become a costume prop worthy of a school play, party, or cosplay event.
The four methods in this guide offer options for different ages, budgets, time limits, and skill levels. Start simple if you are crafting with young kids. Go detailed if you want a costume centerpiece. Add NASA-inspired touches, keep everything lightweight, and always prioritize visibility, ventilation, and comfort. Your helmet may not survive a real spacewalk, but it can absolutely survive a trip through the imaginationand possibly a heroic landing near the cookie jar.
Note: These DIY space helmets are costume and craft projects only. They are not protective helmets, breathing equipment, or safety gear. Always supervise children, avoid sealed face coverings, and use cutting tools, hot glue, paint, and adhesives safely.