Cassettes are the lovable little time machines of audio: they fit in your palm, carry entire eras in their spools, and
have a unique talent for eating themselves at the worst possible moment (usually right before your favorite chorus).
The good news: a lot of cassette tape problems are surprisingly fixable with simple tools and a calm, steady vibe.
This guide walks you through four easy, practical cassette tape repair methodsthe ones that solve most
real-world issues like tangled tape, slack, a broken tape ribbon, missing pressure pads, and cracked shells.
You’ll also get a few “don’t do this unless you enjoy regret” tips, plus a longer section of community-style
experiences at the end to help you avoid the most common mistakes.
Before You Start: Quick Diagnosis (So You Don’t “Fix” the Wrong Problem)
Cassette issues usually fall into a few buckets. Match the symptom firstthen do the fix that actually fits:
- Tape looks loose or spilling out → Usually slack or a small tangle (Fix #1).
- Tape snapped → Needs a splice (Fix #2).
- Muffled sound, dropouts, or silence on one/both channels → Often a missing/weak pressure pad (Fix #3).
- Shell cracked, warped, or reels bind → Shell swap or reel alignment (Fix #4).
Mini “Do No Harm” Rules
- Work on a clean table with good light. Tiny springs and screws love freedom.
- Wash and dry your hands. Oils + dust are a cassette’s least favorite seasoning.
- Don’t touch the tape more than necessary. Handle the shell, not the ribbon.
- If the tape is rare/irreplaceable, consider getting it digitized soon after repair.
Basic Tools You’ll Want (Nothing Fancy)
- Small Phillips screwdriver (for screw-shell cassettes)
- Tweezers (or needle-nose pliers with a gentle grip)
- Sharp scissors or a precision blade
- Splicing tape (best) or thin clear tape (okay in a pinch)
- A donor cassette (cheap thrift-store tape with a good shell or a good pressure pad)
- A pencil (the OG cassette toolyes, it still matters)
- Cotton swabs + 90%+ isopropyl alcohol (for light cleaning)
Fix #1: Remove Slack and Untangle the Tape (The “Pencil Rescue” Method)
If your cassette looks like it tried to escape its own bodytape looping out of the shell, wrinkles near the opening,
or a “stuck” feel when you turn the reelsstart here. Slack and minor tangles are common when a deck’s mechanism
hiccups, a tape is rewound too aggressively, or the cassette gets bumped mid-play.
Step-by-step
-
Stop using the player immediately. If a tape is being chewed, every extra second adds creases that
can cause permanent audio issues. -
Inspect the window. Look for tape folded over itself or wrapped around a guide inside the shell.
If it’s only slack (not knotted), you may not need to open the cassette. -
Use a pencil to turn the reels. Insert the pencil into one reel hub and rotate slowly to pull tape
back into the shell. If you feel strong resistance, stopthere’s likely a snag. -
If it’s snagged, open the shell (if it has screws). Keep the cassette flat as you lift the top.
The reels, pressure pad assembly, and tiny parts can shift if you tilt it like a taco. -
Gently lift and guide the tape back onto the correct path. Use tweezers to guide the ribbon so it
sits flat and centered. Avoid pulling hardcassette tape is thin and not impressed by your confidence. -
Rewind/fast-forward by hand a few turns. This helps the tape pack settle evenly on the reels.
Uneven winding can cause future jams.
Pro tip: “Exercise” the tape
Once the tape is back in place, winding the cassette end-to-end (fast-forward to the end, then rewind fully) can help
even out tension. It’s like stretching before a run, except the runner is a tiny plastic rectangle with feelings.
Fix #2: Splice a Broken Cassette Tape (Yes, You Can Do This)
If the tape ribbon has snapped, don’t panic. A clean splice can restore playability and save the recording. The audio
will usually have a tiny “blip” at the splice point, but it’s often minorespecially compared to the alternative:
owning a silent nostalgia brick.
What matters most
- Clean, straight cuts so the tape aligns smoothly.
- No overlap (overlap makes a bump that can scrape or stick).
- Splicing tape on the back side (the non-magnetic side) so adhesive doesn’t contact the head.
Step-by-step
-
Open the shell and find both ends. Keep the cassette flat. Locate the snapped ends of the tape and
gently pull enough slack to work comfortably. -
Trim damaged tape. If the tape is crinkled near the break, cut that section off. Creases can cause
speed wobble and dropout. -
Align the ends edge-to-edge. The tape should meet in a perfect “butt splice” (two ends touching,
not overlapping). -
Apply a small piece of splicing tape on the back side. Press firmly and smooth out air bubbles.
Keep the splice tape narrowdon’t let it hang over the edges. -
Test the path by turning the reels. Slowly wind past the splice point. If it catches, re-do it now
(it’s easier on the table than inside a player). -
Reassemble and test playback. Start with a low-stakes player if possible, and listen for smooth
travel and consistent sound.
Specific example
Imagine a 90-minute mixtape snaps right at the start of Track 3. If you splice it cleanly and keep the tape edges
aligned, you might only notice a tiny hiccup between beatslike the song blinked. If you overlap the tape, you’ll
hear a louder thump, and your deck may struggle to pull the splice through. Alignment is everything.
Fix #3: Replace the Pressure Pad (The “Why Does This Sound Like It’s Underwater?” Fix)
The small felt pressure pad inside the cassette helps press the tape against the playback head. If the pad falls off
or the spring arm is bent, you can get muffled audio, dropouts, or inconsistent volumeespecially in one channel.
This is one of the most common failures in older or heavily played tapes.
How to tell the pad is the problem
- You can see the pad is missing or dangling.
- The tape plays, but high frequencies vanish (sounds dull or “blanketed”).
- The sound cuts in and out when the tape tension changes.
Step-by-step
-
Open the cassette (or carefully access the pad area). Screw-shell cassettes are easiest. If your
cassette is welded (no screws), consider Fix #4 (shell swap) instead of forcing it. -
Harvest a pad from a donor tape. Ideally use another cassette with the same style of pressure pad
assembly. The pad should be clean, not oily, and still springy. -
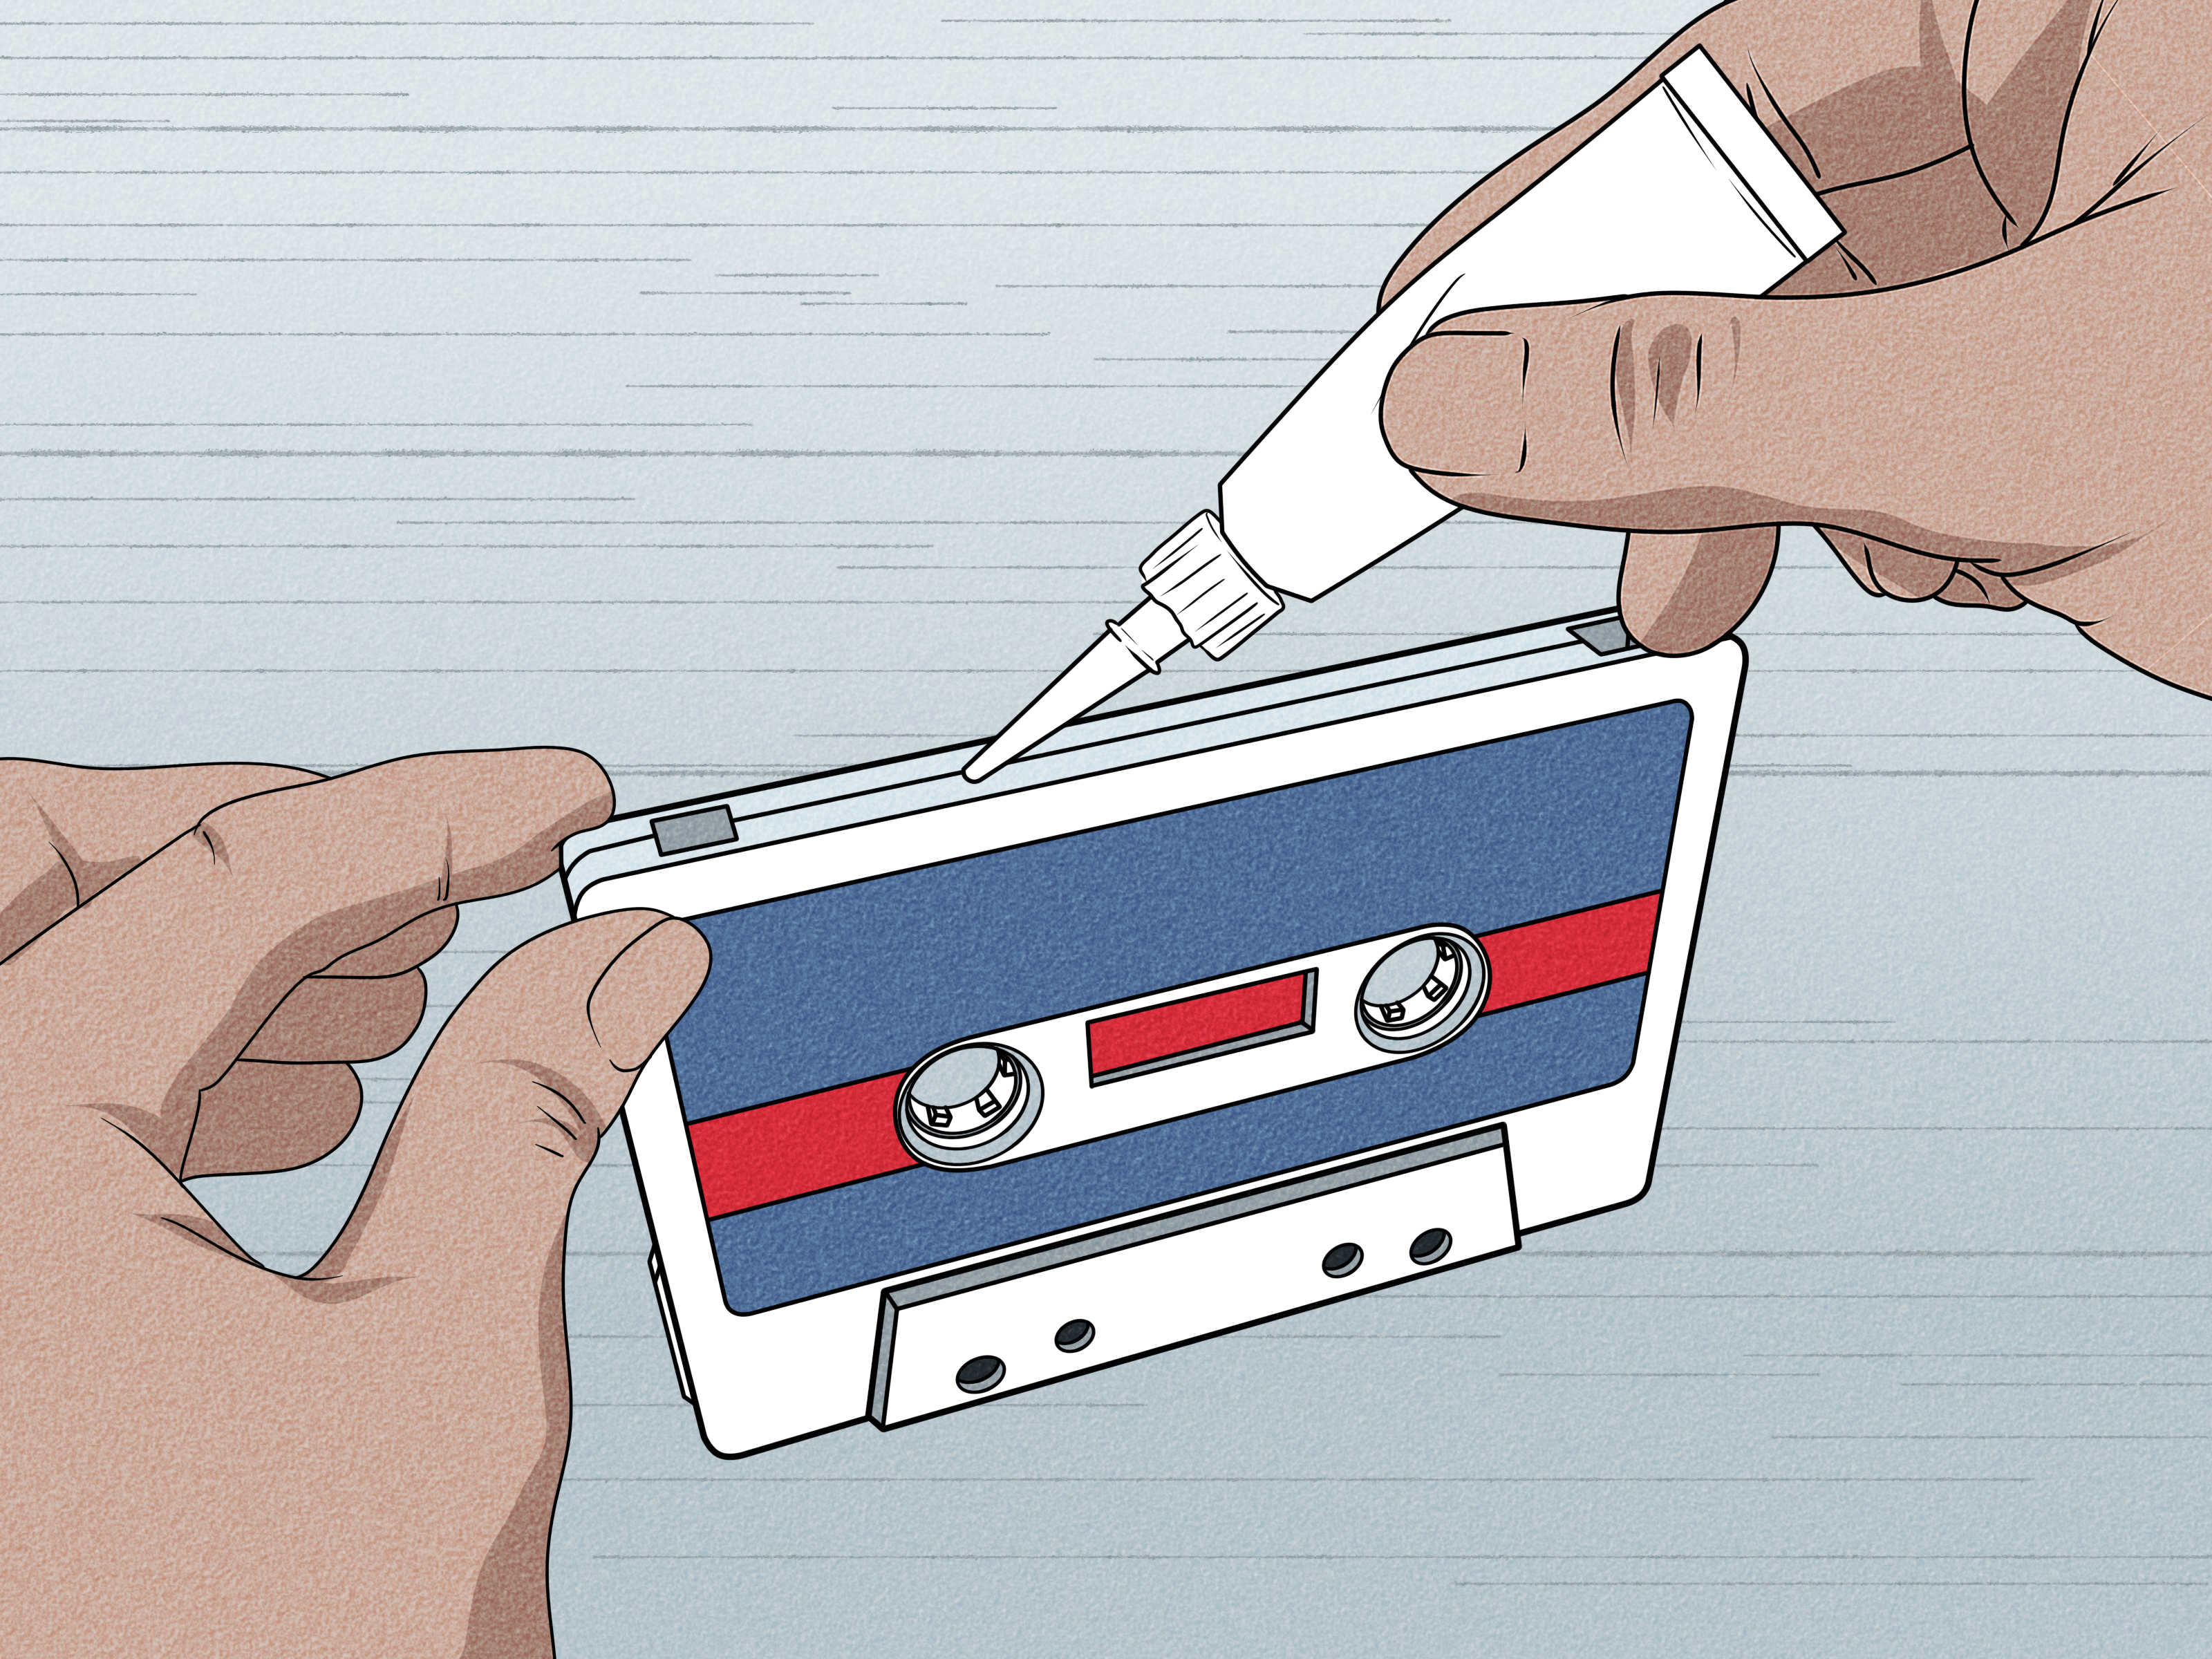
Attach the pad securely. Use a tiny amount of adhesivethink “pinhead dot,” not “arts and crafts
volcano.” Keep glue away from the tape path. -
Confirm pad position. The felt should sit centered where the tape passes the head opening.
Misalignment can cause uneven contact and channel imbalance. -
Let adhesive cure fully. Rushing this step is how you end up gluing your tape to the wrong thing,
which is a very dramatic way to learn patience.
Quick workaround (if you need playback now)
If you’re trying to rescue audio for digitizing, a pressure pad repair is often worth doing even if it’s not “pretty.”
The goal is stable tape-to-head contact long enough to capture the recording cleanly.
Fix #4: Swap the Cassette Shell (The “New Body, Same Soul” Solution)
Sometimes the tape is fine, but the shell is the problem. Cracks, warped plastic, misaligned reels, or sticky guides
can cause slow playback, repeated tangles, or that awful feeling where the reels don’t turn smoothly.
A shell swapmoving the reels and tape into a better cassette housingis one of the most effective cassette tape
repair techniques because it solves multiple mechanical issues at once. Think of it as a heart transplant, but with
fewer medical bills and more tiny screws.
When a shell swap is the best move
- The shell is cracked, bent, or doesn’t close tightly.
- The reels bind or wobble even after you remove slack.
- The cassette is welded shut (no screws) and needs internal repair.
- The pressure pad assembly is broken beyond a simple replacement.
Step-by-step
-
Choose a donor shell. Look for a screw-shell cassette with smooth reel rotation. Don’t pick a shell
with gritty reels or missing parts. -
Open both cassettes on a flat surface. Keep them oriented the same way to avoid flipping the reels
or twisting the tape path. -
Move reels and tape together when possible. If the tape is already correctly wound and routed,
transferring as a unit reduces the chance of twists. -
Confirm the tape path. The tape should pass cleanly across the front opening and sit flat on the
guides. No twists, no folds, no drama. -
Reassemble and gently hand-wind. Turn the reels several rotations to confirm smooth travel before
putting it in a player.
Important note about welded shells
Some prerecorded cassettes are ultrasonically welded instead of screwed. You can sometimes open them by carefully
splitting seams, but that’s no longer “easy.” If your goal is quick success, it’s usually safer to transplant the
tape into a screw-shell donor rather than wrestling the original housing.
Extra Credit: Cleaning That Prevents Repeat Problems
Here’s a sneaky truth: sometimes you “fix” the cassette, but the real villain is a dirty tape path in your player.
If your repaired tape keeps getting eaten, clean the deck’s heads, capstan, and pinch roller with isopropyl alcohol
and cotton swabs. Keep it gentle and let everything dry before playback.
Also consider lightly cleaning dusty tape (not soaking itjust a careful wipe if it’s visibly dirty) and then winding
it end-to-end once. Clean tape + clean deck is the best recipe for keeping your hard work from becoming a sequel.
When to Stop DIY and Call in Backup
If the cassette contains one-of-a-kind audio (family recordings, interviews, rare demos), a DIY fix can still be
reasonablebut the smartest goal is often stabilize it enough to digitize, then retire the tape from
everyday play. Professional transfer services and archival groups exist for a reason: magnetic tape is fragile, and
every playback adds wear.
Conclusion: Save the Tape, Save the Memory
If you remember nothing else, remember this: cassette repair is mostly about tension,
alignment, and not forcing anything. Start with slack removal, splice only when you
must, restore the pressure pad for clean contact, and don’t be afraid to shell-swap when the plastic housing is the
root problem. With a little patience, you can bring many “dead” tapes back to lifeand keep your favorite moments
spinning for years.
Experiences & Lessons From Cassette Repairs (What People Usually Learn the Hard Way)
Since cassette repair is half technique and half temperament, it helps to know what typically happens when real
people try to fix real tapes. Here are the most common experiences repair hobbyists shareso you can get the benefits
without paying the “oops tax.”
1) The first “success” is usually slack, not a splice. Many people assume a tape is ruined because
it’s spaghetti-ing out of the shell. But often it’s just slack from a player that stopped mid-transport. The “pencil
rewind” feels almost too simple, which is why it’s so satisfying. You turn the reel, the tape slides back in, and
suddenly your cassette goes from tragedy to mildly judgmental nostalgia again.
2) Overconfidence is how you create creases. A common story: someone sees a tangle, grabs the tape,
and pulls like they’re starting a lawn mower. That usually adds a crease or stretch that becomes audible later as
warble, dropouts, or a repeating “shh” sound. The more careful approachopening the shell, guiding the ribbon flat,
and winding slowlytakes longer but saves the audio.
3) The pressure pad mystery is real. A lot of folks don’t even notice the pressure pad until it’s
gone. Then they play the tape and everything sounds muffled, like the band is performing inside a couch cushion.
People often blame the tape, then the player, then the universe. When they finally look through the opening and
realize the felt pad fell off, it’s an instant “Ohhh.” Replacing the pad is one of those fixes that feels
ridiculously small compared to the improvement it can make.
4) Shell swaps turn “impossible” into “easy.” Welded shells and cracked housings are where beginners
tend to stall out. The experienced crowd usually keeps a few donor tapes around for exactly this reason. Moving the
reels into a screw-shell donor can take a scary-looking cassette and make it behave like a normal tape again. The key
experience here is learning that the recording is the treasurenot the plastic box it came in.
5) People learn to repair with a purpose: playback vs. preservation. If the goal is to keep playing a
favorite album in a Walkman every day, you’ll aim for a neat, durable fix. If the goal is to rescue rare audio, the
“win” is often simply getting one clean transfer. That’s why many repair stories end with: “I fixed it, digitized it,
and now the tape lives safely on a shelf like the respected elder it is.”
6) The biggest emotional moment is usually not the repairit’s the first sound. Whether it’s a
decades-old mixtape, a parent’s voice on a home recording, or a band practice from high school, people describe the
same thing: the repair itself is fiddly, but the first clear playback feels like reopening a sealed time capsule.
That’s why cassette tape repair keeps coming back. The format is stubborn, imperfect, and a little dramatickind of
like humans. Which is probably why it works.