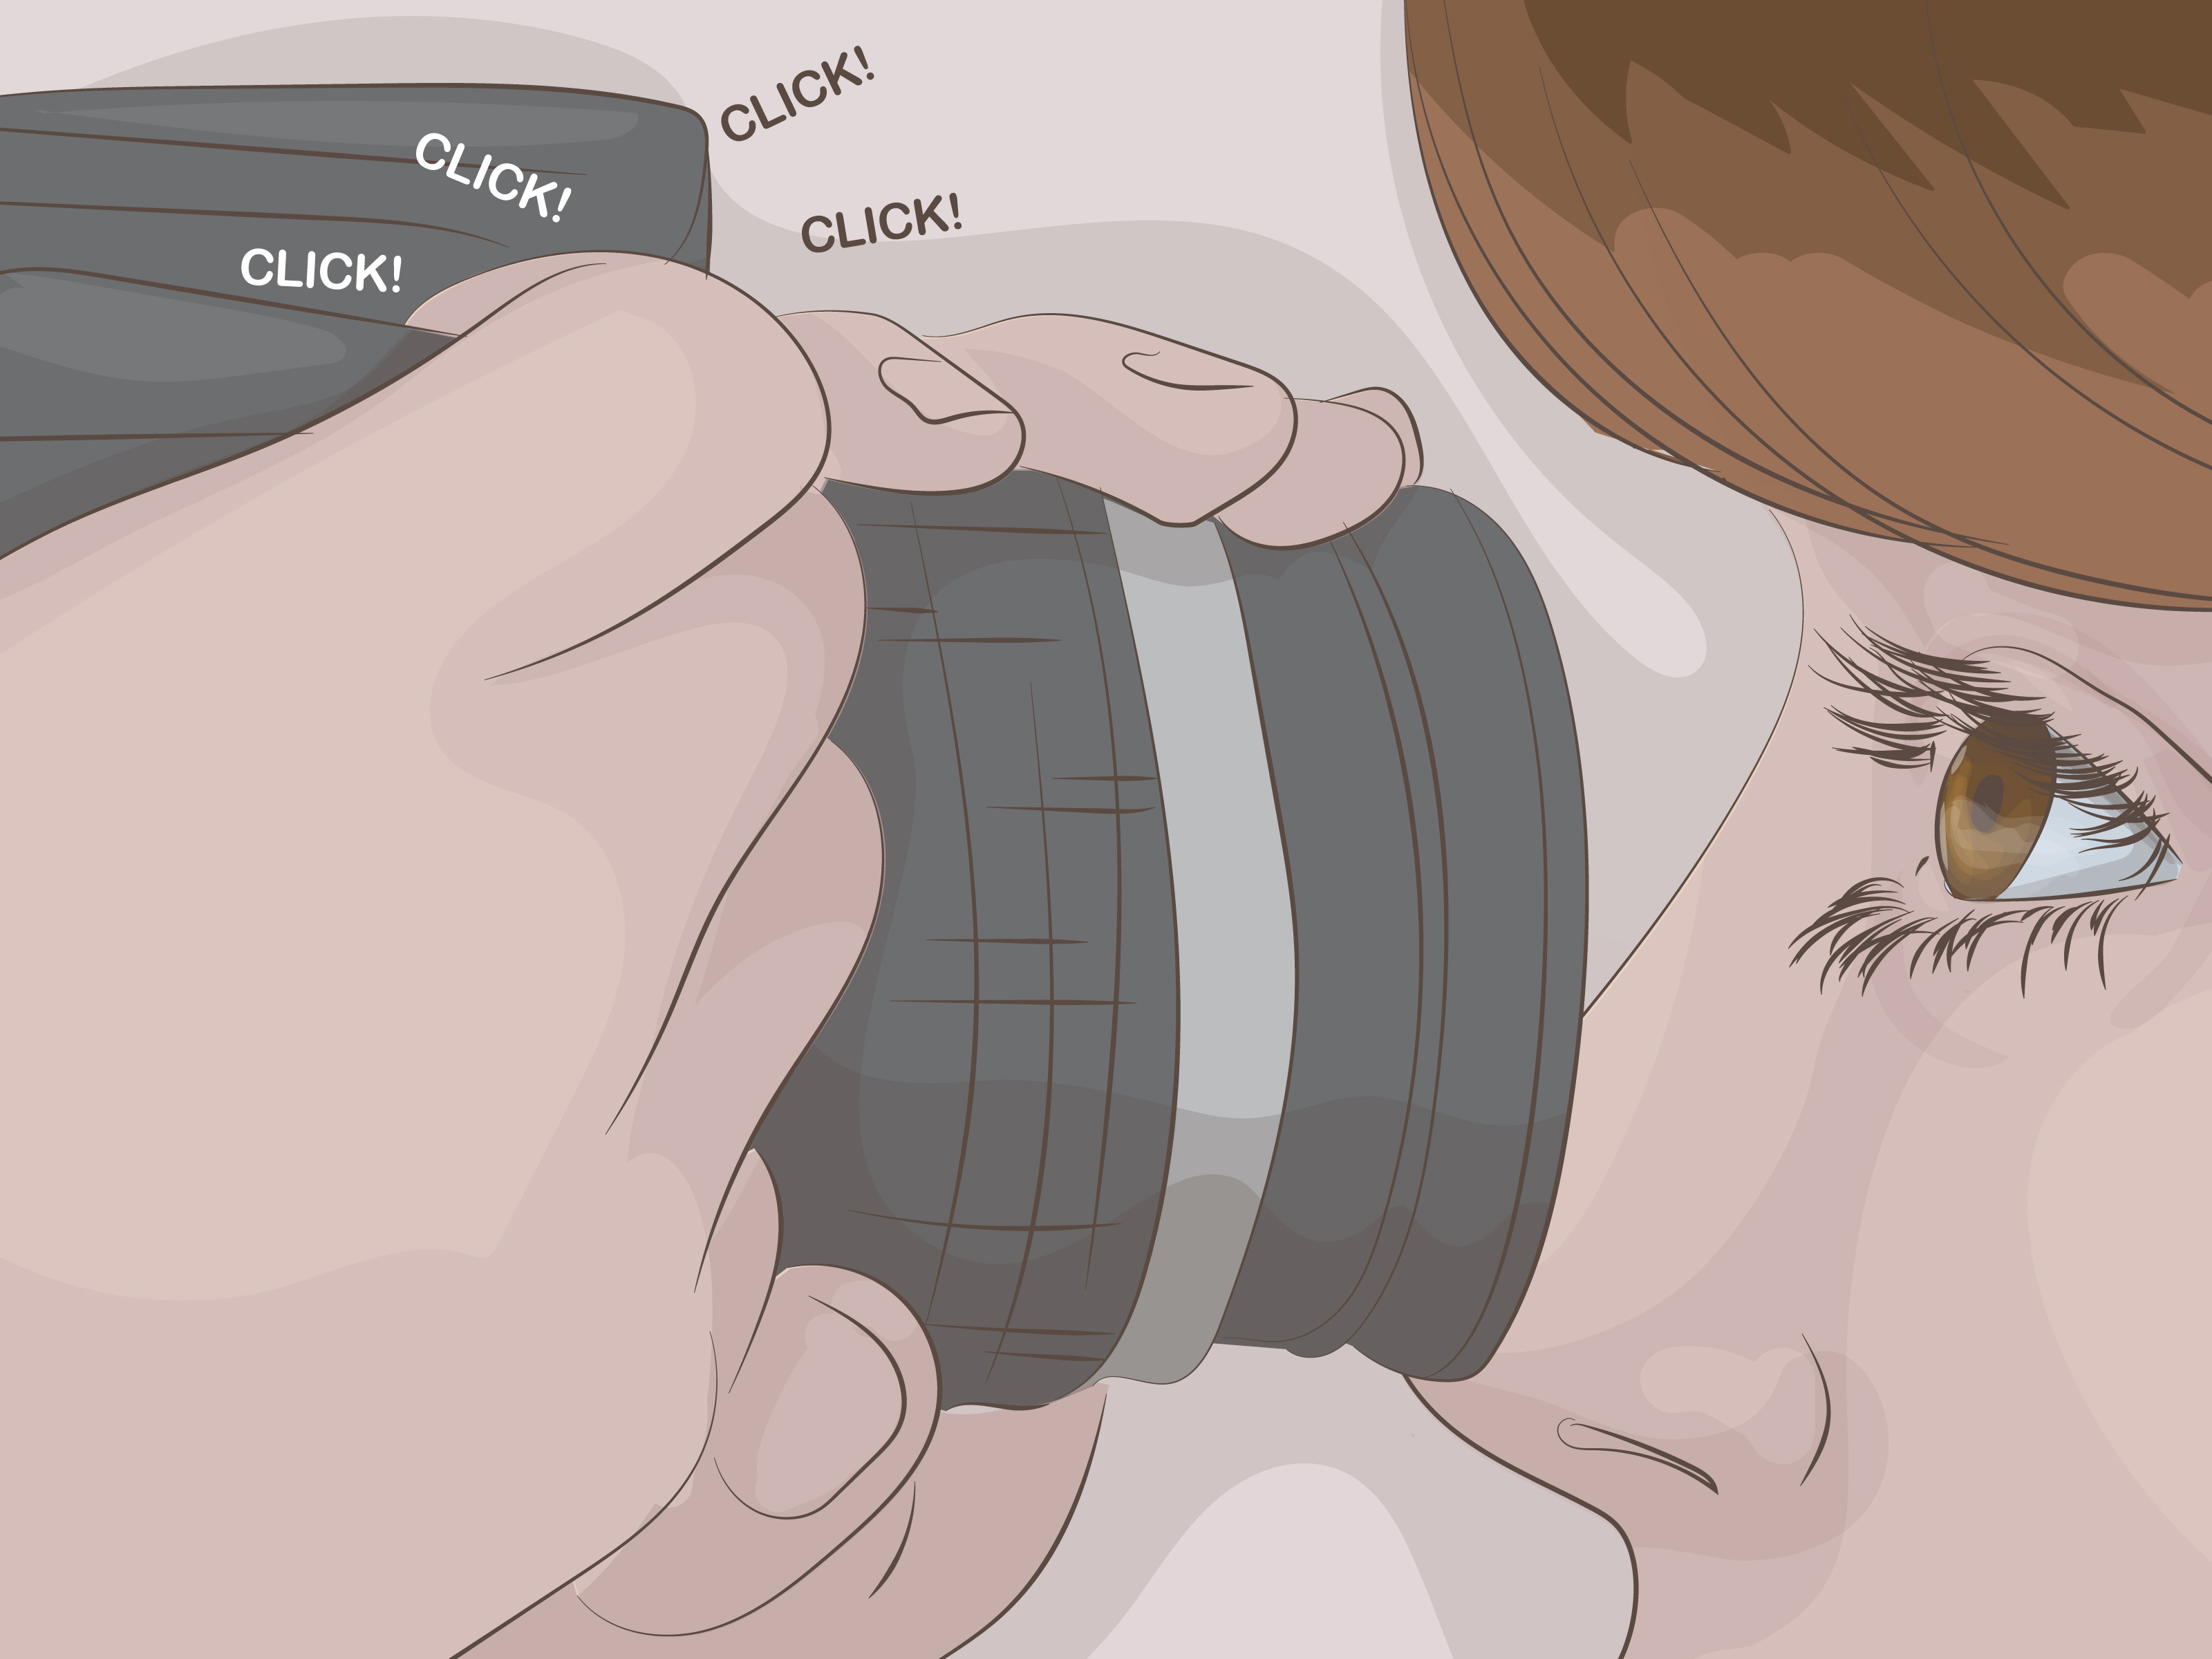
The human eye is basically nature’s tiny galaxy: a colorful iris, glossy reflections, dramatic lashes, and enough detail to make your camera either feel like a genius or a confused toaster. Close-up eye photography is one of the most rewarding forms of macro photography because it turns something familiar into something almost cosmic. One minute you are taking a portrait; the next, you are staring at a glowing landscape of texture, color, and light.
But photographing the eye close up is not as simple as shoving a camera near someone’s face and hoping for magic. The eye is reflective, curved, wet, sensitive, and constantly moving. It blinks. It waters. It catches every light source in the room. It also belongs to a person who may not enjoy having a lens parked three inches from their cornea like a tiny paparazzi helicopter.
The good news: you do not need a Hollywood studio or a suitcase full of expensive gear. You need a clear method, gentle lighting, careful focus, and a little patience. Below are three practical ways to photograph the eye close up, from classic macro camera techniques to smartphone-friendly options and creative lighting setups that make the iris look alive.
Why Close-Up Eye Photography Looks So Powerful
Close-up eye photography works because the eye already has built-in drama. The iris contains fine patterns that look like brushstrokes, rivers, clouds, or tiny lightning bolts. The pupil creates a natural focal point. The catchlight adds sparkle. Eyelashes frame the scene like curtains at a very glamorous microscopic theater.
In photography terms, the eye gives you texture, contrast, color, symmetry, reflection, and emotion in one small subject. That is a pretty generous deal. The challenge is that at close distances, depth of field becomes extremely shallow. A tiny movement can shift focus from the iris to an eyelash, or from the pupil to absolutely nothing useful. That is why close-up eye photography depends heavily on stability, controlled lighting, and precise focusing.
Safety First: The Eye Is Not a Product on a Table
Before discussing lenses and settings, let’s make one thing clear: comfort and safety matter more than the photo. Never shine intense light directly into someone’s eye for long periods. Avoid lasers, UV lights, medical-looking experiments, or any homemade lighting idea that sounds like it belongs in a villain’s basement. Use soft, diffused light, keep sessions short, and let your subject blink naturally.
If your subject feels discomfort, stop. A good eye photo should create a “wow” reaction, not a “why is my friend suing me?” reaction. For most casual and creative close-up eye photography, window light, diffused LED light, or a flash softened by a diffuser is enough.
Way 1: Use a Macro Lens for Sharp, Detailed Eye Photos
The most reliable way to photograph the eye close up is with a dedicated macro lens. A true macro lens can focus very close and often offers 1:1 magnification, meaning the subject can be reproduced at life size on the camera sensor. For eye photography, this allows you to capture the fine fibers of the iris, tiny reflections, and crisp lashes without turning the image into digital oatmeal.
Best Gear for Macro Eye Photography
A 90mm, 100mm, or 105mm macro lens is a popular choice because it gives you enough working distance. Working distance simply means the space between the front of the lens and the subject. With a longer macro lens, you do not have to crowd the person’s face as much, and you are less likely to block your own light. A shorter macro lens can work, but you may end up so close that your subject starts wondering whether you are taking a photo or inspecting their soul.
A tripod can help, especially if you want maximum sharpness. However, because people naturally move and blink, handheld shooting can also work if your shutter speed is fast enough. For best results, ask your subject to sit still, rest their head comfortably, and look at a fixed point. A chair near a window is often better than a dramatic standing pose where everyone wobbles like a low-budget action scene.
Recommended Camera Settings
Start with an aperture around f/8 to f/11. This gives you more depth of field than shooting wide open, while still keeping the image sharp. If you use f/2.8, the photo may look dreamy, but only a razor-thin slice of the eye will be in focus. That can be artistic, but it can also look like your camera gave up halfway through the assignment.
Use a shutter speed of at least 1/125 second for a still subject, or faster if shooting handheld. If you use flash, your effective motion freezing can improve, but keep the flash diffused and comfortable. Keep ISO as low as possible to preserve detail, but do not be afraid to raise it slightly if needed. A sharp photo with mild noise is better than a blurry photo with “perfect” ISO. Blur is forever; noise can at least be negotiated with in editing.
How to Focus on the Eye Close Up
Focus on the iris near the pupil, not the eyelashes. Eyelashes are tempting because they are high contrast, and autofocus loves them like a dog loves snacks. But if the iris is the star, make sure the iris is sharp. Use single-point autofocus or manual focus with magnification if your camera offers it. If your camera has eye autofocus, it may help, but at true macro distances, manual control is often more accurate.
Take several frames. Even professional photographers do this because tiny movements matter. Ask your subject to blink, relax, then open their eye naturally. Shoot in short bursts, then let them rest. This keeps the eye from drying out and keeps the session from feeling like an endurance sport.
Way 2: Photograph the Eye Close Up With a Smartphone
You can absolutely photograph the eye close up with a smartphone. Modern phones have impressive cameras, and many include macro modes or close-focus features. Even if your phone does not have a built-in macro camera, a clip-on macro lens can get you surprisingly detailed results. No, it may not match a professional macro lens on a full-frame camera, but it can still produce eye-catching images suitable for social media, blogs, and creative projects.
Use Macro Mode or a Clip-On Lens
If your phone has macro mode, turn it on and move in slowly until the eye appears sharp. Do not get so close that the phone blocks all the light. If your phone switches lenses automatically, watch the screen carefully because the framing may jump. Some phones let you lock focus and exposure, which is helpful for close-up eye photography.
A clip-on macro lens is another budget-friendly option. These small lenses attach over the phone camera and allow closer focusing. The trick is alignment. If the add-on lens is not centered over the camera, the image may look soft or distorted around the edges. Clean both lenses before shooting. A fingerprint on a macro lens can turn the iris into a foggy mystery novel.
Smartphone Lighting Tips
Soft window light is your best friend. Position your subject near a window, but avoid harsh direct sunlight. Bright direct sun can make the subject squint, create harsh reflections, and cause discomfort. Instead, use indirect daylight or place a sheer curtain between the window and the subject. The curtain acts as a diffuser, creating gentle highlights across the eye.
You can also use a white card or piece of paper to bounce light back into the shadows. Hold it below or beside the face to brighten the eye area. This tiny trick can make a huge difference. It is also much cheaper than buying another gadget, which is always nice unless your hobby is collecting camera accessories and pretending they are “investments.”
Phone Camera Settings That Help
Tap to focus directly on the iris. Lower the exposure slightly if the highlights look too bright. Eyes are reflective, so it is easy to overexpose the catchlight and lose detail. If your phone allows RAW capture, use it. RAW files give you more editing flexibility, especially for recovering highlights and adjusting color.
Keep the phone steady. Brace your elbows against your body, rest your hands on a table, or use a small phone tripod. Ask the subject to stay still and look at a fixed object. The closer you shoot, the more obvious movement becomes. At macro distance, even breathing can shift the focus. Yes, photography can become that dramatic.
Way 3: Create Dramatic Eye Photos With Reflections and Catchlights
The third way to photograph the eye close up is to make the reflection part of the image. Because the cornea is glossy and curved, it reflects light sources beautifully. A catchlight can make an eye look bright, alive, and expressive. Without a catchlight, even a sharp eye photo can feel flat. With one, the eye suddenly has personality.
Use Window Reflections
A window creates one of the most natural catchlights. Place your subject facing a window at a slight angle. The window reflection will appear in the eye, often as a soft rectangular highlight. This gives the image a clean, natural look. You can adjust the size and position of the catchlight by changing where the subject looks or where you stand.
For a more artistic image, ask the subject to look slightly upward or sideways. This can reveal more iris texture and create a more interesting reflection. Just avoid extreme angles that show too much white of the eye unless that is the style you want. Close-up eye photography can go from “beautiful” to “mildly haunted” very quickly.
Try a Ring Light Carefully
A ring light creates a circular catchlight, which is popular in beauty photography and macro portraits. It can make the eye look polished and modern. The key is to keep brightness comfortable and avoid placing the light too close. Use the lowest effective power, diffuse it if possible, and give your subject breaks.
Ring lights are useful because they provide even illumination, reducing shadows around the eye socket. However, the circular reflection is very recognizable. That is not bad, but it can feel trendy. If you want a more natural look, window light or a large softbox may be better.
Add Creative Reflections
You can reflect interesting shapes in the eye: a skyline, a flower, a colorful screen, fairy lights, or a silhouette. The reflection should support the story rather than distract from the iris. For example, a musician’s eye reflecting piano keys can create a strong conceptual portrait. A traveler’s eye reflecting a window view can suggest curiosity and movement. A random reflection of your messy laundry pile, however, may not scream “fine art.”
To capture reflections clearly, position the reflected object in front of the subject and angle the camera so the reflection appears in the cornea. Focus on the iris or the front surface of the eye depending on the effect you want. If the reflection is the main subject, you may prioritize it. If the iris texture is the main subject, keep the iris sharp and let the reflection add mood.
Composition Tips for Better Close-Up Eye Photography
Composition matters, even when the subject is tiny. You can center the pupil for a symmetrical, hypnotic look. You can crop tightly to fill the frame with iris texture. You can include lashes and skin for context. Each choice changes the mood.
A centered composition often feels bold and graphic. A partial crop feels more intimate and abstract. Including both eyes can create emotional connection, but if the article title is close-up eye photography, one eye usually gives stronger detail. Keep the background simple and watch for distracting reflections. The eye sees everything, and unfortunately, it also reflects everything, including you hunched over like a photography goblin.
Editing Close-Up Eye Photos Without Overdoing It
Editing should enhance detail, not turn the eye into a radioactive marble. Start with basic adjustments: exposure, contrast, white balance, and sharpness. Increase clarity or texture gently to bring out iris detail. Reduce highlights if the catchlight is too bright. Add a little contrast to the iris, but protect natural skin texture and eye color.
Avoid pushing saturation too far. Real eye colors are already beautiful. If a blue eye starts looking like a tropical sports drink, you have gone too far. If a brown eye starts glowing orange like a fantasy dragon, also too farunless fantasy dragon was the assignment.
Remove temporary distractions like dust spots or stray makeup flakes, but do not change the person’s natural features in a way that feels fake. The best close-up eye photos feel detailed, clean, and alive. They do not need to look manufactured.
Common Mistakes to Avoid
Getting Too Close Without Enough Light
When you move close, your camera receives less light and depth of field becomes thinner. Add soft light instead of simply opening the aperture all the way. More light lets you use a smaller aperture and keep more of the iris sharp.
Focusing on Eyelashes Instead of the Iris
This is probably the most common mistake. Eyelashes are dramatic, but if the iris is soft, the photo loses impact. Zoom in on your preview and check focus before moving on.
Using Harsh Light
Harsh light can create blown-out reflections, squinting, and discomfort. Diffuse your light. A softbox, curtain, white cloth, or bounce card can make close-up eye photography much more flattering.
Ignoring the Subject’s Comfort
Your subject is not a statue. Let them blink. Let them rest. Keep the session relaxed. A comfortable subject gives you better photos and fewer “please never call me again” texts.
Practical Experience: What Shooting Close-Up Eyes Teaches You
The first thing you learn when photographing the eye close up is that patience beats gear. Expensive equipment helps, but it does not solve blinking, reflections, poor focus, or nervous energy. A calm setup with simple light often produces better results than a complicated setup that makes the subject feel like they are being scanned at airport security.
In practice, the best sessions usually begin with conversation. Tell the subject what you are doing. Explain where to look. Show them a test shot so they understand the goal. This builds trust. Eye photography feels personal because the camera is close to the face, so a relaxed mood is part of the technique. If the subject laughs, let them. The eye often looks more natural right after a laugh, when the face relaxes and the expression becomes real.
Another lesson: small adjustments matter. Moving the light a few inches can completely change the catchlight. Asking the subject to turn their head slightly can reveal more iris color. Lowering exposure by a small amount can save highlight detail. Macro photography rewards tiny decisions. It is less like swinging a hammer and more like adjusting a watch.
One useful habit is to shoot in stages. First, capture a safe sharp image with simple lighting. Then experiment. Try a tighter crop. Try a side angle. Try a reflection. Try black-and-white. Once you have one strong photo, creative risk becomes easier because you are not panicking. Panic is bad for art, and worse for focus.
It also helps to review images at high magnification during the shoot. On a small screen, a photo may look sharp. Later, on a computer, you may discover that the sharpest part is one heroic eyelash while the iris is soft. Check early. Correct early. Your future self will be grateful and may even forgive your past self for buying that unnecessary camera strap.
Finally, close-up eye photography teaches respect for natural detail. Every iris is different. Brown eyes can show golden rings and deep radial patterns. Blue eyes can reveal pale fibers and icy contrast. Green and hazel eyes can shift color depending on light. Dark eyes may need careful lighting to reveal texture, but when done well, they look rich and powerful. The goal is not to make every eye look the same. The goal is to photograph what makes each eye visually unique.
Whether you use a macro lens, a smartphone, or a creative reflection setup, the strongest close-up eye photos come from the same foundation: soft light, accurate focus, thoughtful composition, and respect for the person in front of the camera. Get those right, and the eye becomes more than a close-up subject. It becomes a tiny universe with lashes.
Conclusion
Learning how to photograph the eye close up is a fantastic way to improve your macro photography skills. It forces you to understand focus, depth of field, lighting, reflections, and subject comfort all at once. Start with a macro lens if you want maximum detail, use a smartphone if you want an accessible setup, and experiment with catchlights if you want drama and personality.
The secret is not just getting close. The secret is getting close with control. Use soft light, focus carefully on the iris, keep the subject comfortable, and edit with restraint. Do that, and your close-up eye photos can look sharp, expressive, and just mysterious enough to make people ask, “Wait, how did you shoot that?”
Note: This article is written for creative photography education. Keep lighting gentle, avoid intense direct light, and stop immediately if the subject feels discomfort.