There are two kinds of people in this world: people who say, “I’ll just buy a blanket,” and people who look at two pieces of fleece and think, “I can absolutely turn this into cozy greatness with scissors and determination.” This article is for the second group. Or for the first group who have recently been converted by the siren song of soft fabric and DIY confidence.
A fleece tie blanket is one of the easiest no-sew projects you can make. It is beginner-friendly, budget-friendly, gift-friendly, and wonderfully forgiving. You do not need a sewing machine. You do not need fancy training. You mostly need fleece, sharp scissors, a ruler, and the kind of focus usually reserved for eating fries before they get cold.
Better yet, you are not stuck with one finish. In this guide, you will learn how to make a fleece tie blanket in four different ways: classic overhand ties, square knots, loop-through fringe, and a braided edge. Each method gives the blanket a different look and feel, so you can pick the one that matches your style, skill level, and patience on any given day.
Whether you are making a DIY fleece blanket for movie nights, a baby gift, a dorm room, a road trip, or a thoughtful donation, this guide will walk you through the whole process in plain English. No weird filler. No robotic instructions. Just a cozy project that actually turns out cute.
Why a Fleece Tie Blanket Is Such a Popular DIY
Fleece is basically the overachiever of beginner fabrics. It is soft, warm, easy to cut, and it does not fray the way many woven fabrics do. That means you can leave the edges unfinished and still end up with something that looks intentional instead of “I panicked halfway through a craft project.”
A no-sew tie blanket is also flexible. You can make a small lap blanket, a child-size blanket, or a larger throw. A common rule of thumb is to use about one yard of each fleece piece for a baby or lap blanket, about one and a half yards each for a child or throw size, and about two yards each for an adult-size blanket. The exact finished size will vary depending on the blanket dimensions and how much fabric you use for the fringe, but those starting points work well for most home crafters.
Another reason people love this project is the color pairing. Since you use two layers of fleece, you can mix prints and solids, sports themes and school colors, or one loud pattern with one calmer backing. It is reversible, cozy, and just dramatic enough to earn compliments.
What You Need
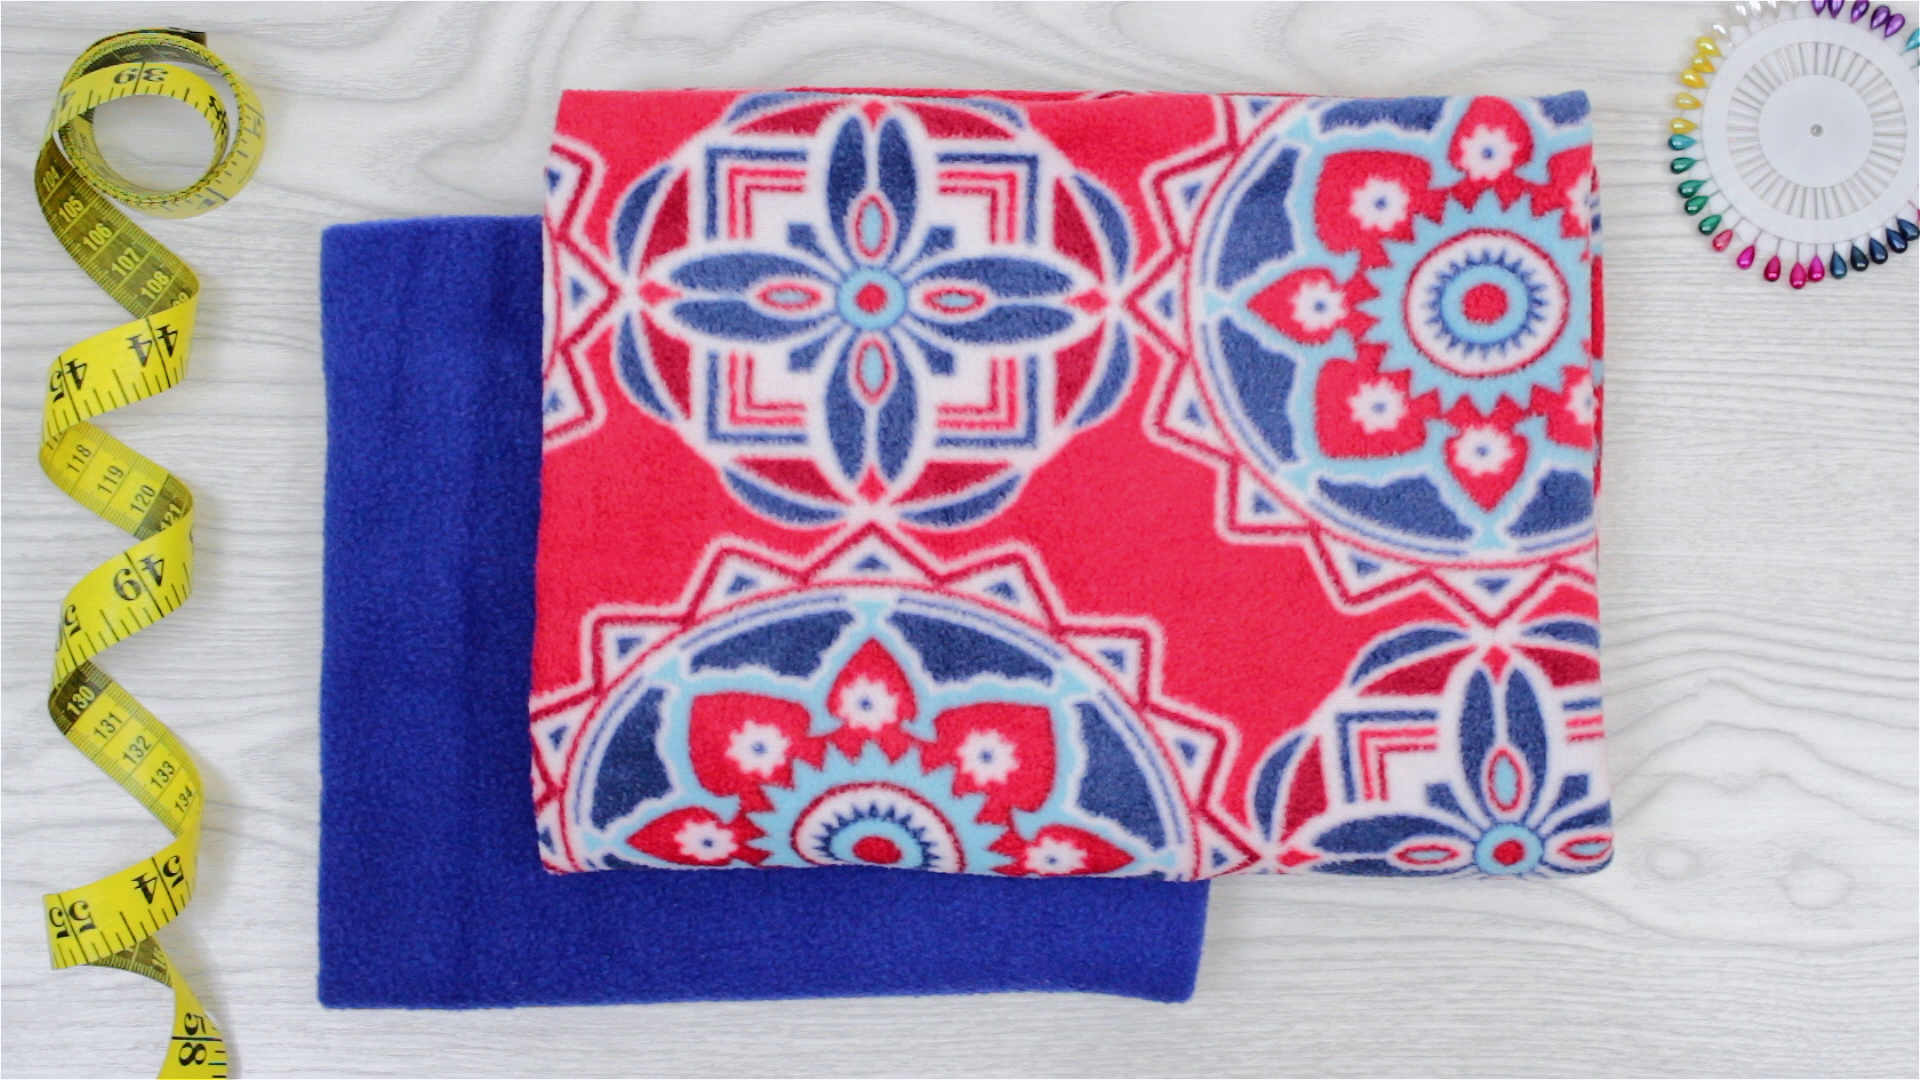
- 2 pieces of fleece in coordinating colors or prints
- Sharp fabric scissors or a rotary cutter and cutting mat
- Ruler, yardstick, or measuring tape
- Clips or pins to keep layers aligned
- Painter’s tape or masking tape for marking cut lines (optional but helpful)
- Fabric marker or chalk (optional)
For the nicest result, choose fleece that feels soft without being ridiculously bulky. Very thick fleece can be harder to cut and tie. Anti-pill fleece is a solid choice for blankets that will get a lot of use because it tends to stay tidier over time.
Before You Cut: Set Yourself Up for Success
Lay both fleece pieces on a large flat surface with the wrong sides together so the pretty sides face out. Line up the edges as neatly as possible. Then trim off the selvages, which are the factory-finished edges that can look slightly different or feel stiffer than the rest of the fabric. If you skip this part, your blanket can end up pulling or waving along the edges like it is trying to communicate with the moon.
Next, trim the fleece so both pieces are exactly the same size. This matters. A lot. If one layer is even a little larger than the other, your fringe will not line up, and you will spend the rest of the project muttering dramatic things at your ruler.
Once the fleece is aligned, decide how deep your fringe will be. Many classic tie blankets use fringe that is about 4 to 5 inches deep and about 1 inch wide. Some flatter finishes, like braided styles, use smaller corner squares and slightly different strip widths. I will walk you through those details in each method below.
Basic Prep Steps for All 4 Methods
- Trim the fleece so both layers match exactly.
- Cut a square from each corner. The square size depends on your chosen finish.
- Cut fringe strips all the way around the blanket, cutting through both layers at once.
- Keep strips even. Use a ruler or tape line so your fringe does not wander off like a toddler in a toy aisle.
- Choose your edge finish and complete the blanket one strip at a time.
Now for the fun part: four different ways to finish the edges.
How to Make a Fleece Tie Blanket: 4 Different Ways
1) Classic Overhand Ties
This is the traditional fleece tie blanket method and the one many beginners start with. It is quick, cozy, and easy to learn. If someone says “tie blanket,” this is probably what they mean.
How to prep it: Cut a 5-inch square from each corner. Then cut fringe strips that are 1 inch wide and 5 inches deep all the way around the blanket.
How to tie it: Take one top strip and one bottom strip together as a pair. Tie them in an overhand knot, pulling the strip ends through the loop and tightening the knot. Repeat around the whole blanket.
Why people like it: It is fast. It is simple. It looks classic. It is also great for group crafting because the process is easy to teach.
Watch out for this: Do not tie the knots too close to the body of the blanket. If you pull them tight right against the edge, the center can start to bunch. You want the knots snug, not strangling the poor blanket.
This method is perfect for family movie blankets, beginner gifts, and school or church craft events where people want a reliable project with a low frustration level.
2) Square Knots for a Flatter Finish
If you like the tied look but want the edge to lie a little flatter and feel a bit more polished, square knots are your friend. Think of this as the classic tie blanket’s slightly more organized cousin.
How to prep it: Cut 5-inch corner squares and make 1-inch-wide, 5-inch-deep fringe strips around all edges, just like the classic method.
How to tie it: Take a top and bottom fringe strip together. Tie one half-knot in one direction, then tie the second half in the opposite direction to create a square knot. If that sounds technical, it is really just the difference between a knot that sits flatter and one that twists more.
Why people like it: The edge can look neater and more uniform. It also feels slightly more structured, especially on larger throw blankets.
Watch out for this: Keep your knot direction consistent. If you switch styles halfway through, the edge can look uneven. Not tragic. But noticeable. And once you spot it, your brain may never forgive you.
This is a great option when you want a no-sew fleece blanket that still feels a little more finished and gift-worthy.
3) Loop-Through Fringe
This method creates a softer, cleaner look than classic knots and uses a clever little slit in each strip. It is sometimes called a looped edge or double-loop fringe, and it is excellent when you want less bulk at the border.
How to prep it: Cut 4-inch squares from the corners. Then cut fringe strips about 1.5 inches wide and 4 inches deep. In each pair of strips, cut a small vertical slit near the base, going through both layers.
How to finish it: Fold the strip ends up and push them through the slit in that same strip pair, then pull gently to secure. Repeat this with each fringe pair around the blanket.
Why people like it: The result looks tidy, and the edge feels less knot-heavy. It is also fun once you get into the rhythm. You will be loop-loop-looping like a fleece wizard.
Watch out for this: Do not cut the slit too close to the edge or too deep into the blanket body. You want enough room for the strip to pass through, but not so much that the fabric looks stressed.
This method works especially well for people who want a blanket edge that looks softer and slightly more decorative without going full braid.
4) Braided Edge
The braided edge is the show-off finish. It looks impressive, has no visible row of bulky knots, and gives the blanket a cleaner border. If you want the blanket to look a little more boutique and a little less “made during halftime,” this is the method to try.
How to prep it: Cut 2-inch corner squares. Then cut fringe strips 1 inch wide and 2 inches deep all the way around. You will also cut a small slit in each strip, similar to the loop-through method.
How to braid it: Starting at one point on the blanket edge, pass one fringe section through the slit in the next section, then continue around the blanket, using each newly pulled section as the next loop. The effect is more like a laced chain than a literal three-strand braid. When you reach the end, secure the last section neatly into the starting point and finish with a hidden knot.
Why people like it: It looks sleek, lies flatter, and feels less bulky than traditional ties.
Watch out for this: Keep the braid loose. If you pull too tightly, the blanket edge can curl or bunch inward. A braided edge should frame the blanket, not choke it into a ruffled potato chip.
This is a fantastic choice for gifts, decor-friendly throws, and anyone who enjoys a more finished-looking DIY tie blanket.
Common Mistakes to Avoid
- Skipping the edge trimming: Uneven fleece means uneven fringe, and uneven fringe means unnecessary emotional growth.
- Using dull scissors: Fleece can drag and chew instead of cut cleanly.
- Tying too tightly: This causes puckering around the blanket edge.
- Making fringe widths random: Even a simple tape guide helps a lot.
- Choosing overly thick fleece: Very bulky fleece can make tying harder and the blanket stiffer at the border.
- Ignoring the project purpose: A cuddle throw for home can be double-layered, but donation organizations may have different preferences.
Washing, Gifting, and Donation Tips
Once your blanket is finished, give it a gentle shake to remove lint and loose threads. Wash according to the fleece care instructions if needed. For gifts, roll it up with a ribbon and prepare to look wildly competent.
If you are making blankets for charity, check the organization’s current requirements before you start. Some groups that distribute blankets to children prefer specific sizes, fiber choices, or even single-layer fleece versions. That is especially true for donation programs where safety, washability, and local needs matter more than decorative flair. In other words, always make the blanket the recipient needs, not just the blanket your inner craft gremlin finds cutest.
Experience, Tips, and Real-Life Lessons From Making Fleece Tie Blankets
One of the best things about learning how to make a fleece tie blanket is how quickly it goes from “I’m trying a craft” to “I now have opinions about fringe width.” The first blanket usually teaches you the basics. The second teaches you what you wish you had done the first time. By the third, you are the sort of person giving very serious advice about ruler placement while standing in a fabric aisle.
A lot of beginners discover that the measuring stage matters more than they expected. It is tempting to eyeball the fringe and just start cutting with optimism and chaos. That can work, but the blanket almost always looks better when the strips are evenly spaced. Even a simple strip of painter’s tape as a cutting guide can make the finished edge look more intentional and less like it lost a fight.
Another common experience is realizing that fleece choice changes everything. Soft, medium-weight fleece is usually the sweet spot. Thin fleece can feel less luxurious, while extra-thick fleece can be harder to knot. Some crafters start with the cutest print they can find and only later realize it feels like tying a blanket made of marshmallows and resistance bands. Cute, yes. Cooperative, not always.
People also learn that blanket size affects the mood of the whole project. A baby or lap blanket feels fast and satisfying. You can finish it in one sitting and feel like a champion. A large throw feels more dramatic and gift-worthy, but it also requires more floor space, more cutting, and a little more stamina. That does not make it hard. It just means you should maybe not begin a king-size-inspired masterpiece ten minutes before bedtime.
Fleece tie blankets are also popular for group events because almost anyone can help. Kids can sort fabrics, adults can handle cutting, and everyone can tie fringe. It is one of those rare crafts that does not require advanced skills to look genuinely good. The shared rhythm of cutting, tying, and chatting turns the project into an experience rather than just a task. Blankets made for birthdays, dorm rooms, team gifts, holiday surprises, or donation drives often end up carrying a little extra heart because several hands were involved.
Gift makers often say the reaction is half the fun. A handmade fleece blanket feels personal in a way store-bought throws sometimes do not. You chose the prints. You picked the size. You spent actual time making it. And yes, you probably muttered at one crooked corner, but that only adds character. The finished blanket says, “I wanted you to be warm,” which is a pretty excellent message in fabric form.
The biggest lesson most people learn is simple: the project is easy, but the details matter. Straight cuts, matched layers, appropriate tension, and the right finishing method make the difference between “nice homemade blanket” and “why is this edge behaving like cooked lasagna.” Once you get those details down, a fleece tie blanket becomes one of the most reliable DIY projects you can make again and again.
Final Thoughts
A fleece tie blanket is proof that a useful, cozy, attractive project does not need to be complicated. With just a few supplies and the right finishing method, you can make something practical, giftable, and delightfully soft. The best part is that you get options. Go classic with overhand ties, neater with square knots, softer with loop-through fringe, or stylish with a braided edge.
Pick your fleece, clear off the table, and start cutting. Soon enough, you will have a handmade blanket and the very specific confidence that comes from turning fabric into comfort without touching a sewing machine.