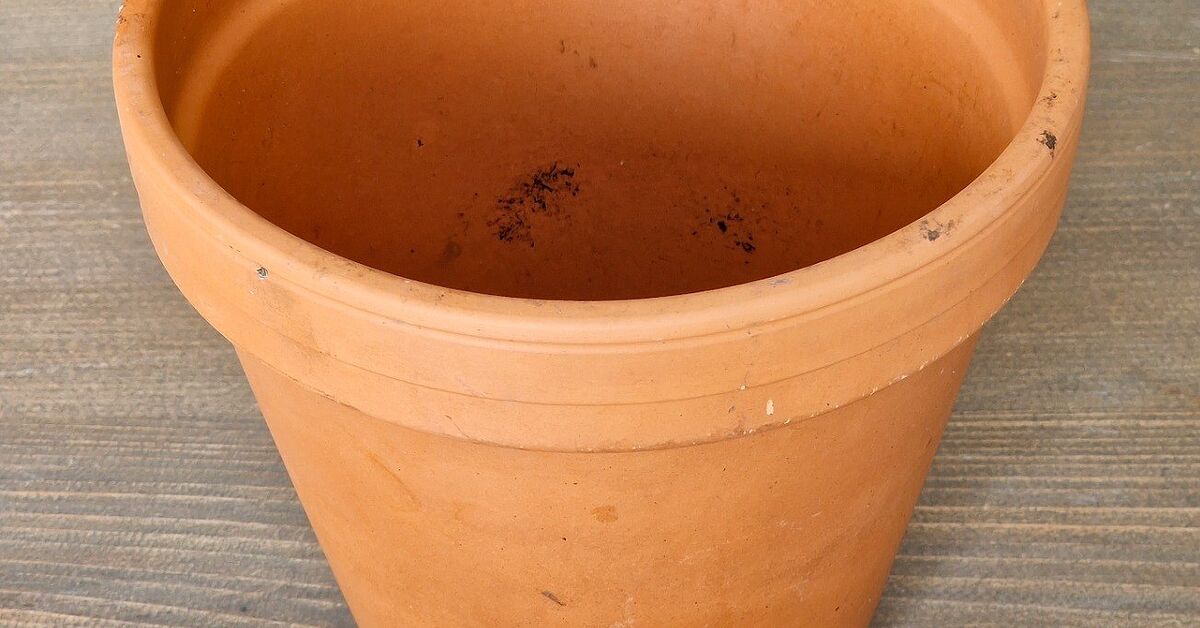
Artificial plants have improved dramatically, but many still arrive with one glaring clue: a suspiciously smooth chunk of black foam pretending to be soilay look freshly clipped, and then the planter base announces, “Hello, I am plastic.” Fortunately, a little leftover coffee and ordinary craft glue can rescue the arrangement.
This DIY faux potting dirt using coffee grounds and glue creates a dark, crumbly surface that looks surprisingly close to natural potting mix. It is inexpensive, beginner-friendly, and useful for artificial houseplants, miniature gardens, floral arrangements, dioramas, centerpieces, and seasonal displays. Better yet, it gives used coffee grounds one more job before they head to the compost bin.
The project is simple, but one rule matters more than everything else: dry the coffee grounds thoroughly. Wet organic material trapped under glue can develop unpleasant odors or mold. With proper preparation, a sensible amount of adhesive, and a little artistic messiness, you can create realistic fake soil without buying a specialty product.
Why Coffee Grounds Make Convincing Faux Potting Dirt
Used coffee grounds already have several qualities that craft-store substitutes try to imitate. They are naturally dark, irregular, lightweight, and slightly granular. Once dried, individual particles range from fine powder to tiny clumps, closely resembling the mixed texture of commercial potting soil.
The grounds also vary in color. Dark-roast coffee may produce nearly black particles, while medium and light roasts add warmer brown tones. Combining grounds from different batches can create subtle variation, preventing the finished surface from looking like a flat layer of brown paint.
Coffee grounds are widely accepted as compostable household material, so using them for a temporary craft is a practical form of reuse. However, their value in this project comes from appearance rather than plant nutrition. Research and university guidance caution against assuming that spent grounds are automatically acidic or suitable for unrestricted direct use around live plants. This tutorial is strictly for decorative arrangements. 2>Important Limitations Before You Begin
Use Faux Dirt Only With Artificial Plants
Glue-bound coffee grounds should never replace real potting mix. Once the adhesive cures, it creates a decorative crust that does not provide the drainage, root space, oxygen, or balanced moisture that a living plant requires. Do not spread it over the soil of a live plant, either, because the sealed layer can interfere with normal watering and evaporation.
Keep the Finished Project Dry
This faux plant pot filler is best for indoor decorations. Moisture is the main condition that allows indoor mold to grow on organic and porous materials. Even a well-dried project may deteriorate if it is repeatedly exposed to water, high humidity, rain, or damp soil. Keep it away from sinks, open bathroom showers, uncovered patios, and enthusiastic people holding watering cans. 3>Treat It as a Craft Material, Not a Toy
Do not use faux coffee-ground soil in projects intended for food service, aquariums, reptile enclosures, or unsupervised sensory play. Small particles and decorative stones may create swallowing hazards. Place finished arrangements where curious children and pets cannot chew, dig, or conduct their own unauthorized excavation.
Materials and Tools
- Used coffee grounds, completely dried
- White craft glue or thick tacky glue
- An artificial plant, flower arrangement, or miniature tree
- A decorative pot or container
- Floral foam, rigid foam, cardboard, or another firm filler
- A disposable bowl or reusable craft container
- A craft stick, old spoon, or palette knife
- Parchment paper, scrap cardboard, or a washable work mat
- Optional brown or black acrylic craft paint
- Optional fine gravel, sand, bark chips, dried moss, or tiny stones
- Optional water-based matte sealer
Choosing the Best Glue
Standard white craft glue works well because it spreads easily and generally dries clear. Thick tacky glue is useful when you need the mixture to hold its shape around stems or on a sloped surface. Manufacturer guidance for common tacky craft adhesives notes that these products can dry clear and can usually be cleaned with soap and water before curing. Always follow the instructions printed on your specific bottle. >Avoid using expanding construction adhesive, instant glue, or strong solvent-based products unless the project specifically requires them. They are unnecessary for this craft and may damage foam, create harsh fumes, or leave an unnaturally glossy finish.
How to Dry and Prepare Used Coffee Grounds
Fresh grounds are far too damp to mix directly with glue. They may look harmless, but their compact texture can hold moisture in the center of a pile. Drying them completely improves adhesion, prevents odor, and reduces the possibility of mold.
- Break up the grounds. Remove them from the filter or coffee maker and crumble large compressed pieces with a spoon.
- Spread them thinly. Arrange the grounds in a shallow layer on a tray lined with parchment paper. A thin layer dries more evenly than a coffee mountain.
- Place the tray in a dry, ventilated area. Keep it away from steam, splashes, and outdoor humidity.
- Stir periodically. Turn the grounds several times so the damp underside becomes exposed to air.
- Check the texture. Fully dried grounds should feel loose and crumbly, not cool, sticky, or spongy.
- Store only when dry. Place prepared grounds in a clean container with a loose lid until you are ready to craft.
If the grounds develop a musty odor, visible fuzzy growth, or unusual discoloration, discard them rather than trying to rescue the batch. Coffee grounds can develop mold during normal composting, but that is not something you want sealed into a centerpiece on the dining-room table. 2>Prepare the Planter Base
Filling an entire pot with coffee-ground glue is wasteful, heavy, and likely to produce cracks. Instead, create a solid hidden base and apply the realistic fake dirt only to the visible top.
- Position the artificial plant in the center of the pot.
- Pack floral foam, rigid foam, cardboard, lightweight stones, or clean filler around the stem.
- Leave approximately one-half inch below the rim for the faux soil layer.
- Cover loose filler with a cardboard circle or thin piece of foam.
- Secure tall artificial trees with heavier stones underneath the top cover if additional stability is needed.
Decorators commonly use rocks, moss, and other natural-looking top materials to disguise small nursery pots and stabilize faux plants. A firm base also prevents the coffee-ground surface from flexing whenever the container is moved. 2>Method One: Mix-and-Spread Faux Potting Dirt
The mix-and-spread method produces a solid removable-looking layer. It works especially well for tabletop plants, floral arrangements, and containers where the “soil” must remain attached when the pot is tilted.
Suggested Starting Ratio
- 2 parts completely dry coffee grounds
- 1 part white craft glue
- A few drops of brown or black acrylic paint, if desired
This is a flexible starting point rather than a laboratory formula. Different grounds absorb different amounts of glue. Espresso grounds may need slightly less adhesive, while coarse grounds may require more.
Step-by-Step Instructions
- Place the dried grounds in a disposable bowl.
- Add about half of the planned glue and stir thoroughly.
- Continue adding glue in small amounts until the mixture resembles thick, crumbly brownie batter.
- Pinch a small portion. It should hold together without releasing liquid glue.
- Add one or two drops of acrylic paint only if the color needs adjustment.
- Spread the mixture over the prepared planter base using a craft stick or old spoon.
- Keep the surface slightly uneven. Real soil rarely looks as though it was leveled by a pastry chef.
- Sprinkle a final pinch of dry grounds over the wet surface to reduce shine.
- Press the loose particles gently into place without flattening all the texture.
- Allow the pot to dry undisturbed in a well-ventilated location.
Similar coffee-ground craft techniques use a glue mixture that is wet enough to clump but not so loose that it becomes runny. Creating the top in a relatively thin layer helps it dry evenly and reduces cracking. 2>Method Two: Glue-Bed and Sprinkle Technique
This method is easier for dollhouse landscaping, shadow boxes, miniature gardens, wreath decorations, and wide but shallow areas. It also gives the driest, most naturally granular surface.
- Brush a generous but even coat of white glue over the prepared base.
- Sprinkle dry coffee grounds over the entire glued area.
- Use more grounds than appear necessary so every patch is covered.
- Press gently with a craft stick, gloved fingertip, or a piece of wax paper.
- Leave the project untouched until the glue is fully dry.
- Tip the project over a tray and tap away unbonded particles.
- Apply small dabs of glue to bald spots and add a second layer.
The sprinkle method makes it easy to control depth and texture. It also avoids the glossy appearance that can occur when too much glue is stirred through the grounds. Traditional miniature-making instructions use the same basic sequence: glue the base, press on the particles, let them dry, and remove the excess. 2>How to Make Fake Soil Look More Realistic
Use More Than One Texture
Natural potting mix contains bark, mineral particles, fibers, and irregular pieces of organic matter. Add a tiny amount of fine sand, crushed dry bark, miniature gravel, or dried moss to selected areas. Do not mix every ingredient evenly. Random variation is more believable.
Keep the Surface Imperfect
Create shallow dips near stems and slightly raised areas near the edge of the pot. Add a few intentional clumps. Perfectly smooth soil looks less realistic than a surface with mild variation, just as artificial plants with slight asymmetry often appear more natural than flawless, identical leaves. 3>Hide the Stem Entry Point
The place where a plastic stem meets the planter is often the biggest giveaway. Mound a little faux dirt around that area, then add a small stone, bark chip, or tuft of moss. Do not make a perfectly circular crater around the stem unless your ficus has recently been visited by aliens.
Match the Plant Type
A cactus display usually looks better with gritty soil and small stones. Tropical foliage can handle darker “moist-looking” grounds and a touch of moss. An artificial orchid should not appear buried in dense garden soil; use visible bark pieces instead. Matching the top dressing to the type of plant is more convincing than applying the same coffee mixture to everything.
Control the Shine
If dried glue creates glossy patches, dab a very thin layer of matte medium over the area and immediately sprinkle on more dry grounds. Avoid pouring sealer over the entire surface. Real potting soil does not normally gleam like a freshly polished bowling ball.
Creative Uses for Coffee-Ground Faux Dirt
- Artificial houseplants: Cover molded foam in small succulents, herbs, ferns, and tabletop trees.
- Seasonal centerpieces: Anchor faux tulips, lavender, sunflowers, miniature pumpkins, or holiday branches.
- Dollhouse gardens: Create garden beds, pathways, greenhouse benches, and tiny potted plants.
- Dioramas: Build forest floors, farm fields, construction scenes, archaeological digs, or model railways.
- Store displays: Make reusable botanical arrangements that will not spill soil across shelves.
- Wedding decorations: Finish small herb pots, table-number planters, or rustic floral containers.
- Educational models: Add realistic ground texture to projects that do not require handling as toys.
Repurposed containers, natural-looking stones, moss, and varied plant heights can make artificial greenery feel more intentional within a room. The same styling principles used for real container arrangementsscale, contrast, texture, and an appropriate vesselalso improve faux displays. 2>Troubleshooting Common Problems
The Faux Dirt Crumbles After Drying
The mixture probably contained too many grounds or was applied too thickly. Brush diluted craft glue into the weak area, sprinkle on fresh grounds, and let it dry. For the next batch, add glue gradually until a pinched sample holds together.
The Surface Looks Plastic or Shiny
Too much glue rose to the top. While the mixture is still wet, sprinkle on a generous layer of dry grounds. If it has already cured, paint shiny spots with a thin coat of matte craft medium and add another dusting.
The Dirt Cracked
Thick layers shrink unevenly as they dry. Fill the cracks with a fresh, slightly drier mixture. In future projects, build depth with foam or cardboard and keep the decorative layer thin.
The Project Smells Musty
A musty odor may mean that moisture was trapped inside the grounds or filler. Do not cover the smell with perfume or additional sealer. Remove and discard the affected material, clean the nonporous container, and begin again with a fully dried batch.
The Faux Soil Peels Away From the Base
Dust, glossy plastic, or flexible foam may prevent good adhesion. Clean the surface and test the glue on a hidden area. A cardboard cover glued over the original filler often provides a more dependable base.
Craft Safety and Cleanup
Protect the work surface before beginning, wash hands afterward, and use tools dedicated to crafting rather than food preparation. Clean water-based glue while it is still wet. Dried adhesive is considerably less cooperative and may behave as though it has signed a long-term lease on your table.
A hot-glue gun is not necessary for the soil mixture, although it may be useful for securing foam or stems. The U.S. Consumer Product Safety Commission recommends choosing low-temperature glue guns for art activities and carefully following product labels. Adults should handle heated tools around children. >Covering the workspace with scrap paper also makes loose coffee grounds easier to collect and reuse. Major craft publishers routinely recommend protecting tables before applying glue, paint, glitter, or botanical materials. 2>Care and Long-Term Durability
Once the faux dirt is fully cured, remove dust with a soft dry paintbrush, handheld air blower, or low-powered vacuum held several inches away. Do not rinse the surface. When transporting the arrangement, support the pot from underneath rather than lifting it by the stem.
Keep the planter out of harsh direct sunlight whenever possible. Sunlight can fade artificial foliage, and repeated heating may shorten the life of some adhesives. Faux plants generally look more convincing when they are positioned where a similar live plant could plausibly grow and when their leaves are kept clean. 2>Frequently Asked Questions
Can Unused Ground Coffee Be Used?
Yes, but it is more economical to use spent grounds. Fresh ground coffee is already dry and fragrant, yet its aroma may remain noticeable longer. Used grounds offer the same useful texture after thorough drying.
Does the Finished Project Smell Like Coffee?
The aroma usually fades as completely dried grounds and glue cure. A strong or sour smell is not normal and may indicate remaining moisture.
Can the Faux Dirt Be Removed Later?
Yes, if you build it on a removable cardboard or foam disk. This is a useful option for valuable pots, rented event decorations, or arrangements you enjoy changing seasonally.
Should the Finished Dirt Be Sealed?
Sealing is optional. A thin matte sealer can reduce shedding, but a heavy coat may darken the grounds and create an artificial sheen. Test the sealer on a small sample first.
Can This Project Be Displayed Outdoors?
It is not recommended for uncovered outdoor use. Rain, condensation, strong sunlight, and humidity can damage the coffee-ground layer and the artificial plant. Even faux greenery should be specifically labeled for outdoor exposure before it is placed outside.
Practical Experience Notes: What Typically Makes or Breaks the Project
The most successful versions of this recycled coffee-ground craft usually begin with patience rather than glue. Grounds that appear dry on top can still hide damp clumps underneath. A common mistake is collecting coffee in a deep bowl for several days and expecting it to dry as one mass. The outer surface becomes crisp while the middle remains cool and moist. Spreading each batch immediately solves most odor and mold problems before they begin.
Another recurring lesson is that more glue does not automatically create a stronger result. An overly wet mixture tends to settle into a smooth skin, swallowing the granular texture that made the coffee useful in the first place. The surface may dry almost black and look more like chocolate frosting than garden soil. Adding glue slowly gives much better control. When a pinched clump holds together but still breaks apart under light pressure, the consistency is usually close to ideal.
Thin applications are also more reliable than deep fills. A pot that appears to need two inches of “soil” does not actually need two inches of coffee and adhesive. Lightweight filler can occupy nearly all that space, leaving only the upper surface visible. This approach reduces drying time, prevents cracking, makes the arrangement easier to move, and saves enough coffee grounds to fuel several additional craft emergencies.
Visual realism often improves after the crafter stops trying to make every inch identical. Soil is messy. One side may be slightly higher. A few particles may rest against the pot. A tiny bark chip might interrupt the dark surface. These imperfections help the eye accept the material as natural. By contrast, a perfectly level circle with an even border can resemble a manufactured insert, even when the coffee texture itself is convincing.
Plant selection changes the result as well. Coffee-ground faux dirt is especially effective with artificial herbs, ferns, fiddle-leaf figs, pothos, small palms, and flowering arrangements. Succulents may need extra grit, pale sand, or small stones to match their natural environment. Orchids look more authentic when the coffee is used sparingly beneath visible pieces of bark. A little research into how the real plant is normally potted can transform an average arrangement into one that makes visitors suspiciously impressed.
The removable-disk technique is another useful discovery. Instead of gluing directly inside a decorative container, trace the rim onto cardboard, cut a disk slightly smaller, insert the artificial stem through the center, and build the faux dirt on top. The finished insert can then be lifted out. This makes cleaning easier and allows one container to host spring tulips, summer herbs, fall branches, and winter greenery without permanently committing to any of them.
Finally, the project benefits from a full drying period. The top can feel firm while the underside remains soft, especially around a thick stem. Moving the planter too soon may cause the surface to slide or separate. Leaving it untouched in moving air produces a more durable finish. The reward for that restraint is a stable, spill-resistant planter top that looks like real soil but never needs wateringa quality that both forgetful plant owners and their furniture can appreciate.
Conclusion
Making DIY faux potting dirt using coffee grounds and glue is an easy way to upgrade artificial plants, miniature scenes, and decorative arrangements. The secret is not an expensive specialty product. It is careful preparation: dry the grounds completely, build a firm hidden base, use only enough glue to hold the particles together, and preserve some natural-looking irregularity.
The finished surface is dark, textured, inexpensive, and far more convincing than exposed floral foam. It also turns a familiar kitchen leftover into useful craft material. Your artificial plant may still be incapable of photosynthesis, but at least it will finally have respectable-looking soil.
Note: This coffee-ground and glue mixture is intended only for dry decorative projects containing artificial plants. Do not use it as growing medium, edible decoration, animal bedding, or a waterproof outdoor material.