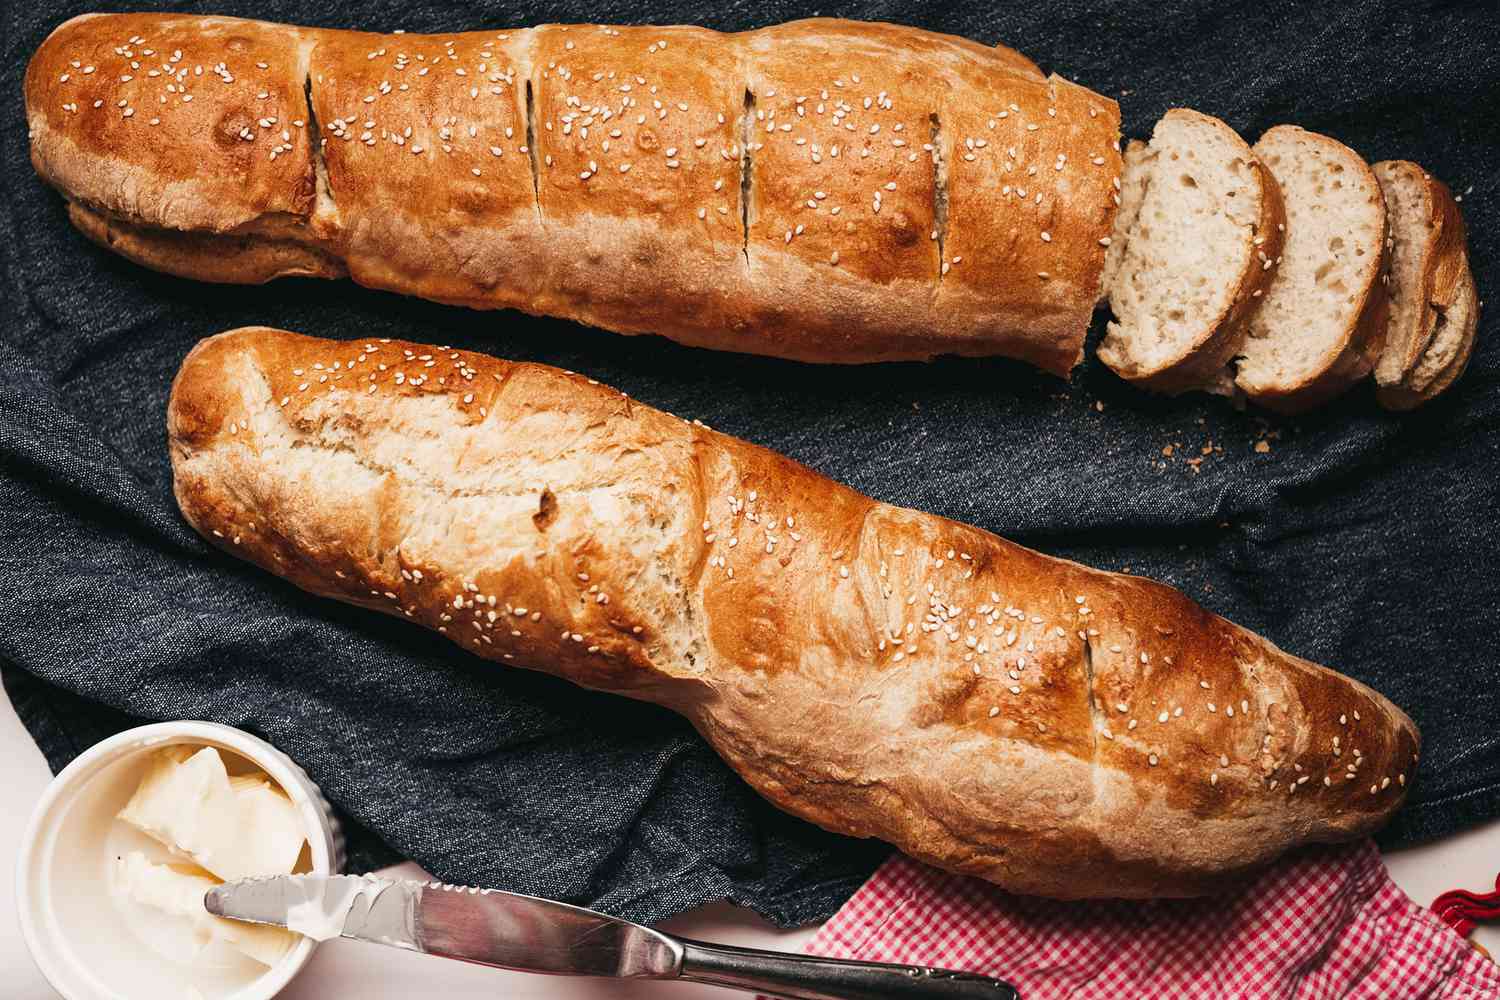
Homemade bread has a reputation for being dramatic. It gets described like a moody houseguest: too sticky, too dry, too dense, too pale, too stubborn to rise, too eager to flatten itself into a sad flour frisbee. But here’s the good news: bread is not magic, and it is definitely not out to embarrass you in front of your oven. Once you understand what the dough is trying to do, baking bread becomes much less mysterious and a lot more fun.
At its core, bread baking is a simple dance between flour, water, yeast, salt, time, and heat. That’s it. The fancy vocabulary can make it sound like you need a culinary passport and a chemistry degree, but most great loaves come from learning a few basic principles and repeating them until your hands begin to recognize what your eyes used to panic about.
This guide breaks down the essentials of bread baking in plain English, with enough detail to help beginners feel confident and enough substance to make your next loaf better than your last. Whether you want a soft sandwich loaf, a rustic crusty boule, or just an excuse to make your kitchen smell like a bakery, this is where the mystery starts packing its bags.
Why Bread Feels Complicated When It Really Isn’t
Bread feels intimidating because recipes often assume you already know what words like proof, bulk fermentation, hydration, and windowpane mean. Then they casually toss in instructions like “shape tightly” or “bake with steam” as if everyone was born knowing how to do that.
In reality, most yeast breads follow the same basic path: mix, rest, strengthen, rise, shape, proof, bake, cool. Every loaf is just a variation on that theme. The ingredients may change. The timing may change. The crust may be rustic, glossy, soft, or gloriously crunchy. But the process stays surprisingly familiar.
That means if you learn one solid bread method, you’re not just learning one recipe. You’re learning the blueprint behind dozens of them.
The Four Core Ingredients That Do the Heavy Lifting
1. Flour: The Structure Builder
Flour is the skeleton of bread. When mixed with water, the proteins in wheat flour link up and form gluten, the stretchy network that traps gas and helps bread rise. Higher-protein flours usually create stronger doughs, which is why bread flour often gives you more chew, better shape, and more dramatic oven spring than all-purpose flour.
That does not mean you must use bread flour for every loaf. All-purpose flour can still make excellent bread, especially for softer or more forgiving recipes. But if you want a taller loaf with a chewier texture, bread flour is often your overachieving friend.
Whole wheat flour adds flavor and nutrition, but it also changes the texture because the bran can cut through gluten strands. That is why whole grain doughs often need more water and a little more patience. Think of them as hearty, not difficult.
2. Water: The Activator
Water wakes everything up. It hydrates the flour, helps gluten form, and gets yeast moving. The amount of water in a dough is often described as hydration, which simply means the ratio of water to flour by weight. A higher-hydration dough tends to be wetter, stickier, and capable of producing larger holes and a more open crumb. A lower-hydration dough is usually easier to handle and often better for beginners.
If your first dough feels sticky, congratulations: it is probably dough. New bakers often add too much flour too soon because sticky dough feels suspicious. Resist that urge unless the dough is truly soupy. Slight tackiness is normal. Bread dough is not supposed to feel like a dry stress ball.
3. Yeast: The Gas Producer
Yeast is what makes the dough rise. It feeds on sugars and starches, producing carbon dioxide and alcohol as part of fermentation. The gas gets trapped in the dough’s gluten network, and the loaf expands. Meanwhile, fermentation also creates flavor, which is why slow-risen bread often tastes better than bread rushed through the process.
You’ll usually work with active dry yeast or instant yeast. Both can make excellent bread. Instant yeast is often added directly to the flour, while active dry yeast is commonly dissolved in warm liquid first. The key detail is temperature: warm is helpful, hot is destructive. If your water feels like bathwater for a dragon, your yeast may not survive the encounter.
4. Salt: The Unsung Hero
Salt does more than make bread taste less like edible packing material. It strengthens gluten, helps control yeast activity, and improves overall flavor. Without salt, dough can ferment too quickly, taste flat, and behave like it had too much coffee. In other words, salt is not optional decoration. It is part of the foundation.
The Bread-Making Process, Step by Step
Step 1: Mix the Dough
This is where the ingredients come together and stop being separate groceries. You can mix by hand, with a stand mixer, or with the unshakable optimism of someone who forgot how sticky dough can be. At this stage, the goal is simple: hydrate the flour and create a shaggy mass.
Do not judge your dough too early. Right after mixing, it may look lumpy, rough, or underwhelming. Many doughs improve dramatically after a short rest.
Step 2: Rest It
A short rest after mixing allows the flour to absorb water more fully. In some methods, this is called an autolyse. It sounds fancy, but it basically means letting the dough sit quietly so it can start organizing itself. During this rest, gluten begins to develop with less effort, and the dough often becomes smoother and easier to handle.
This is one of bread baking’s first great lessons: not every problem is solved by doing more. Sometimes the solution is stepping back and letting time do the work.
Step 3: Knead or Fold
Kneading strengthens the dough by developing gluten and distributing air. Traditional doughs can be kneaded by hand until they become smoother and more elastic. Wet doughs may do better with stretch-and-folds instead of aggressive kneading. Each fold helps build structure without turning your countertop into a flour-blasted crime scene.
A useful sign that the dough is developing well is improved elasticity. It should stretch more willingly and tear less easily than it did at the beginning. Not every loaf needs a perfect “windowpane” test, but most do benefit from some form of strengthening.
Step 4: Bulk Fermentation
This is the first major rise, when the dough ferments as one mass. The yeast produces gas, the dough expands, and flavor begins to deepen. Temperature matters here. A warmer kitchen speeds things up. A cooler kitchen slows things down and often improves flavor. Bread likes comfort, not chaos.
Many home bakers make the mistake of watching the clock more than the dough. Time is a guideline, not a boss. Instead of obsessing over whether 60 minutes have passed, look for visual cues: the dough should appear puffier, smoother, and more alive. It may not always double exactly, especially with richer or colder doughs, but it should show clear growth.
Step 5: Shape the Dough
Shaping creates surface tension, which helps the loaf hold its form and rise upward instead of outward like a sleepy pancake. A loose shape can lead to flat bread. A tight shape gives the dough direction and support.
This is the stage where your loaf begins to look intentional. Do not worry if your first few shapes look like something a toddler sculpted from beige clay. Bread is forgiving, and shaping improves fast with repetition.
Step 6: Final Proof
The final proof happens after shaping. This is when the dough gets one last rise before baking. If it is underproofed, the loaf may burst unpredictably or come out dense. If it is overproofed, it may deflate, spread too much, or bake up with weak structure.
A simple fingertip test can help: gently press the dough. If the indentation springs back quickly, it probably needs more time. If it fills back slowly and partially, it is often ready. If it collapses like it has given up on life, it may be overproofed.
Step 7: Score and Add Steam
Scoring means slashing the top of the loaf just before baking. This gives the dough a designated weak point, helping control where it expands in the oven. Without scoring, bread may burst in odd places and create what bakers politely call “rustic character.”
Steam helps delay crust formation during the early part of baking, which allows better oven spring and contributes to a shinier, crisper crust. This is why Dutch ovens are so popular for crusty loaves: they trap steam naturally. If you do not own one, you can still bake great bread, but steam is one of those small details that makes a surprisingly big difference.
Step 8: Bake and Cool
Baking transforms dough into bread through a series of rapid changes: gases expand, yeast activity surges and then stops, starches gelatinize, structure sets, and the crust browns. It is basically a delicious controlled transformation.
Many lean breads are done somewhere around 190 to 210 degrees Fahrenheit internally, while richer doughs often finish slightly lower. But even if your loaf looks gorgeous, let it cool before slicing. Cutting into hot bread can lead to a gummy interior because the crumb has not fully set. Yes, the wait feels unfair. Yes, it is worth it.
A Beginner-Friendly Example Formula
If you want a practice loaf that teaches the basics without requiring advanced acrobatics, try thinking in baker’s percentages or simple weights. A very approachable lean dough might look like this:
- 500 grams bread flour or all-purpose flour
- 350 grams water
- 10 grams salt
- 4 to 5 grams instant yeast
Mix it, let it rest, knead or fold until smoother, rise until puffy, shape it, proof it, score it, and bake it. That one formula can teach you how dough should feel, how fermentation changes texture, and how much difference shaping and proofing make. Once you understand that, you’re no longer just following a recipe. You’re reading dough.
Common Bread Problems and How to Fix Them
Dense Loaf
This usually points to underproofing, weak gluten development, or too much flour added during mixing. Next time, let the dough rise more fully and avoid turning it into a dry brick just because it felt sticky at first.
Dough That Won’t Rise
Check your yeast, your liquid temperature, and your environment. Cold kitchens slow everything down. Dead yeast slows it down permanently, which is a bit ruder.
Sticky, Hard-to-Handle Dough
Use wet or lightly oiled hands, a bench scraper, and short rests. Many doughs become easier after folding and resting. Fighting sticky dough with excessive flour is like fixing a squeaky hinge with peanut butter: technically an action, but not the right one.
Pale Crust
Your loaf may need more bake time, better preheating, or steam during the early bake. Proper browning often comes from good fermentation plus enough heat.
Gummy Interior
This can come from underbaking or slicing too early. A thermometer helps, but patience helps too. Cool the loaf completely if you want a cleaner crumb.
Tools That Help, But Won’t Judge You
You do not need a bakery’s worth of gear to make good bread. A digital scale is the most useful upgrade because accurate measurements make dough more predictable. A bowl scraper helps with sticky dough. A sharp blade or lame makes scoring easier. A Dutch oven can improve crusty loaves. A thermometer is helpful if you want to stop guessing doneness.
That said, people made bread long before anyone owned a bench knife with a walnut handle and a dramatic product description. Technique matters more than gadgets.
The Real Secret: Bread Rewards Attention More Than Perfection
Here is the truth no stressed-out beginner wants to hear at first: bread gets easier when you stop trying to control every second of it and start paying attention to its signals. Dough changes with temperature, humidity, flour choice, and timing. That is not failure. That is the craft.
The best bakers are not people who never make mistakes. They are people who notice what happened, adjust, and bake again. Bread teaches observation. It teaches patience. It teaches you that “a little sticky” and “completely ruined” are very different situations. It also teaches you that a slightly lopsided homemade loaf still tastes fantastic toasted with butter.
Once you understand the basics, bread baking stops feeling mysterious and starts feeling generous. A bowl, a loaf, a little time, and suddenly your kitchen smells like comfort and accomplishment. That is a pretty great return on investment for flour and water.
Experience Section: What Baking Bread Actually Feels Like
The first time many people bake bread, they expect a cinematic moment. Sunlight pours through the kitchen window. Flour drifts gracefully through the air. A golden loaf emerges looking like it trained in Paris for six years. What usually happens instead is more relatable: you stare at a sticky lump, reread the recipe twelve times, wonder if yeast has personal opinions, and text someone a photo that says, “Is this normal?”
That experience is normal. In fact, it is almost a rite of passage. Bread baking begins as a series of tiny doubts. Is the dough too wet? Too dry? Too flat? Too puffy? Why does it look nothing like the video? Why is it now attached to my hand like an emotionally needy octopus? But after a few loaves, something shifts. The uncertainty becomes familiarity.
You start to notice that dough has moods. On cool days, it moves slowly and asks for more time. On warm days, it becomes ambitious. You learn that a shaggy dough can turn smooth after resting. You learn that a sticky dough is not always a bad dough. You learn that your kitchen, your flour, and even the season affect the outcome. Bread stops feeling like a pass-or-fail project and starts feeling like a conversation.
There is also a special kind of satisfaction in shaping a loaf for the first time and realizing that your hands know a little more than they did last week. The dough tightens. The surface smooths out. It sits on the counter looking unexpectedly professional, and for one glorious moment you think, “Well, well, well. Look who suddenly has bakery energy.”
Then comes the oven phase, also known as the part where you peer through the glass like you are watching a season finale. Few kitchen moments are more exciting than seeing a loaf spring upward, bloom along the score line, and turn deep golden brown. It feels alive. It feels earned. And it smells so outrageously good that patience becomes a moral challenge.
Of course, not every loaf is beautiful. Some come out squat. Some split in weird places. Some are a touch dense. Some have the dramatic crust of your dreams and the interior structure of a paperweight. But even the imperfect loaves teach you something. One tells you to proof longer. Another reminds you to preheat better. Another suggests that maybe, just maybe, you did not need to add that last heroic cup of flour.
The emotional payoff of bread baking is not just the final loaf. It is the rhythm. Mixing by hand is strangely calming. Folding dough a few times over an afternoon gives the day shape. Waiting for fermentation teaches you to stop hovering. Cooling the loaf teaches restraint, which is frankly rude but useful. And slicing into a finished loaf that you made yourself delivers a quiet kind of pride that store-bought bread just cannot match.
Over time, bread becomes more than a recipe. It becomes a skill you carry. You stop seeing flour, water, yeast, and salt as separate things and start seeing possibilities: sandwich loaves, dinner rolls, pizza dough, focaccia, rustic boules, cinnamon buns, soft buns for burgers, maybe even sourdough if you are ready for a new hobby that occasionally feels like adopting a very needy pet.
That is why bread basics matter. They do not just help you bake one good loaf. They change the way you approach all bread. Once the mystery is gone, what remains is one of the most rewarding things you can make in a home kitchen: something humble, comforting, and deeply impressive for four ingredients and a little patience.