Vacuum sealing sounds like something that belongs in a laboratory, right next to bubbling beakers and people wearing goggles for dramatic effect. In reality, it is one of the most practical kitchen tricks you can learn. Whether you have a countertop vacuum sealer, a handheld gadget, or nothing more than a zipper bag and a bowl of water, vacuum sealing helps protect food from air, freezer burn, moisture loss, and that mysterious “freezer smell” nobody invited to dinner.
The basic idea is simple: remove as much air as possible from around your food, then seal the package tightly. Less air means less oxidation, better texture, fewer icy crystals, and longer-lasting flavor. It is excellent for freezing meat, storing bulk pantry items, organizing meal prep, marinating faster, and preparing food for sous vide cooking.
But here is the part many beginners miss: vacuum sealing is not magic, and it is not a replacement for refrigeration, freezing, or safe food handling. It does not kill bacteria. It does not rescue old leftovers. It does not turn questionable chicken into a gourmet treasure. Used correctly, however, it can save money, reduce waste, and make your kitchen feel suspiciously organized.
What Vacuum Sealing Actually Does
Vacuum sealing removes air from a bag, pouch, jar, or container and creates a tight seal around the food. Oxygen is one of the main troublemakers behind freezer burn, rancid flavors, stale dry goods, and color changes in foods such as meat, nuts, and coffee. By limiting oxygen exposure, vacuum sealing slows quality loss.
Notice the word “quality.” Vacuum sealing can help food stay better longer, especially in the freezer, but it does not make food shelf-stable unless the food was already safe to store at room temperature. Dried beans, rice, flour, dehydrated fruit, and freeze-dried foods may be good pantry candidates. Raw meat, cooked leftovers, fish, poultry, cheese, and moist vegetables still need the refrigerator or freezer.
How to Vacuum Seal with a Machine
A standard external vacuum sealer is the most common home option. It uses textured vacuum bags or rolls. The machine pulls air out through the open end of the bag, then heat-seals the edge. Some models have dry, moist, pulse, marinate, and seal-only settings. Fancy? A little. Useful? Absolutely.
Step 1: Choose the Right Bag
Use bags designed for your vacuum sealer. Regular sandwich bags usually do not work with external vacuum sealers because they lack the textured channels needed for air removal. For freezer storage, choose thicker freezer-safe vacuum bags. For sous vide, use food-grade bags labeled as safe for cooking temperatures.
Step 2: Portion the Food
Before sealing, divide food into practical portions. Instead of sealing five pounds of ground beef in one giant brick, separate it into one-pound packs. Future you will be grateful. Future you might even say something nice about present you.
Flatten foods such as ground meat, cooked rice, berries, or sauces before freezing. Flat packages freeze faster, thaw faster, and stack like tidy little kitchen files. Round frozen lumps are the enemy of freezer organization.
Step 3: Leave Enough Space at the Top
Leave about three to four inches of empty bag space above the food. This gives the machine enough room to grip, vacuum, and seal properly. If the food is too close to the top, the seal may fail or become wrinkled.
Step 4: Keep the Seal Area Clean and Dry
A clean seal is a strong seal. Wipe moisture, oil, crumbs, or marinade from the inside top edge of the bag before sealing. Even a little liquid can interfere with the heat seal. For extra insurance, fold the top of the bag outward before filling, then unfold it before sealing. This keeps the sealing area cleaner.
Step 5: Use the Correct Setting
Use the dry setting for dry foods such as nuts, crackers, coffee beans, and grains. Use the moist setting for meat, fish, fruit, or anything juicy. If your machine has a pulse button, use it for delicate foods like muffins, berries, bread, or chips. Otherwise, your vacuum sealer may enthusiastically transform your croissant into a sad flat pancake.
Step 6: Seal and Check the Package
Place the open end of the bag into the vacuum channel, close the lid, and start the machine. Once it removes the air and seals the edge, inspect the package. A good seal should look smooth, continuous, and wrinkle-free. If you see gaps, moisture, or a weak spot, make a second seal above the first one.
How to Vacuum Seal Moist Foods
Moist foods are where beginners often meet their first vacuum-sealing drama. Soups, stews, marinades, juicy meat, and saucy leftovers can get sucked toward the machine, which is not the kind of kitchen excitement anyone needs.
Use the Freeze-First Method
For liquids and saucy foods, freeze them first in a container, silicone mold, or flat tray. Once solid, remove the frozen block and vacuum seal it. This prevents liquid from being pulled into the machine and helps create a clean seal.
Try a Paper Towel Barrier
For moist meats or fish, place a folded paper towel near the top of the bag, between the food and the seal area. It can catch excess moisture before it reaches the sealing strip. Do not use this method for sous vide unless the paper towel is kept out of the cooking area and the package is used appropriately.
Use Manual Pulse Control
If your machine has a pulse feature, remove air slowly and stop before juices climb too high. Then switch to seal mode. Manual control is especially helpful with delicate or wet foods.
How to Vacuum Seal without a Machine
No machine? No problem. You can remove much of the air from a zipper freezer bag using the water displacement method. It will not be as powerful as a real vacuum sealer, but it works surprisingly well for short-term freezer storage, meal prep, and sous vide cooking.
The Water Displacement Method
Here is the easiest way to vacuum seal without a machine:
- Place the food in a sturdy zipper-style freezer bag.
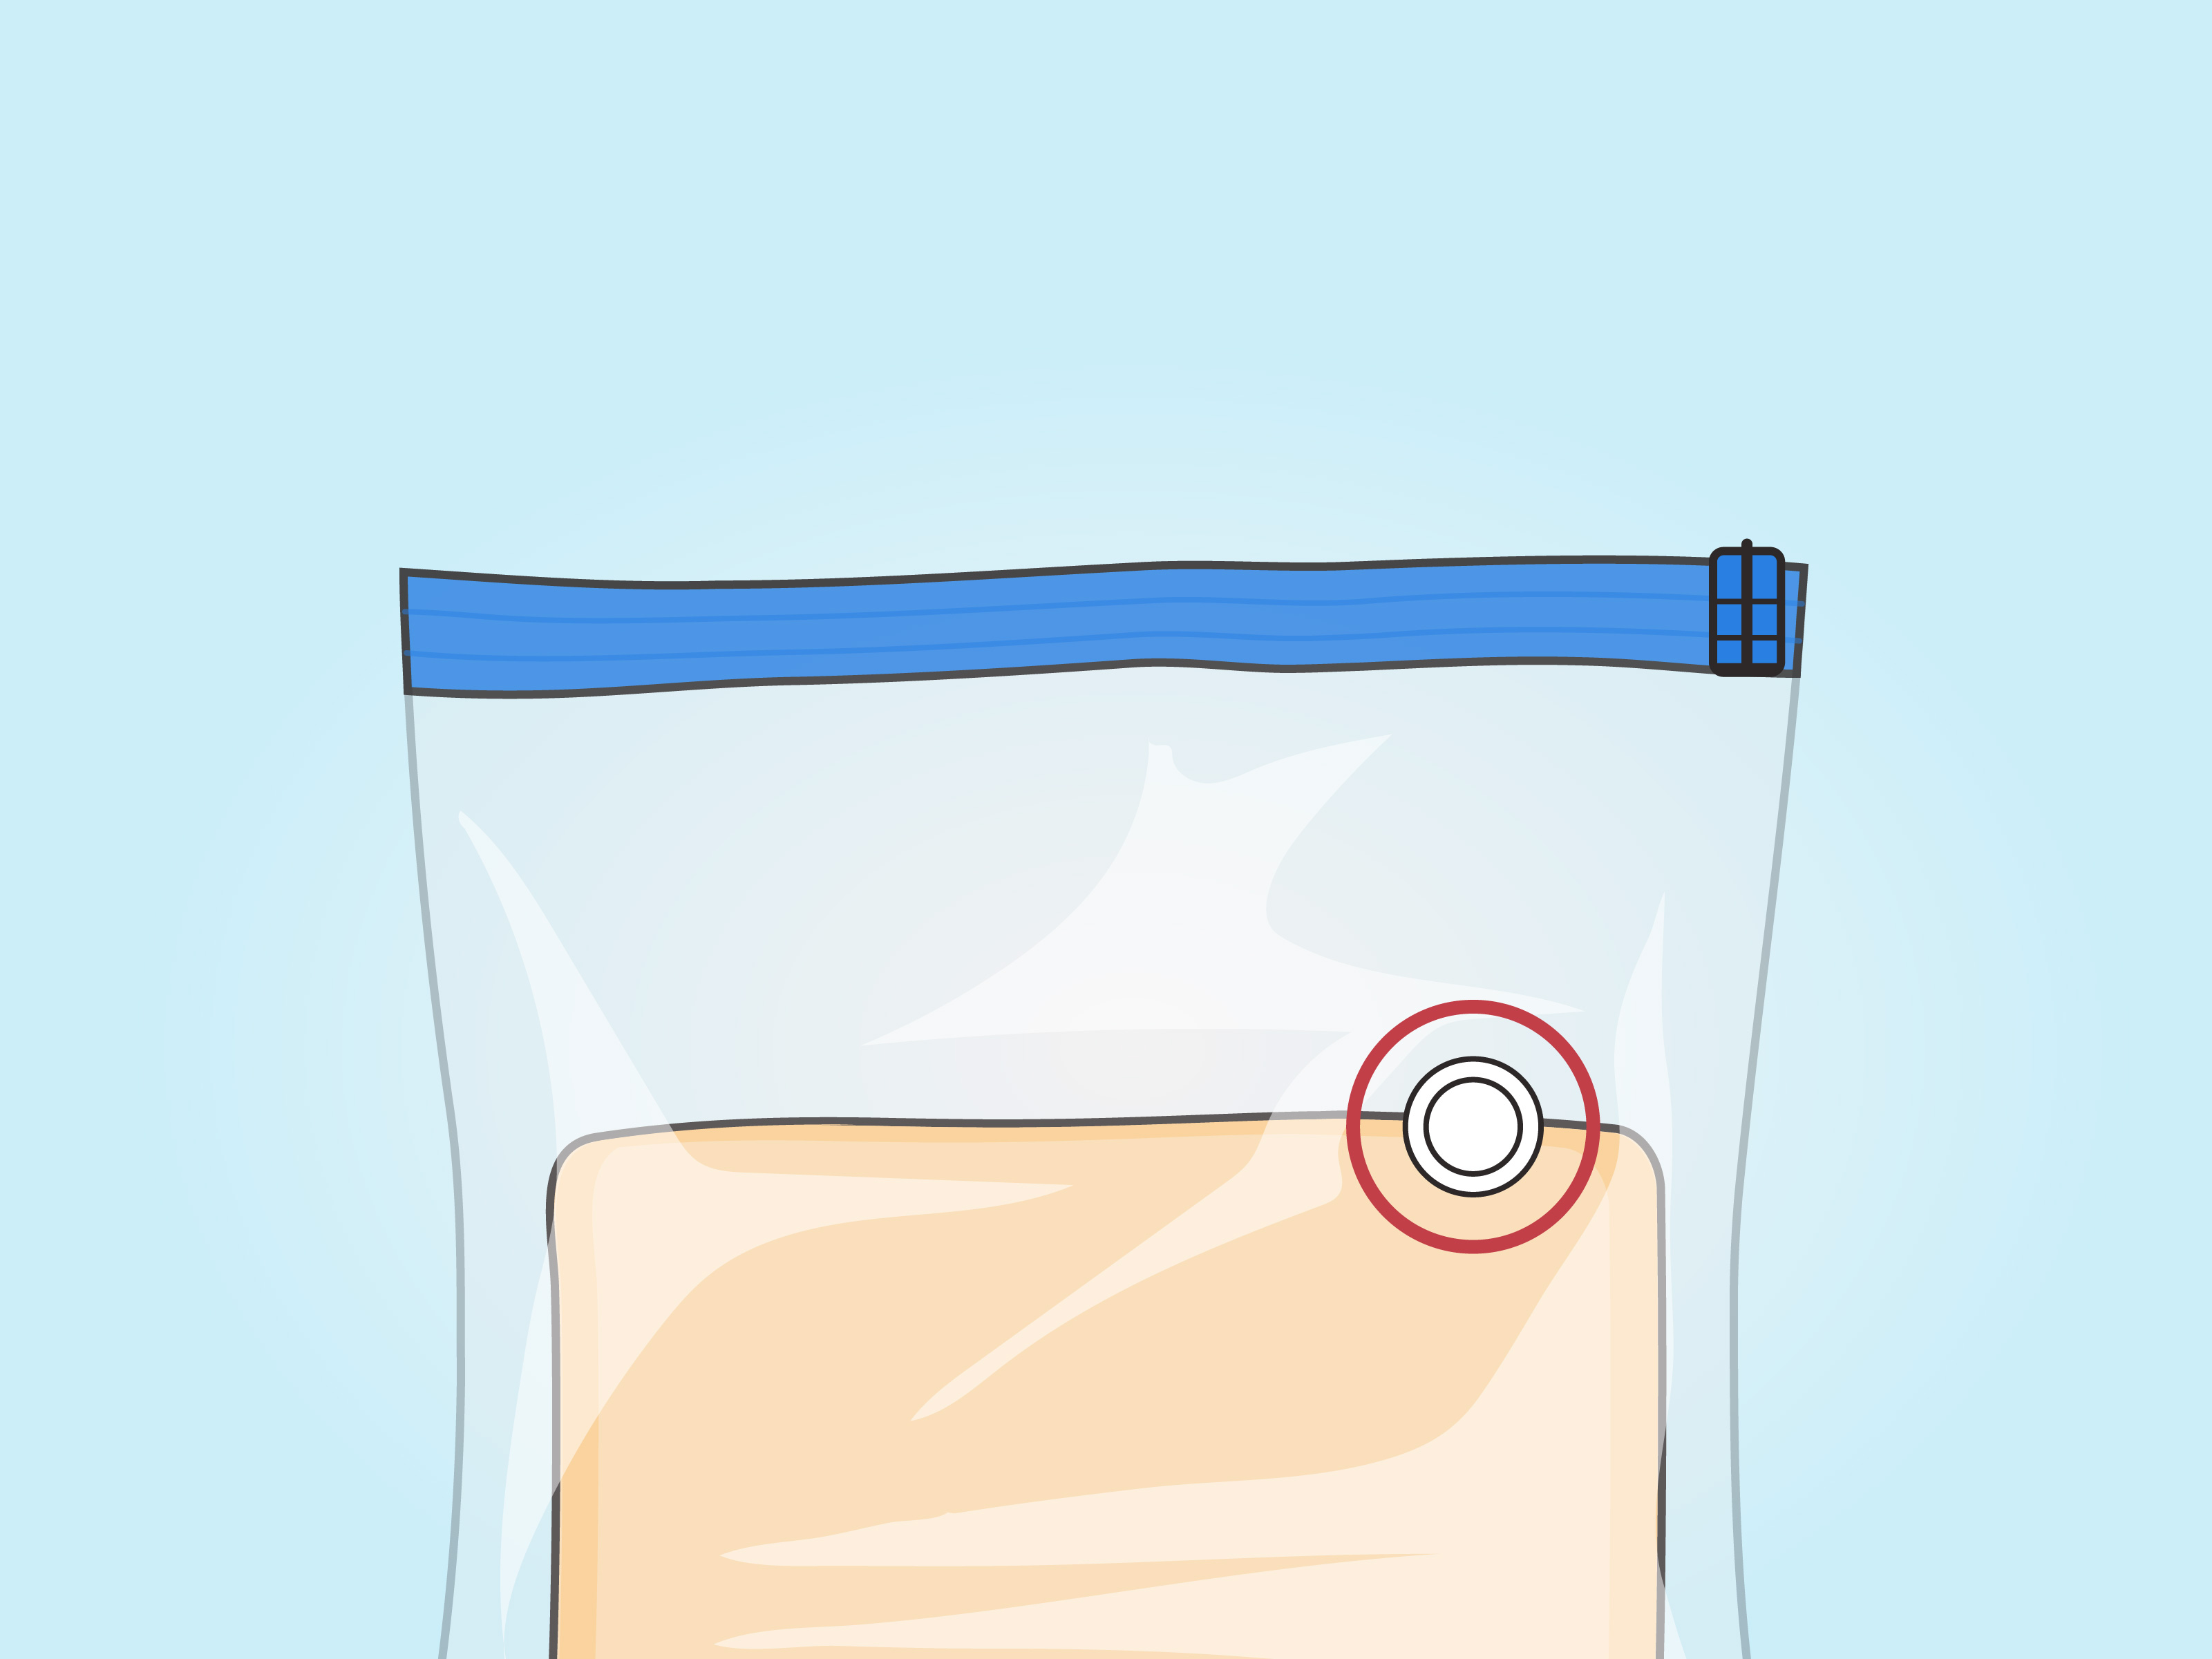
- Seal the bag almost all the way, leaving about one inch open at the corner.
- Fill a large bowl, pot, or sink with water.
- Slowly lower the bag into the water, keeping the open corner above the waterline.
- Let the water pressure push air out of the bag.
- When the air is mostly gone, seal the remaining corner.
- Remove the bag, dry it off, label it, and store it properly.
This technique is wonderfully low-tech. It feels almost too easy, like finding out the “secret tool” was gravity wearing a tiny apron.
Best Foods for the Water Displacement Method
The water displacement method works well for steaks, chicken breasts, pork chops, vegetables, fruit, fish portions, and sous vide ingredients. It is less ideal for dry pantry storage because zipper bags are not as oxygen-resistant as vacuum bags. It is also not the best choice for long freezer storage compared with a machine-sealed vacuum pouch.
Use Freezer Bags, Not Thin Sandwich Bags
Choose heavy-duty freezer bags because they are thicker, stronger, and less likely to leak. Thin sandwich bags may work for a quick refrigerator task, but they are not reliable for freezing or sous vide cooking.
How to Vacuum Seal Using a Straw
The straw method is another machine-free option. Place food in a zipper bag, close the zipper most of the way, insert a straw into the small opening, suck out the air, then quickly remove the straw and seal the bag. It works, but use common sense: this is better for non-messy foods and short-term storage. Nobody wants to inhale marinade. That is not “seasoning from within.”
For hygiene, avoid using the straw method with raw meat, poultry, seafood, or anything wet enough to splash toward your mouth. The water displacement method is usually safer and cleaner.
How to Vacuum Seal in Jars and Containers
Some vacuum sealers include attachments for jars and containers. These are useful for dry goods such as rice, oats, coffee beans, crackers, freeze-dried foods, nuts, and dehydrated produce. Jar sealing is also convenient for salad ingredients, cut vegetables, and snacks that you plan to refrigerate.
Important note: vacuum sealing a jar is not the same as canning. It does not heat-process food, destroy dangerous spores, or make low-acid foods shelf-stable. If you are preserving vegetables, meats, soups, or sauces at room temperature, follow tested canning instructions from trusted food preservation authorities.
Foods That Vacuum Seal Well
Many foods love vacuum sealing. Here are some of the best candidates:
- Raw steaks, chops, roasts, and chicken portions for freezing
- Fish portions, if handled and thawed safely
- Cooked meal-prep portions that are chilled before sealing
- Hard cheeses for refrigerated storage
- Coffee beans, nuts, and grains for pantry organization
- Dehydrated fruits and vegetables
- Frozen berries, especially if pre-frozen on a tray
- Marinated meats for quick flavor development
- Prepared sous vide ingredients
Foods You Should Not Vacuum Seal Raw
Some foods are risky or simply perform poorly in a vacuum-sealed environment. Raw garlic, raw onions, and fresh mushrooms are commonly discouraged because they can create food-safety concerns in low-oxygen packaging. Soft breads, delicate pastries, and fluffy baked goods can be crushed unless frozen first or sealed using pulse control.
Cruciferous vegetables such as broccoli, cabbage, cauliflower, and Brussels sprouts may release gases and should usually be blanched before freezing and sealing. Fresh bananas and apples may brown unless treated properly. Powdery ingredients like flour can be vacuum sealed, but they may get sucked toward the machine unless sealed in their original paper packaging or handled carefully.
Vacuum Sealing and Food Safety
This is the serious section, so please imagine a tiny kitchen inspector with a clipboard. Vacuum sealing removes oxygen, but some dangerous bacteria can grow in low-oxygen conditions. That means perishable foods must still be refrigerated or frozen.
Keep Perishables Cold
Raw meat, poultry, seafood, cooked leftovers, and moist foods should not sit at room temperature after sealing. Refrigerate at 40°F or below or freeze at 0°F. Vacuum sealing slows quality loss, but temperature control is what keeps food safe.
Do Not Seal Hot Food
Cool cooked food before vacuum sealing. Sealing hot leftovers traps steam, weakens the seal, and may keep the food in the temperature danger zone longer than it should be. Divide large batches into shallow containers, chill quickly, then vacuum seal once cold.
Be Extra Careful with Fish
Vacuum-packed fish needs special attention. If frozen fish is vacuum sealed, remove it from the vacuum packaging before thawing in the refrigerator. This reduces the risk associated with low-oxygen conditions during thawing. Never thaw vacuum-packed fish on the counter.
Label Everything
Write the food name and date on every package. “Mystery brown rectangle” is not a meal plan. It is a freezer-based guessing game, and nobody wins.
Vacuum Sealing for Freezer Storage
The freezer is where vacuum sealing truly shines. Air causes freezer burn, which dries out food and creates unpleasant textures. Vacuum sealing protects food by wrapping it tightly and reducing oxygen exposure.
For best results, pat meat dry before sealing, freeze soft foods on a tray before packaging, and keep packages flat until frozen solid. Use quality bags and avoid overfilling them. A thin, flat package of chicken breasts is much easier to store than a lumpy frozen meteor.
Vacuum Sealing for Sous Vide
Sous vide cooking and vacuum sealing are best friends. Vacuum-sealed bags keep food submerged, improve heat transfer, and prevent water from sneaking into your dinner. For sous vide, use food-grade vacuum bags or sturdy freezer bags appropriate for cooking temperatures.
If using a machine, seal the food with seasonings, herbs, or a small amount of fat. Avoid too much liquid unless your machine can handle moist foods. If using the water displacement method, lower the bag slowly into water to remove air, then seal carefully before cooking.
Vacuum Sealing for Meal Prep
Vacuum sealing makes meal prep feel less like a chore and more like you have hired a very efficient future assistant. You can portion cooked grains, proteins, soups, vegetables, and sauces. Chill cooked foods first, seal in meal-size portions, and freeze flat.
For grab-and-go meals, label each package with the contents and reheating instructions. For example: “Turkey chili, 2 cups, thaw overnight, reheat to steaming.” This prevents freezer archaeology and helps busy weeknights run smoothly.
Vacuum Sealing for Marinating
Vacuum sealing can speed up marinating because the bag keeps the marinade in close contact with the food. It does not magically force flavor to the center of a thick roast in five minutes, but it does coat evenly and reduce mess. Use it for chicken, pork chops, tofu, steak tips, or vegetables.
Do not reuse marinade that touched raw meat unless it is boiled thoroughly. Also, do not over-marinate delicate foods. Fish and shrimp can become mushy if left too long in acidic marinades.
Common Vacuum Sealing Mistakes
Using Cheap Bags for Long Storage
Thin bags can puncture, leak, or allow more air transfer. For freezing, use quality vacuum bags or heavy-duty freezer bags if using a no-machine method.
Overfilling the Bag
Too much food leaves too little room for sealing. Give the machine space to work. A vacuum sealer is helpful, but it is not a magician with elbow room.
Forgetting to Dry the Seal Area
Moisture at the top of the bag is one of the most common reasons seals fail. Wipe it dry or freeze wet foods first.
Vacuum Sealing Food That Is Already Old
Vacuum sealing preserves quality; it does not reverse time. Seal fresh food as soon as possible for the best results.
Not Checking the Seal
Always inspect the seal before storing. If in doubt, add a second seal. A few extra seconds can save an expensive roast from freezer burn heartbreak.
How Long Does Vacuum-Sealed Food Last?
Storage time depends on the food, freshness, temperature, packaging quality, and handling. In the freezer, vacuum sealing often keeps food in better condition longer than regular wrapping. In the refrigerator, it may extend quality, but perishable foods still have limited safe storage times.
Use vacuum sealing as a quality tool, not as permission to ignore common sense. If food smells off, feels slimy, has unusual discoloration, or the package is swollen, throw it out. Your stomach does not need a dare.
Practical Experience: What I Learned from Vacuum Sealing in Real Kitchens
The first lesson of vacuum sealing is that confidence arrives right before the applesauce climbs into the machine. Anyone who has sealed wet food too quickly knows the panic of watching liquid race toward the vacuum channel like it has somewhere important to be. The freeze-first method solves this beautifully. I like to freeze soups, sauces, and stews in silicone trays or shallow containers, then vacuum seal the solid blocks the next day. They stack neatly, thaw predictably, and do not attack the machine.
For meat, the best habit is portioning before freezing. A family pack of chicken thighs looks economical at the store, but if you freeze it as one giant slab, you have created a poultry puzzle. Separating pieces into dinner-size portions makes weeknight cooking much easier. I also pat meat dry before sealing because excess moisture makes weak seals more likely. If the meat is especially juicy, I add a second seal. Double sealing feels slightly dramatic, but it is cheaper than losing a bag of steak to freezer burn.
Another useful trick is pre-freezing delicate foods. Berries, muffins, sliced bananas, cookie dough balls, and bread can all collapse under full suction. Spread them on a tray, freeze until firm, then seal. This keeps their shape intact. Nobody wants vacuum-compressed muffins unless the goal is edible coasters.
The water displacement method is my favorite backup. It is perfect for people who do not own a machine or only vacuum seal occasionally. It works especially well for sous vide steak, chicken breasts, and fish fillets. The key is to lower the bag slowly and keep the zipper opening above the water. Rush it and you may baptize your dinner. Use freezer bags, not thin sandwich bags, and check the zipper before storage.
Labeling is not optional. It is the difference between “beautifully organized freezer” and “cold storage haunted house.” Write the date, food name, portion size, and any cooking notes. For example, “beef stew, 2 servings, Jan. 12” is much better than “brown thing.” I also group similar items in bins: proteins in one bin, vegetables in another, sauces standing upright like little frozen books.
One final experience-based rule: vacuum sealing works best when it becomes part of your shopping routine. When you come home with bulk meat, nuts, cheese, or produce, portion and seal it before it disappears into the refrigerator. Waiting three days and then sealing tired food is like putting a tuxedo on a raccoon. Technically impressive, but the situation has already gotten out of hand.
Conclusion
Learning how to vacuum seal with or without a machine is one of the simplest ways to reduce food waste, protect flavor, and make your kitchen more efficient. A vacuum sealer gives the strongest, most reliable results, especially for freezer storage and sous vide cooking. But the water displacement method can still remove plenty of air with nothing more than a sturdy zipper bag and a bowl of water.
The secret is not just removing air. It is using the right bag, sealing fresh food, keeping the seal area clean, labeling clearly, and following food-safety rules. Vacuum sealing is powerful, but it does not replace refrigeration, freezing, or good judgment. Treat it as a smart storage method, not a superhero cape for leftovers.
Whether you are saving bulk groceries, prepping weeknight meals, freezing garden produce, or trying to stop your freezer from becoming a frosty museum of forgotten dinners, vacuum sealing is worth learning. Start simple, seal carefully, and remember: when in doubt, label it. Future you deserves better than mystery meat roulette.