Removing a kitchen sink sounds like one of those home projects that should cd sometimes a garbage disposal that looks like it has been plotting against you since 2009.
The good news: removing a kitchen sink is manageable for many confident DIYers when the plumbing is accessible and the sink is a standard drop-in model. The key is working in the right order. Shut off the water, disconnect the plumbing, release the sink from the countertop, and lift carefully. Skip a step, and your cabinet may briefly become a very small indoor swimming pool.
This guide explains how to remove a kitchen sink in 14 practical steps, including what to do with a garbage disposal, faucet lines, mounting clips, old sealant, and stubborn sinks. It also covers when it is smarter to call a plumber or countertop professional instead of turning a simple project into an expensive countertop rescue mission.
Before You Start: Identify Your Kitchen Sink Type
Not every kitchen sink comes out the same way. Before grabbing a wrench, look at how the sink meets the countertop and how it is supported below.
Drop-In or Top-Mount Sinks
A drop-in sink has a visible rim resting on top of the countertop. It is usually held in place with metal mounting clips underneath and sealed with silicone or plumber’s putty around the rim. These are generally the most DIY-friendly sinks to remove.
Undermount Sinks
An undermount sink is attached beneath the countertop, often with clips, adhesive, brackets, or a support frame. These sinks can be heavy and may be bonded tightly to stone, quartz, or solid-surface counters. Removing one without support can damage the countertop or cause the sink to drop unexpectedly.
Farmhouse or Apron-Front Sinks
Farmhouse sinks are often supported by a cabinet frame, braces, or a specially built base. They can be very heavy, especially cast-iron models. Removing one may involve cabinet work, so do not assume it will simply lift out like a stainless-steel drop-in sink.
Tools and Supplies for Removing a Kitchen Sink
Gather your supplies before you crawl into the cabinet. A little preparation beats balancing a flashlight in your teeth while searching for a wrench.
- Bucket or shallow pan
- Old towels, rags, or paper towels
- Safety glasses and work gloves
- Adjustable wrench or channel-lock pliers
- Basin wrench for tight faucet nuts
- Screwdrivers
- Utility knife or caulk-removal tool
- Putty knife
- Flashlight or work light
- Non-contact voltage tester, if electrical equipment is present
- Painter’s tape and marker for labeling lines
- A helper for heavy sinks
For a sink replacement, it is also wise to have new supply lines, fresh drain washers, silicone sealant, and replacement mounting clips available. Old parts sometimes look fine until the exact moment you need them to cooperate. That is plumbing’s favorite joke.
How to Remove a Kitchen Sink in 14 Steps
Step 1: Measure the Existing Sink and Take Photos
Before disconnecting anything, measure the sink’s outside length, width, bowl depth, and the countertop cutout if possible. Take clear photos of the plumbing, disposal connection, dishwasher drain hose, faucet lines, and any water-filter tubing. These photos can save you from the classic reassembly question: “Why do I have one extra pipe?”
Step 2: Clear the Counter and Empty the Base Cabinet
Remove dishes, cleaners, trash bags, organizers, and everything else from the cabinet below the sink. Cover the cabinet floor with towels and place additional towels on the floor in front of the cabinet. This gives you room to work and protects the cabinet from drips, scratches, and surprise puddles.
Step 3: Turn Off the Hot and Cold Water Supplies
Locate the hot- and cold-water shutoff valves beneath the sink. Turn both clockwise until they stop. Then turn on the kitchen faucet to release pressure and drain residual water from the lines. Test both hot and cold positions. If water continues running, the shutoff valves may not be sealing properly, and you may need to shut off the home’s main water supply.
Step 4: Shut Off Power to the Garbage Disposal
If your kitchen sink has a garbage disposal, turn off its circuit breaker before touching anything beneath the sink. Unplug the disposal if it uses a visible power cord. If it is hard-wired, verify that power is off with a non-contact voltage tester before proceeding. A disposal is useful for food scraps, not for surprise electrical adventures.
Step 5: Label and Photograph Extra Connections
Many kitchen sinks have more than two water lines. You may find a pull-down faucet hose, dishwasher drain hose, water-filtration tubing, an instant hot-water dispenser, a soap dispenser, or an air-gap fitting. Use painter’s tape and a marker to label anything that might be confusing later. This takes five minutes and can prevent an hour of head-scratching.
Step 6: Put a Bucket Under the Drain Trap
Place a bucket or shallow pan beneath the P-trap and drain connections. Even when the sink appears empty, the trap holds water. Keep towels nearby for drips, sludge, and the occasional unidentified object that has apparently been living in your drain since the previous homeowner.
Step 7: Disconnect the Dishwasher Drain Hose
If the dishwasher drain hose connects to the disposal or sink tailpiece, loosen the clamp and remove the hose. Keep the hose elevated or place it in a pan so remaining water does not spill. If the hose seems brittle, cracked, or difficult to remove, avoid forcing it. Replacing an aging hose is often easier than repairing one that splits during removal.
Step 8: Remove the P-Trap and Drain Tailpiece
Loosen the slip nuts on the P-trap by hand or with channel-lock pliers. Support the trap while removing it so water stays in the bucket instead of on your shoes. Disconnect the tailpiece from the sink strainer or disposal. Inspect the washers as you go; flattened or cracked washers should be replaced before reinstallation.
Step 9: Disconnect or Remove the Garbage Disposal
If the disposal is attached to the sink you are removing, disconnect the drain pipe and dishwasher hose first. Support the disposal from underneath before loosening its mounting ring. Some units twist off the mounting assembly; others require a specific tool or screwdriver to release the ring. Disposals are heavier than they look, especially when you are upside down inside a cabinet and trying to remain dignified.
Step 10: Disconnect the Faucet Supply Lines
Use an adjustable wrench to loosen the nuts connecting the faucet’s hot and cold supply lines to the shutoff valves. Hold the valve body steady with one wrench if necessary while turning the supply-line nut with another. Avoid twisting the valve or stressing old plumbing. Let any remaining water drain into a towel or pan.
Step 11: Remove the Faucet and Sink Accessories
You can sometimes lift the sink with the faucet still attached, but removing the faucet first often makes the sink lighter and easier to handle. Use a basin wrench to loosen the mounting nuts beneath the faucet. Remove soap dispensers, side sprayers, air gaps, or filter faucets as needed. Keep small hardware in labeled bags so it does not disappear into the cabinet’s mysterious dimension.
Step 12: Release the Sink Mounting Clips or Supports
For a drop-in kitchen sink, look underneath the countertop around the sink rim. Most models use metal clips tightened with screws. Loosen the screws and rotate or remove the clips. Do not crawl out from under the cabinet yet; check for every clip. One forgotten clip can make a sink feel welded to the counter.
For an undermount sink, inspect for brackets, clips, rails, or wooden supports. Do not remove the final support until another person is ready to hold the sink. If the sink is attached with adhesive to stone or quartz, stop and evaluate whether a professional is needed.
Step 13: Cut Through the Old Caulk or Silicone Seal
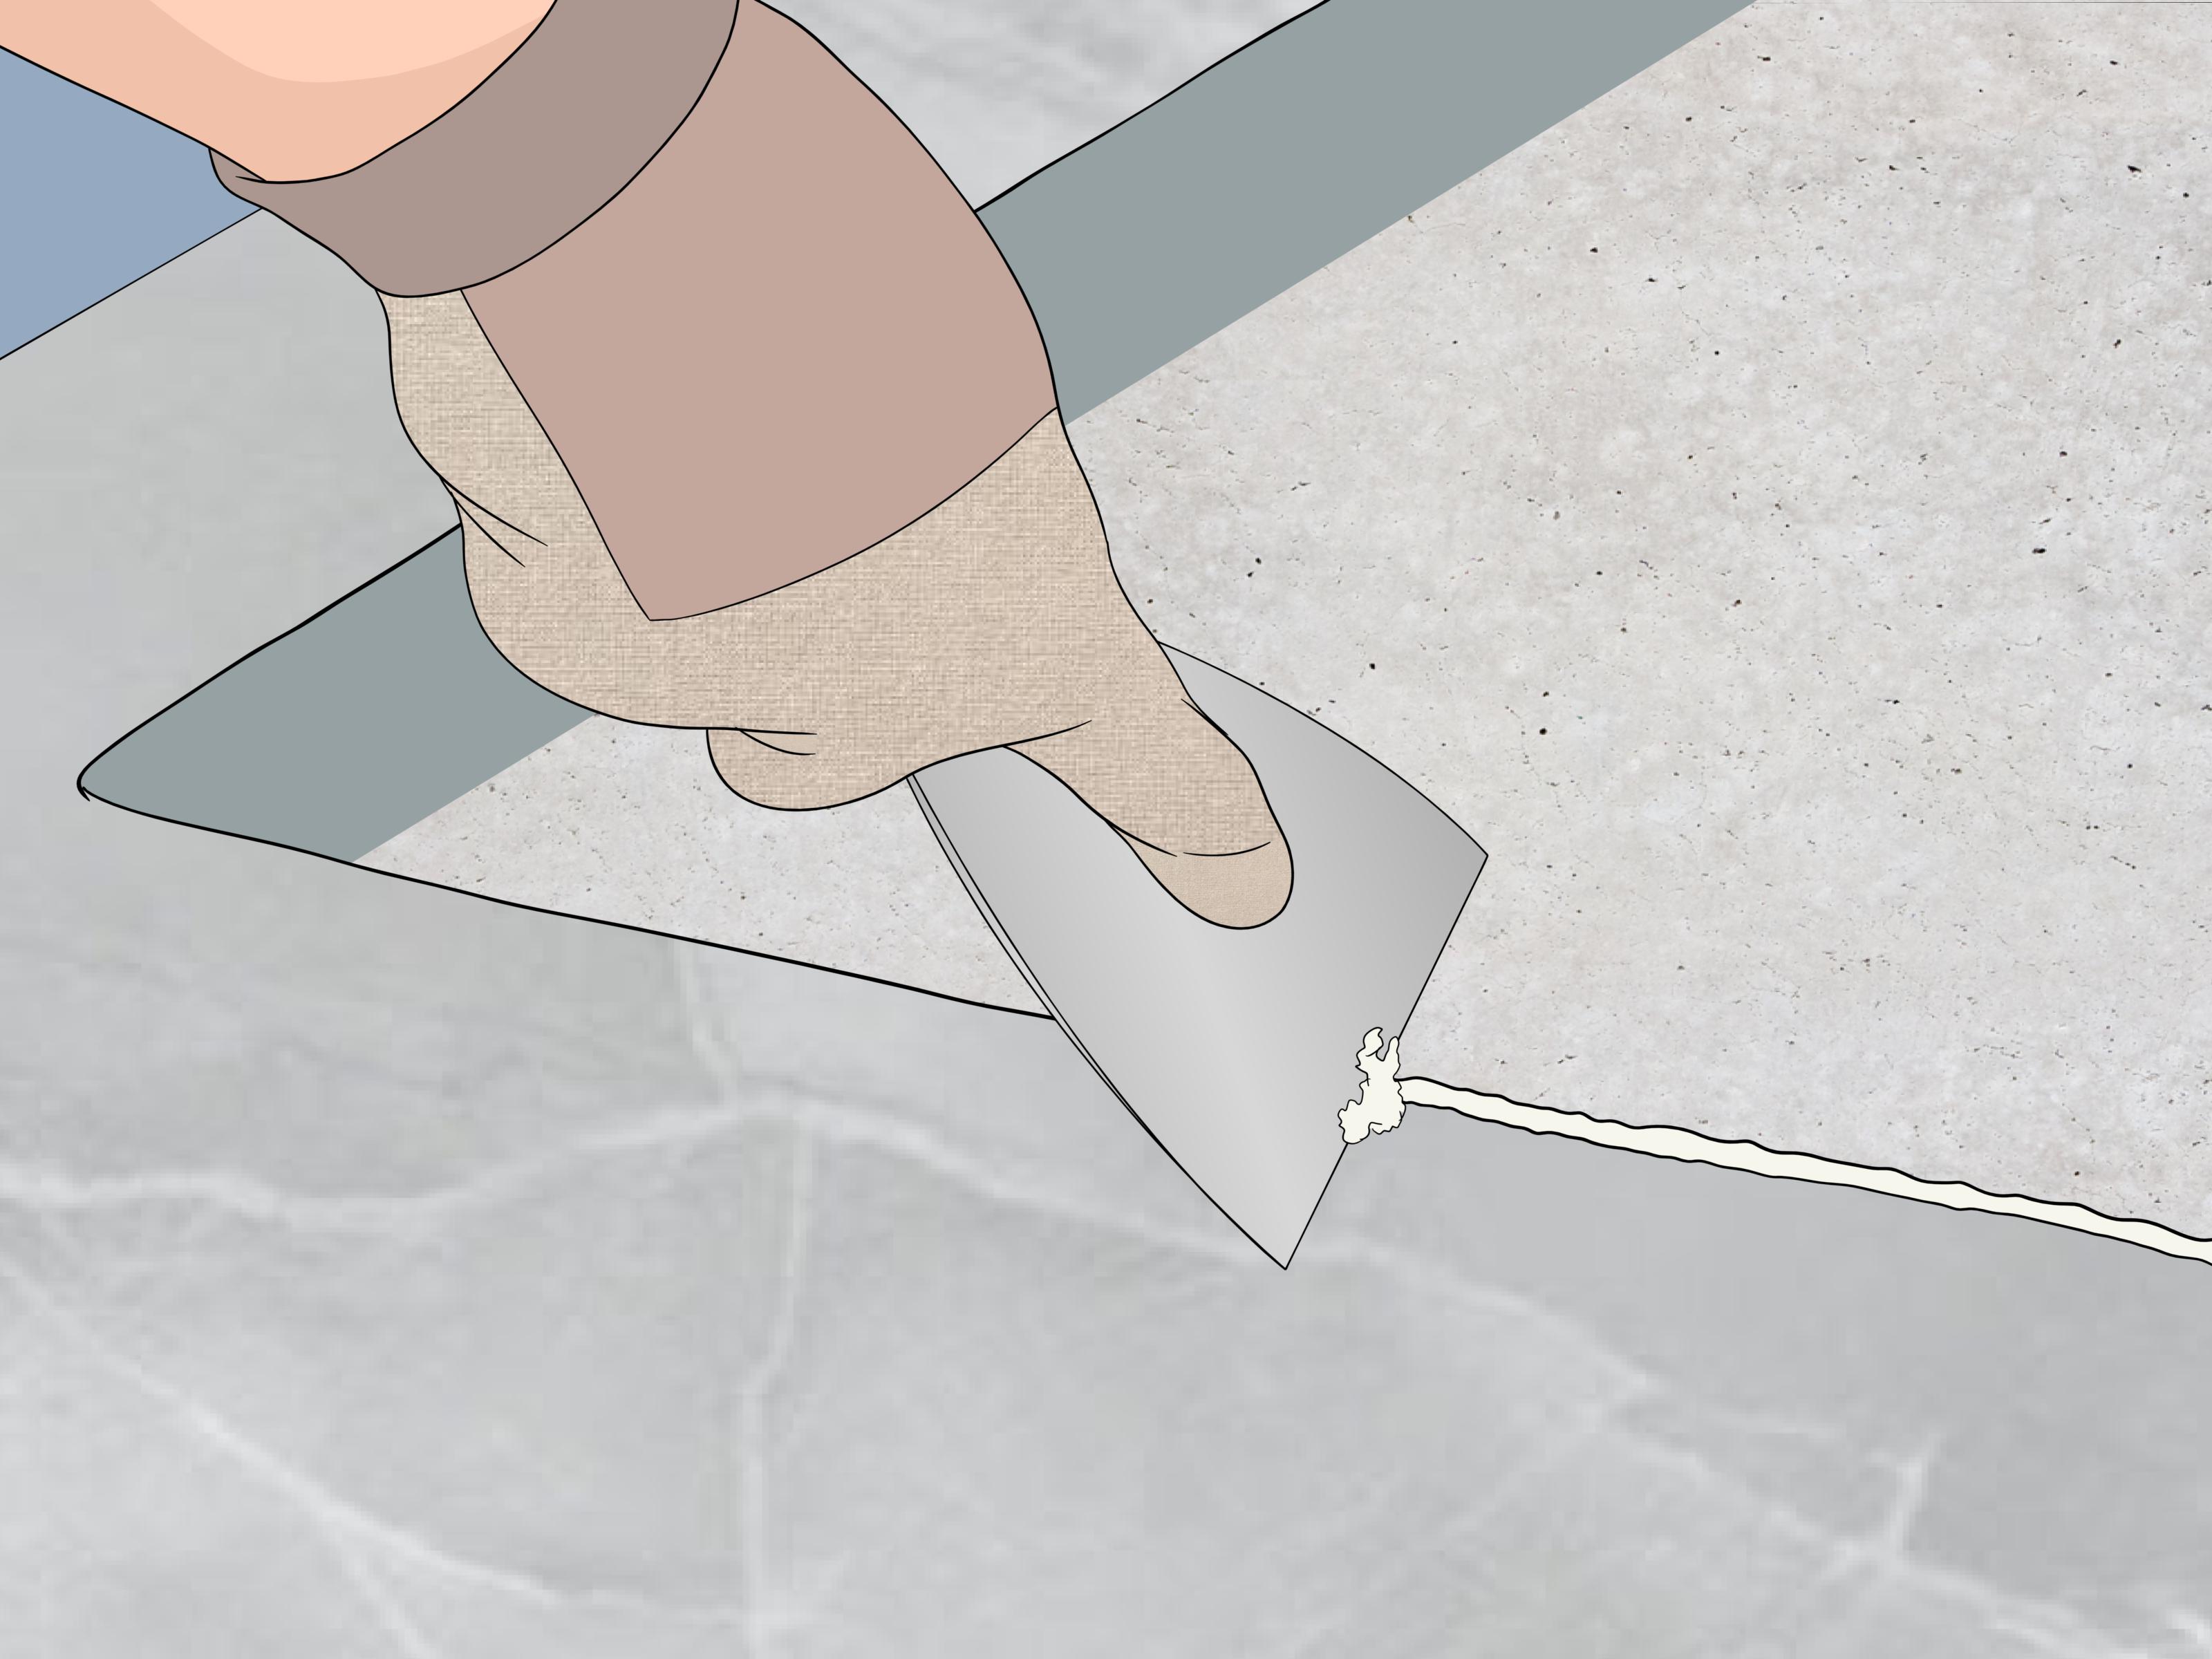
Run a utility knife carefully around the sink rim where it meets the countertop. Use several gentle passes instead of one aggressive stab. A putty knife can help separate softened sealant beneath the rim. Protect stone, laminate, tile, and wood surfaces from scratches. The goal is to cut the seal, not to audition for a countertop demolition show.
Step 14: Lift Out the Kitchen Sink and Clean the Opening
With all lines, clips, sealant, and supports removed, push upward from below while a helper lifts from above. For heavy sinks, use two people and lift slowly. Set the old sink on towels or cardboard to protect floors and cabinets.
Scrape away remaining silicone, putty, grime, and rust around the countertop opening with a plastic scraper or putty knife. Clean and dry the area thoroughly. Inspect the countertop cutout, cabinet frame, shutoff valves, drain pipes, and nearby wood for swelling, staining, corrosion, or water damage before installing the replacement sink.
Common Problems When Removing a Kitchen Sink
The Sink Will Not Lift Out
Check again for hidden clips, screws, brackets, or thick caulk under the rim. Work around the perimeter with a putty knife rather than prying hard in one spot. Too much force can chip laminate, crack stone, or bend a thin stainless-steel rim.
The Shutoff Valve Leaks or Will Not Close
Do not continue with supply-line removal if the valve will not fully shut off. Turn off water at the main supply and consider replacing the old shutoff valve before reinstalling the sink. A sink project is an excellent time to address a valve that has been acting suspiciously for years.
The Drain Pipe Is Corroded or Brittle
Metal pipes may be rusted, seized, or thin enough to crack when loosened. Plastic pipes can become brittle with age. Replace damaged drain components rather than trying to persuade them into one more heroic performance.
The Countertop Is Damaged Around the Cutout
Water damage around a laminate cutout, loose stone, cracked tile, or swollen particleboard should be repaired before a new sink is installed. A fresh sink seal cannot solve structural damage hiding beneath the rim.
When to Call a Professional
DIY kitchen sink removal makes sense when the sink is a standard drop-in model, the plumbing is in good condition, and you can safely reach all connections. Call a professional when you have an undermount sink glued to stone, a heavy cast-iron basin, a farmhouse sink with cabinet supports, hard-wired electrical connections, damaged shutoff valves, major water damage, or a countertop that needs cutting.
Paying for a professional in those situations is not “giving up.” It is choosing not to discover the price of quartz repair through personal experience.
Real-World Kitchen Sink Removal Lessons: What Experience Teaches You
The biggest lesson from kitchen sink removal is that the sink itself is rarely the entire project. On paper, it sounds simple: disconnect a few pipes, loosen clips, lift the basin. In a real kitchen, the work is often a small archaeology dig. You may find a cabinet floor stained by an old leak, a shutoff valve that has not moved in fifteen years, or a supply line that was installed at an angle that makes normal human hand positions impossible.
Experienced DIYers learn quickly that preparation is not boring; it is what makes the project boring in the best possible way. A bucket, towels, flashlight, and phone camera are more valuable than rushing in with a giant wrench and optimism. Photos taken before disassembly are especially helpful when a double-bowl sink, dishwasher hose, disposal, water filter, and pull-down faucet all share a cabinet the size of a shoebox.
Another practical lesson is to expect old sealant to be stronger than your confidence. Silicone around a kitchen sink can hold surprisingly well, especially if it has been applied generously. The temptation is to pry harder, but that is how countertops get chipped and stainless sink rims get bent. Slow cutting and gentle separation usually beat brute force. Think less “action movie,” more “patient dentist removing a stubborn filling.”
Weight is another common surprise. A lightweight stainless-steel sink may be easy to lift, but cast iron, fireclay, granite composite, and farmhouse sinks can be seriously heavy. Even a standard double-bowl sink becomes awkward once it is lifted above the countertop opening with a faucet, strainers, and disposal hardware attached. Removing accessories first is not just tidier; it makes the lift safer and reduces the chance of denting a cabinet door, cracking tile, or pulling a muscle.
Plumbing connections also teach an important rule: do not force anything that looks fragile. Old slip nuts may crack. Corroded metal traps may crumble. Shutoff valves can leak when disturbed after years of inactivity. This is why many homeowners choose to replace worn supply lines, drain washers, and aging valves during a sink replacement. The extra parts cost is often small compared with reopening the cabinet next month because an old washer decided retirement was overdue.
One of the smartest habits is dry-fitting the replacement sink before applying any new silicone. A sink that looks like the same size on a product page may have a slightly different bowl depth, rim width, drain location, or faucet-hole pattern. Checking the countertop opening and cabinet clearance before sealing anything prevents the deeply annoying discovery that the new sink almost fits. “Almost” is a word that causes more remodeling delays than most people realize.
Finally, the best kitchen sink removal experience is one where you know when to pause. If an undermount sink appears glued to a stone counter, if a disposal is hard-wired, or if the cabinet shows serious water damage, bringing in a professional can protect your home and your budget. Skilled DIY work is not about doing every job alone. It is about knowing what you can safely handle, preparing carefully, and leaving the kitchen better than you found it.
Final Thoughts
Learning how to remove a kitchen sink is a useful home-improvement skill, especially when you are replacing an outdated basin, upgrading a faucet, fixing cabinet damage, or remodeling the kitchen. Work slowly, shut off water and electricity first, keep a bucket nearby, and treat every old fitting with cautious respect.
Once the old sink is out and the countertop opening is cleaned, you have a clear view of what needs attention before the new installation. That is the moment when a messy sink project starts looking like a kitchen upgrade instead of a plumbing puzzle.