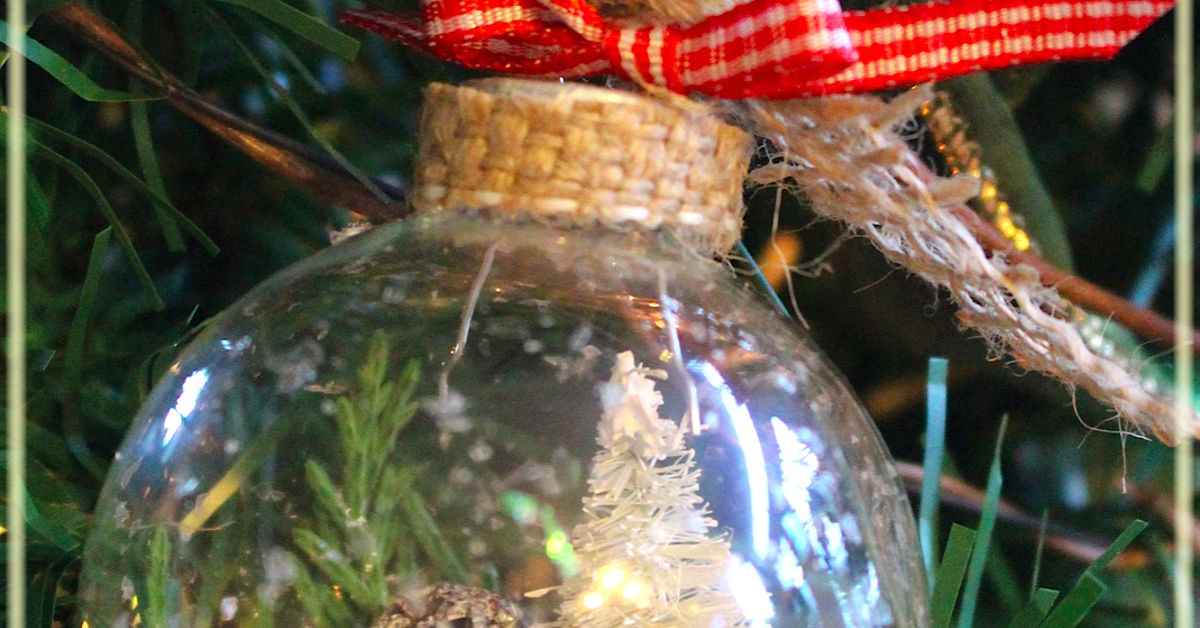
There is something wonderfully nostalgic about a Christmas ornament that looks as though it came from an old country workshopbut gives a cheerful little rattle when you shake it. DIY rustic country shaker ornaments combine natural wood, simple farmhouse colors, clear windows, and loose festive fillers to create decorations that are both cozy and playful.
They also solve a common holiday decorating problem: the desire for something handmade without committing to a craft project that requires seventeen specialty tools, an engineering degree, and a dining room table that remains unusable until February.
This project uses layered wood or heavy chipboard to form a shallow ornament chamber. A clear acetate window keeps sequins, faux snow, wooden confetti, or tiny paper shapes inside while allowing them to move freely. Finish the frame with stain, chalk-style paint, distressed edges, ticking-stripe ribbon, jute twine, or miniature greenery for an unmistakable rustic country look.
What Makes a Rustic Country Shaker Ornament?
A shaker ornament is essentially a tiny decorative window with loose material sealed inside. When the ornament moves, its contents slide and tumble across the background. The idea is similar to a shaker card, except the finished piece includes a hanger and is sturdy enough to display on a Christmas tree, wreath, garland, gift package, or cabinet knob.
The word Shaker also happens to describe a historic American design tradition known for simplicity, usefulness, clean lines, and careful craftsmanship. Although this tutorial focuses primarily on the moving “shaker” chamber, the rustic design benefits from that same less-is-more spirit. Instead of piling on glitter until the ornament can be seen from space, the goal is to let natural materials and a few thoughtful details do the work.
“`
Key Elements of the Look
- A simple circular, oval, star, house, bell, or tree-shaped frame
- Natural wood grain or muted paint colors
- A clear acetate window
- Loose fillers such as faux snow, sequins, or tiny wood shapes
- Jute twine, gingham ribbon, ticking stripe, or homespun fabric
- Small accents such as pine sprigs, bells, buttons, or wood beads
“`
Materials and Tools
You can make DIY rustic country shaker ornaments from thin craft wood, laser-cut blanks, heavyweight cardstock, chipboard, or a combination of materials. Wood produces the most substantial farmhouse appearance, while chipboard and cardstock are easier to cut by hand or with a craft-cutting machine.
“`
Basic Supplies
- Thin basswood, plywood, chipboard, or heavy cardstock
- Clear acetate or transparent craft plastic
- Strong craft glue suitable for the chosen materials
- Double-sided foam tape or several stacked frame layers
- Fine sandpaper, preferably around 120 and 220 grit
- Wood stain, acrylic paint, or chalk-style craft paint
- Small paintbrushes or foam brushes
- Jute twine, cotton cord, ribbon, or narrow fabric strips
- Scissors, craft knife, or electronic cutting machine
- Pencil, ruler, and ornament template
Suggested Shaker Fillers
- White sequins and snowflake confetti
- Fine faux snow or iridescent flakes
- Tiny paper stars or trees
- Miniature wood slices or laser-cut shapes
- Red, cream, bronze, or forest-green sequins
- Small seed beads used sparingly
- Shredded kraft paper for a primitive country effect
Avoid filling the chamber with too much material. A shaker ornament needs empty space for movement. Filling roughly one-quarter to one-third of the visible chamber usually produces a lively shake without hiding the background design.
“`
Choose the Ornament Shape and Size
A finished width of about 3.5 to 4.5 inches works well for most Christmas trees. Smaller ornaments can be difficult to assemble, while oversized versions may become heavy enough to make a tree branch look as though it has lost the will to continue.
Circles are the easiest shape for beginners because foam tape bends around the perimeter with minimal fuss. Stars, stockings, barns, mason jars, and little houses are charming but require more careful sealing at corners.
“`
Create Four Main Pieces
Most designs need the following components:
- A solid backing piece
- One or more spacer frames
- A clear acetate window
- A decorative top frame
The backing and top frame should match exactly along the outside edge. The acetate should be slightly smaller than the outer frame but large enough to cover the entire window opening.
“`
How to Make DIY Rustic Country Shaker Ornaments
“`
Step 1: Cut the Layers
Trace your template onto thin wood, chipboard, or cardstock. Cut one solid back and at least two identical window frames. If you are using very thin material, prepare three or four frame layers to create enough depth for the filler to move.
Cut the acetate with clean scissors or a craft knife. Keep the protective film on the plastic, when supplied, until you are ready to assemble the ornament. This prevents fingerprints and scratches from becoming permanent members of the family.
Step 2: Prepare the Wood
Lightly sand wooden pieces before painting or staining. Begin with medium-grit sandpaper to remove rough fibers, then finish with fine-grit paper for a smooth surface. Sand in the direction of the grain and wipe away all dust before applying a finish.
Pay special attention to the inner edge of the frame. Once the acetate is attached, rough spots inside the window will be much harder to correct.
Step 3: Apply a Rustic Finish
For a traditional farmhouse appearance, use warm brown stain, weathered gray, antique white, muted red, sage green, charcoal, or deep navy. Thin coats are better than one heavy coat because thick paint can soften crisp edges and make stacked layers difficult to align.
To distress a painted frame, let the paint dry and gently sand the corners, raised edges, and a few random spots. Concentrate wear where handling would naturally occur. The goal is “lovingly aged family treasure,” not “accidentally dragged behind a tractor.”
You can also dry-brush a small amount of cream paint over dark stain or brown paint over a pale base. Use very little paint and work in uneven strokes to imitate weathered wood.
Step 4: Decorate the Background
The solid backing creates the scene behind the moving filler. Paint it, cover it with scrapbook paper, add a printed family photo, or glue down a simple silhouette.
Suitable rustic motifs include:
- A white farmhouse beneath falling snow
- A red barn and evergreen trees
- A vintage pickup carrying a Christmas tree
- A simple deer, cardinal, snowman, or star
- A family name with the current year
- A short phrase such as “Merry and Bright” or “Home for Christmas”
Keep important lettering away from the lower edge, where filler naturally collects. High-contrast designs are easiest to see through acetate.
Step 5: Build the Shaker Chamber
Glue the spacer frames together, carefully aligning all edges. Place the stack on the backing to confirm that the chamber is even and completely enclosed.
Alternatively, apply narrow double-sided foam tape around the perimeter of the backing. Butt each piece tightly against the next so there are no openings. Even a tiny gap can become an escape hatch for sequins, which will immediately establish a colony in your carpet.
Allow wet glue to dry before adding loose filler. Otherwise, small pieces may stick to the sides instead of shaking freely.
Step 6: Add the Shaker Filling
Place a modest spoonful of filler in the center of the backing. Mix shapes and textures, but avoid combining too many heavy beads with lightweight flakes. Heavy pieces can crush delicate paper confetti or make the ornament unnecessarily bulky.
Before sealing the chamber, temporarily hold the acetate over the top and gently tilt the ornament. Add or remove filler until it moves easily without completely covering the scene.
Step 7: Attach the Acetate Window
Wipe the acetate with a clean microfiber cloth. Remove any protective film, then attach the plastic to the back of the decorative top frame using a thin, continuous line of clear-drying craft glue or strong double-sided adhesive.
Keep glue away from the visible opening. A little adhesive goes a long way, especially when it decides to squeeze across a perfectly clean window at the final possible moment.
Let the acetate bond securely before attaching the top frame to the chamber. Press around the entire perimeter and inspect the seal from both sides.
Step 8: Add the Hanger and Finishing Details
Thread twine or ribbon through a pre-cut hanging hole. When the design has no hole, sandwich a loop between the back and frame layers before final assembly. Reinforce it with glue and allow it to dry under gentle pressure.
Finish the ornament with one restrained accent: a small bow, rusty bell, wood bead, miniature pine sprig, button, or strip of homespun fabric. Using every embellishment in the craft drawer is technically possible, but the ornament may need its own support beam.
“`
Rustic Country Design Variations
“`
Primitive Farmhouse Ornament
Use dark walnut stain, cream lettering, black stars, and shredded kraft paper. Tie the hanger with rough jute and add a small wooden button.
Red Barn Snow Scene
Paint a simple red barn on the backing and add white faux snow, silver flakes, and tiny green trees. Finish the frame in weathered white with a narrow red gingham bow.
Family Photo Keepsake
Print a photo slightly smaller than the window and attach it to the backing. Use only a small amount of translucent filler so faces remain visible. Add the family name and year to the back.
Woodland Cabin Ornament
Combine a charcoal or dark-green frame with a cabin silhouette, bronze sequins, miniature snowflakes, and a soft plaid ribbon. This style works particularly well on trees decorated with pinecones, dried oranges, and wooden bead garlands.
Country Quilt Ornament
Cover the background with a tiny printed quilt pattern. Fill the chamber with paper stars in coordinating colors, then wrap the outside edge with a narrow strip of fabric.
“`
Common Problems and Easy Fixes
“`
The Filler Does Not Move
The chamber may be too shallow or too full. Remove some filler, add another spacer layer, or replace thick pieces with flatter sequins and lightweight confetti.
Confetti Sticks to the Acetate
Static is often the cause. Wipe the inside of the window with a clean anti-static cloth before assembly. Avoid rubbing the plastic excessively, which can make static worse.
Pieces Leak Out
Inspect every seam before adding the top frame. Foam tape should form an uninterrupted barrier. Seal suspicious gaps with a small amount of strong craft glue and allow it to dry completely.
The Frame Looks Uneven
Dry-fit every layer before gluing. Use clothespins, small clamps, or a weighted book to hold flat pieces in alignment while the adhesive cures.
The Ornament Is Too Heavy
Replace thick plywood with basswood, chipboard, or cardstock. Use sequins and paper shapes instead of glass beads, and keep decorative hardware small.
“`
Safety and Storage Tips
Small fillers can present a choking hazard, so keep them away from young children and pets. Adults should handle craft knives, drills, laser-cut pieces with sharp edges, and hot-glue equipment.
Work in a ventilated space when using stains, sealers, or specialty adhesives, and follow the manufacturer’s drying and safety instructions. Allow every finish to cure fully before sealing it inside the ornament.
Store completed ornaments in a divided box with acid-free tissue paper. Avoid stacking heavy decorations on top of acetate windows. A climate-controlled closet is preferable to a damp basement or hot attic, where wood, adhesive, and plastic may warp over time.
Making Several Ornaments at Once
These ornaments are excellent for holiday gifts, craft fairs, classroom exchanges, or family decorating nights. Batch production makes the process faster and produces more consistent results.
- Cut every backing and frame first.
- Sand all wooden parts in one session.
- Group pieces by paint or stain color.
- Decorate all backgrounds before building chambers.
- Prepare small cups of pre-mixed filler.
- Assemble and inspect one ornament before completing the batch.
The first completed ornament acts as a test model. It is much better to discover that your foam tape is too narrow on one ornament than on twenty-four of them.
My Experience Making DIY Rustic Country Shaker Ornaments
The first time I made a batch of rustic country shaker ornaments, I approached the project with unreasonable confidence. I had wood blanks, acetate, twine, paint, foam tape, and enough tiny snowflake confetti to simulate a regional weather event. What could possibly go wrong?
My first lesson arrived when I filled the initial ornament almost to the top. It looked impressive while lying flat, but nothing moved when I lifted it. Instead of a shaker ornament, I had created a tightly packed holiday sandwich. After reopening the chamber and removing about two-thirds of the filler, the sequins finally had room to tumble. The finished effect was much more attractive, and the background scene remained visible.
The second lesson involved paint. I had applied a thick coat of white acrylic to several wooden frames because I wanted complete coverage in one pass. The paint gathered along the inner edges, slightly changing the size of the window. When I stacked the pieces, the openings no longer aligned perfectly. From then on, I used two thin coats, sanded lightly between them, and checked the alignment before assembly. That small change made the ornaments look far more polished.
I also learned to attach the acetate to the top frame before adding filler. On an early attempt, I poured the snow into the chamber, applied glue to the frame, and then tried to position a loose acetate circle over everything. One accidental breath sent the filler across the table. For several minutes, my workspace looked festive enough to be photographed but not functional enough to continue using.
The best result came from simplifying the color palette. My original plan included red, green, silver, gold, white, plaid, glitter, bells, berries, and a tiny wooden deer. Individually, every element was charming. Together, they looked like a country gift shop had exploded. The ornaments became much more appealing when I limited each design to two or three colors and one main decorative accent.
For a family batch, I used warm brown frames, cream backgrounds, and small black silhouettes. Each ornament included a name and year on the back. I varied the filler slightlysnowflakes for one person, bronze stars for another, and tiny evergreen shapes for someone who treats Christmas tree shopping like a competitive sport. The shared colors made the collection look coordinated, while the individual details kept each ornament personal.
The most useful production trick was creating a small assembly line. I sanded every piece first, painted all fronts together, prepared the windows in a separate stack, and measured the same amount of filler into small paper cups. This reduced mistakes and prevented wet glue from ending up on pieces that were not ready for it.
I now test every chamber before final sealing by holding the acetate in place and tilting the ornament in several directions. I also check the hanger carefully, because a beautiful ornament that falls from the tree at 2:00 a.m. can produce an alarming amount of drama.
What I enjoy most is that no two ornaments move in quite the same way. Even when the frames match, the loose pieces settle differently every time. That little bit of motion gives the decorations personality. They feel handmade without looking unfinished, rustic without becoming overly rough, and festive without requiring enough glitter to contaminate the household until spring.
Conclusion
DIY rustic country shaker ornaments bring together clean craftsmanship, natural materials, farmhouse color, and a playful moving center. They can be as simple as a stained wooden circle filled with faux snow or as personal as a family photo keepsake labeled with a name and year.
The secret is thoughtful restraint: prepare the frame carefully, leave enough space for the filling to move, seal every edge, and choose decorations that support the rustic design rather than burying it. Once you understand the basic layered construction, the same method can be adapted to barns, stars, cabins, mason jars, Christmas trees, and nearly any other holiday shape.
Best of all, these ornaments are enjoyable to make, easy to personalize, and sturdy enough to become part of the annual decorating ritual. A store-bought ornament may be convenient, but it rarely comes with a story about the afternoon the faux snow escaped and the dog briefly became part of the Christmas display.