Note: Before cleaning any older popcorn ceiling, especially in a home built before the early 1990s, consider having the material tested for asbestos. Do not scrape, sand, drill, scrub, or heavily disturb a ceiling that may contain asbestos. When in doubt, call a qualified professional. Your ceiling is not worth turning your living room into a science experiment with legal consequences.
Introduction: Yes, Your Ceiling Needs Cleaning Too
Popcorn ceilings are famous for two things: hiding imperfections and collecting dust like they are training for the Olympics. Their bumpy texture, also called acoustic ceiling texture or cottage cheese ceiling texture, can trap cobwebs, cooking grease, smoke residue, pollen, pet dander, and everyday household dust. Over time, that once-white ceiling can start looking tired, gray, or spotted.
The tricky part is that popcorn ceilings are delicate. Clean them too aggressively, and the texture can crumble. Use too much water, and the ceiling may soften, stain, or peel. Ignore the ceiling entirely, and it slowly becomes a decorative dust sponge hovering over your head. So the goal is simple: clean a popcorn ceiling gently, safely, and without creating a blizzard of white ceiling crumbs.
This guide explains three practical ways to clean a popcorn ceiling: dry dusting and vacuuming, spot cleaning stains, and refreshing stubborn discoloration with primer and paint. You will also learn what tools to use, what mistakes to avoid, and when it is smarter to stop cleaning and call a professional.
Before You Start: Safety Comes First
Popcorn ceilings were popular in American homes for decades because they were inexpensive, helped absorb sound, and covered drywall flaws. However, some older textured ceilings may contain asbestos. If the material is in good condition and left alone, it may not pose an immediate problem. The danger begins when it is disturbed by sanding, scraping, drilling, heavy brushing, or aggressive cleaning.
If your home was built before the 1990s and you do not know whether the ceiling has been tested, do not start poking it with a broom like you are challenging it to a duel. Hire a trained inspector or use a professional asbestos testing service. If the ceiling tests positive, cleaning, removal, or repair should be handled by qualified asbestos professionals.
Gather Your Supplies
For most asbestos-free popcorn ceilings, you will need:
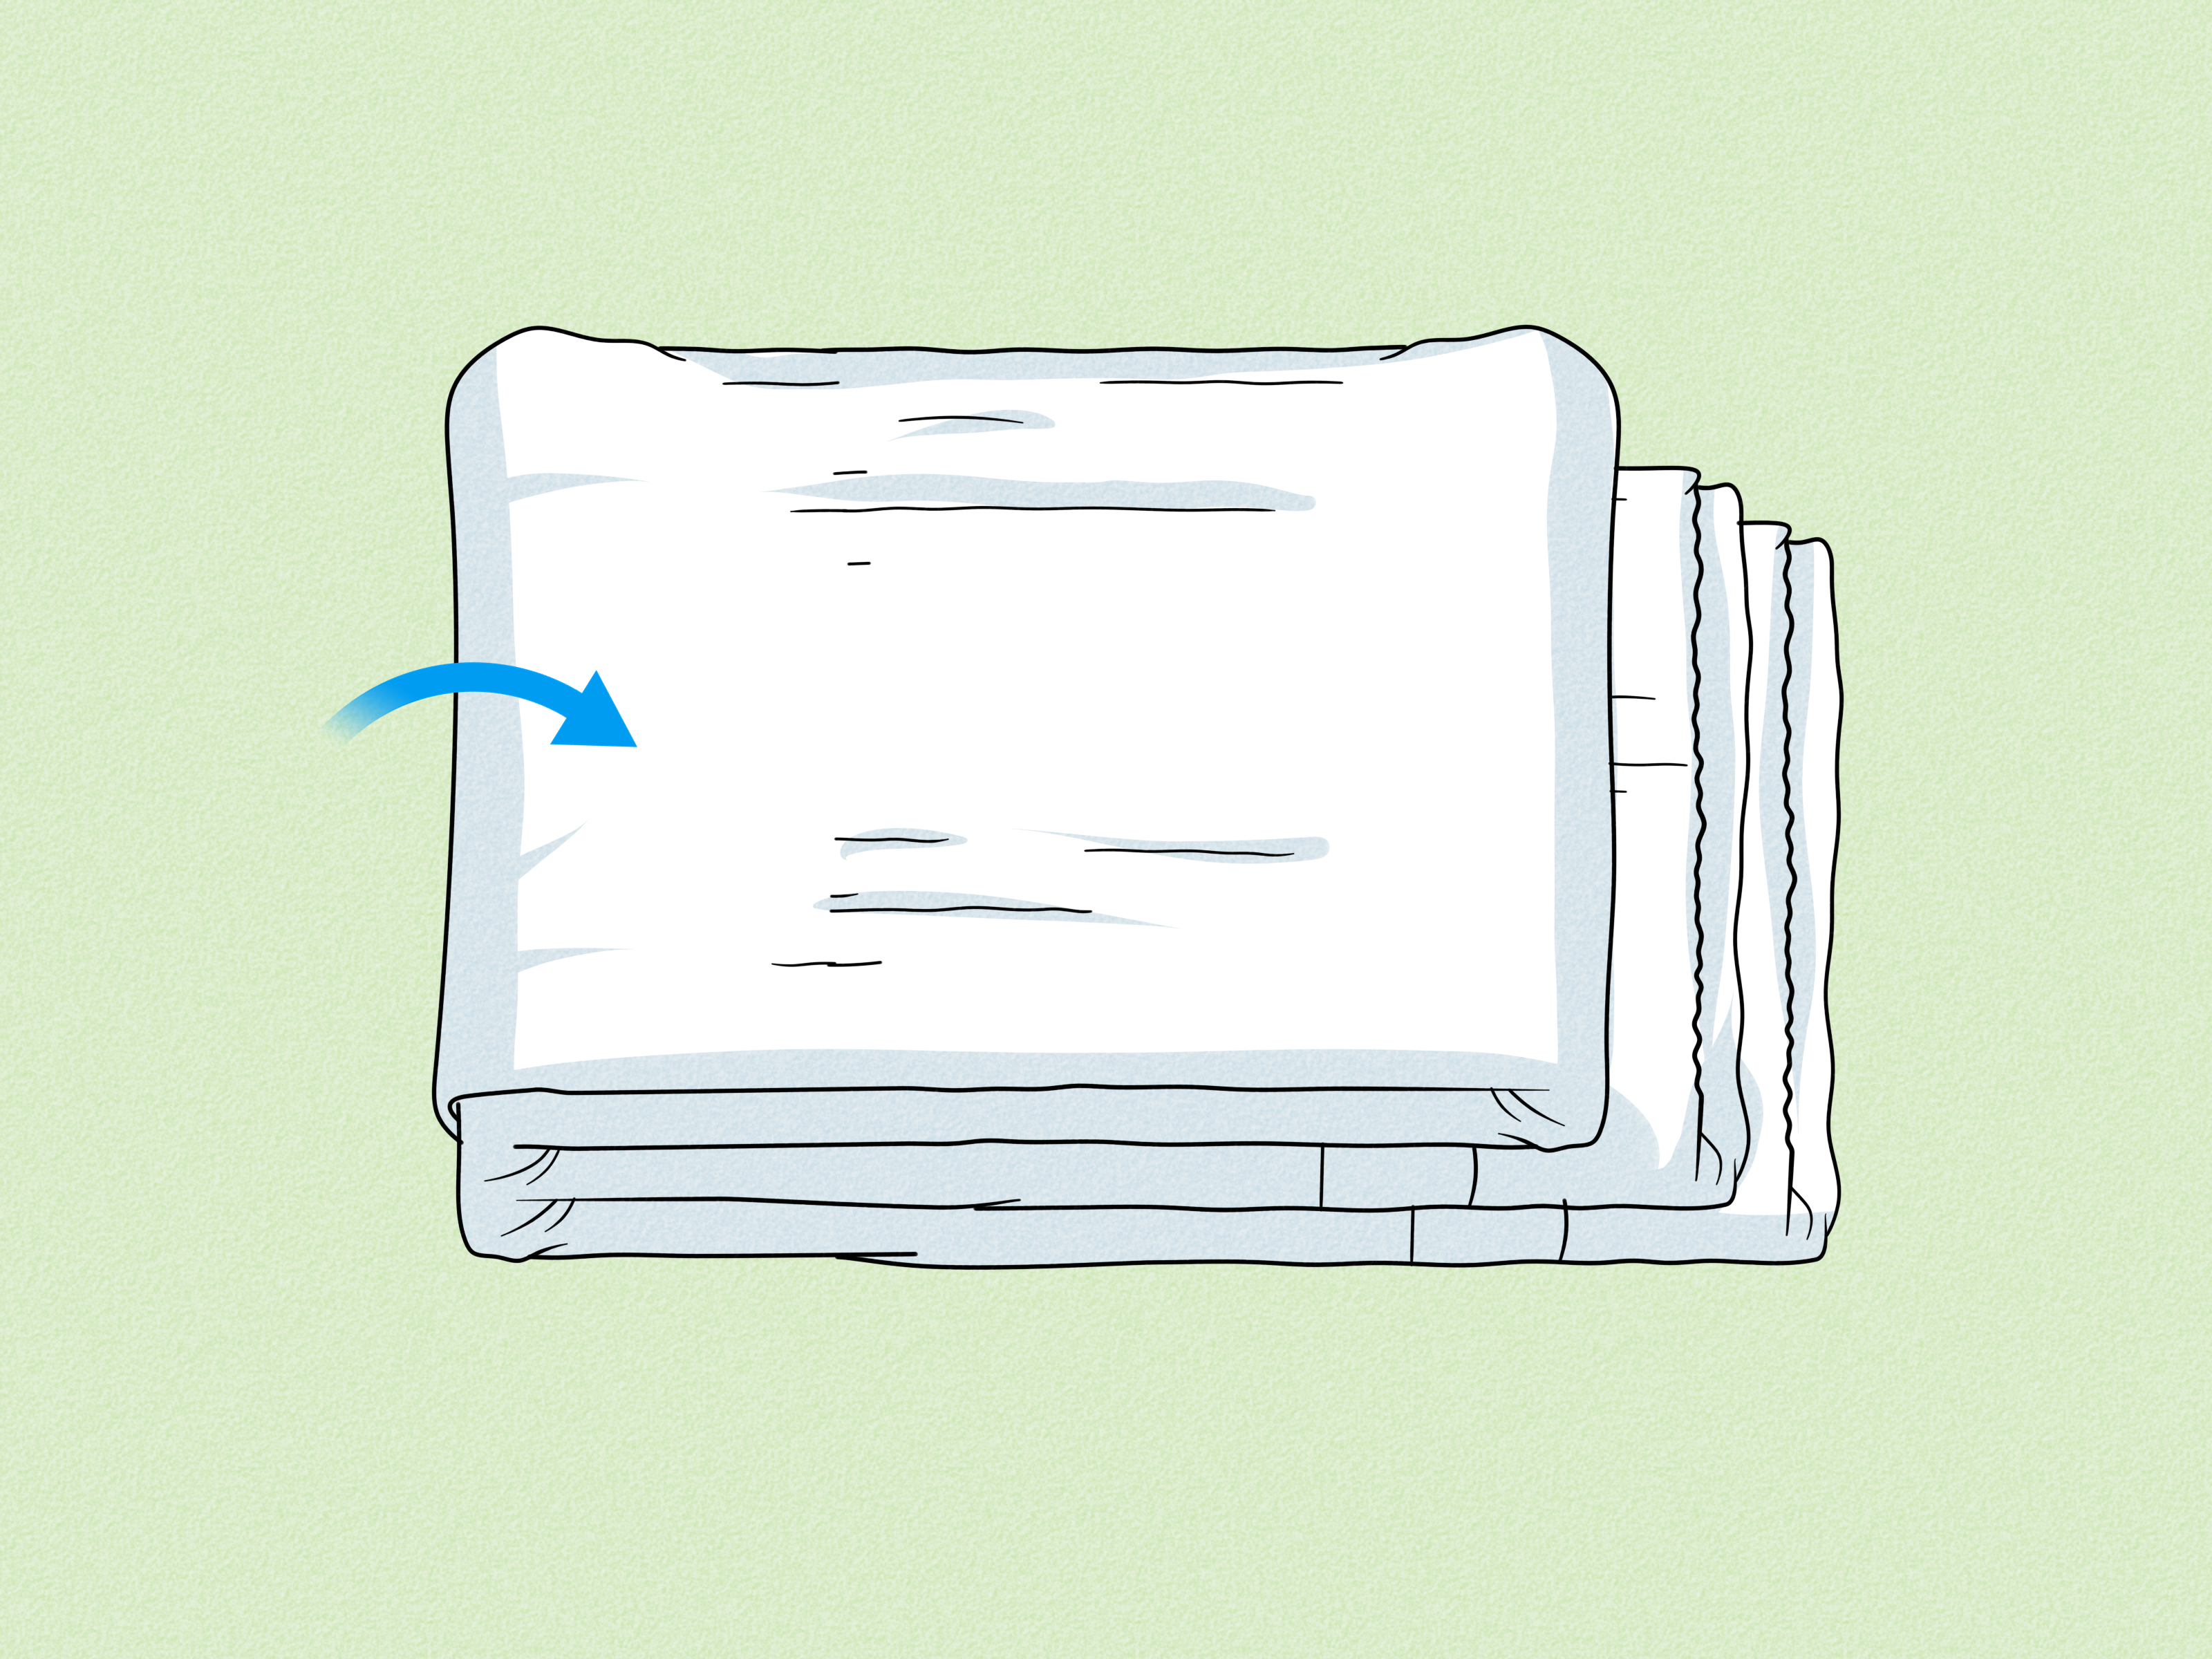
- Plastic drop cloths or old sheets
- Painter’s tape
- Safety goggles
- Dust mask or respirator
- Step ladder
- Vacuum with a soft brush attachment and extension wand
- Long-handled microfiber duster or feather duster
- Sticky lint roller with an extension handle
- Spray bottle
- Mild dish soap
- Clean sponge or microfiber cloth
- Bleach only if treating mildew, and only with proper ventilation
- Fans or a dehumidifier for drying
Move furniture away from the work area or cover it completely. Popcorn ceiling dust has a talent for landing everywhere except the drop cloth you carefully placed. Turn off ceiling fans, cover nearby vents if dust is heavy, and work in small sections so you can control the mess.
Way 1: Dry Dusting and Vacuuming for Everyday Dirt
The safest and most useful way to clean a popcorn ceiling is dry cleaning. This method removes dust, cobwebs, loose debris, and surface grime without adding moisture. It is ideal for routine maintenance and should be your first step before trying any stain treatment.
Best For
Dry dusting and vacuuming work best for ceilings with light gray dust, cobwebs in corners, pet hair, pollen, or general dullness. If your ceiling looks dirty but is not stained, start here.
How to Vacuum a Popcorn Ceiling
Attach a soft brush to your vacuum wand. A HEPA-filter vacuum is helpful because it captures fine dust instead of blowing it around the room like a tiny indoor weather system. Gently pass the brush across the ceiling without pressing hard. Let suction do most of the work.
Work in slow, overlapping rows. Keep the vacuum head slightly below or barely touching the texture. If pieces of the ceiling begin falling off, stop immediately. That could mean the texture is fragile, water-damaged, poorly painted, or simply not interested in cooperating.
How to Use a Duster
A long-handled microfiber duster or feather duster can remove dust and cobwebs from corners and edges. Use light strokes and clean the duster frequently. Avoid stiff plastic dusters that can snag the texture. A popcorn ceiling does not need a wrestling match; it needs a gentle handshake.
How to Use a Sticky Roller
A sticky lint roller can help remove stubborn dust, fuzz, and cobwebs from small areas. This is especially useful near air vents, where dust often gathers in streaks. Use a long-handled roller if possible. Roll lightly and replace the sticky sheet as soon as it becomes dirty.
Pro Tips for Dry Cleaning
Always clean from the edges of the room toward the center, or from one side to the other in sections. Wear goggles because dust falling into your eyes is one of those experiences that makes you question all your life choices. If the ceiling is near a kitchen, dry cleaning may not remove greasy residue, but it will remove loose dust so wet spot cleaning works better later.
Way 2: Spot Clean Stains With Minimal Moisture
Once the ceiling is dust-free, you can address stains. Popcorn ceilings can develop stains from cooking grease, smoke, roof leaks, bathroom humidity, mildew, or HVAC vents. The key is to use as little liquid as possible. Too much moisture can soften the texture, dissolve paint, or create a bigger stain than the one you started with.
Best For
Spot cleaning is best for small areas with grease marks, smoke discoloration, light yellowing, fingerprints near ceiling access panels, or mild mildew spots. If the stain is large, dark, damp, or keeps returning, fix the source of the problem before cleaning. A ceiling stain from a roof leak will not vanish for long if the roof is still leaking.
Dish Soap Solution for Grease and Smoke
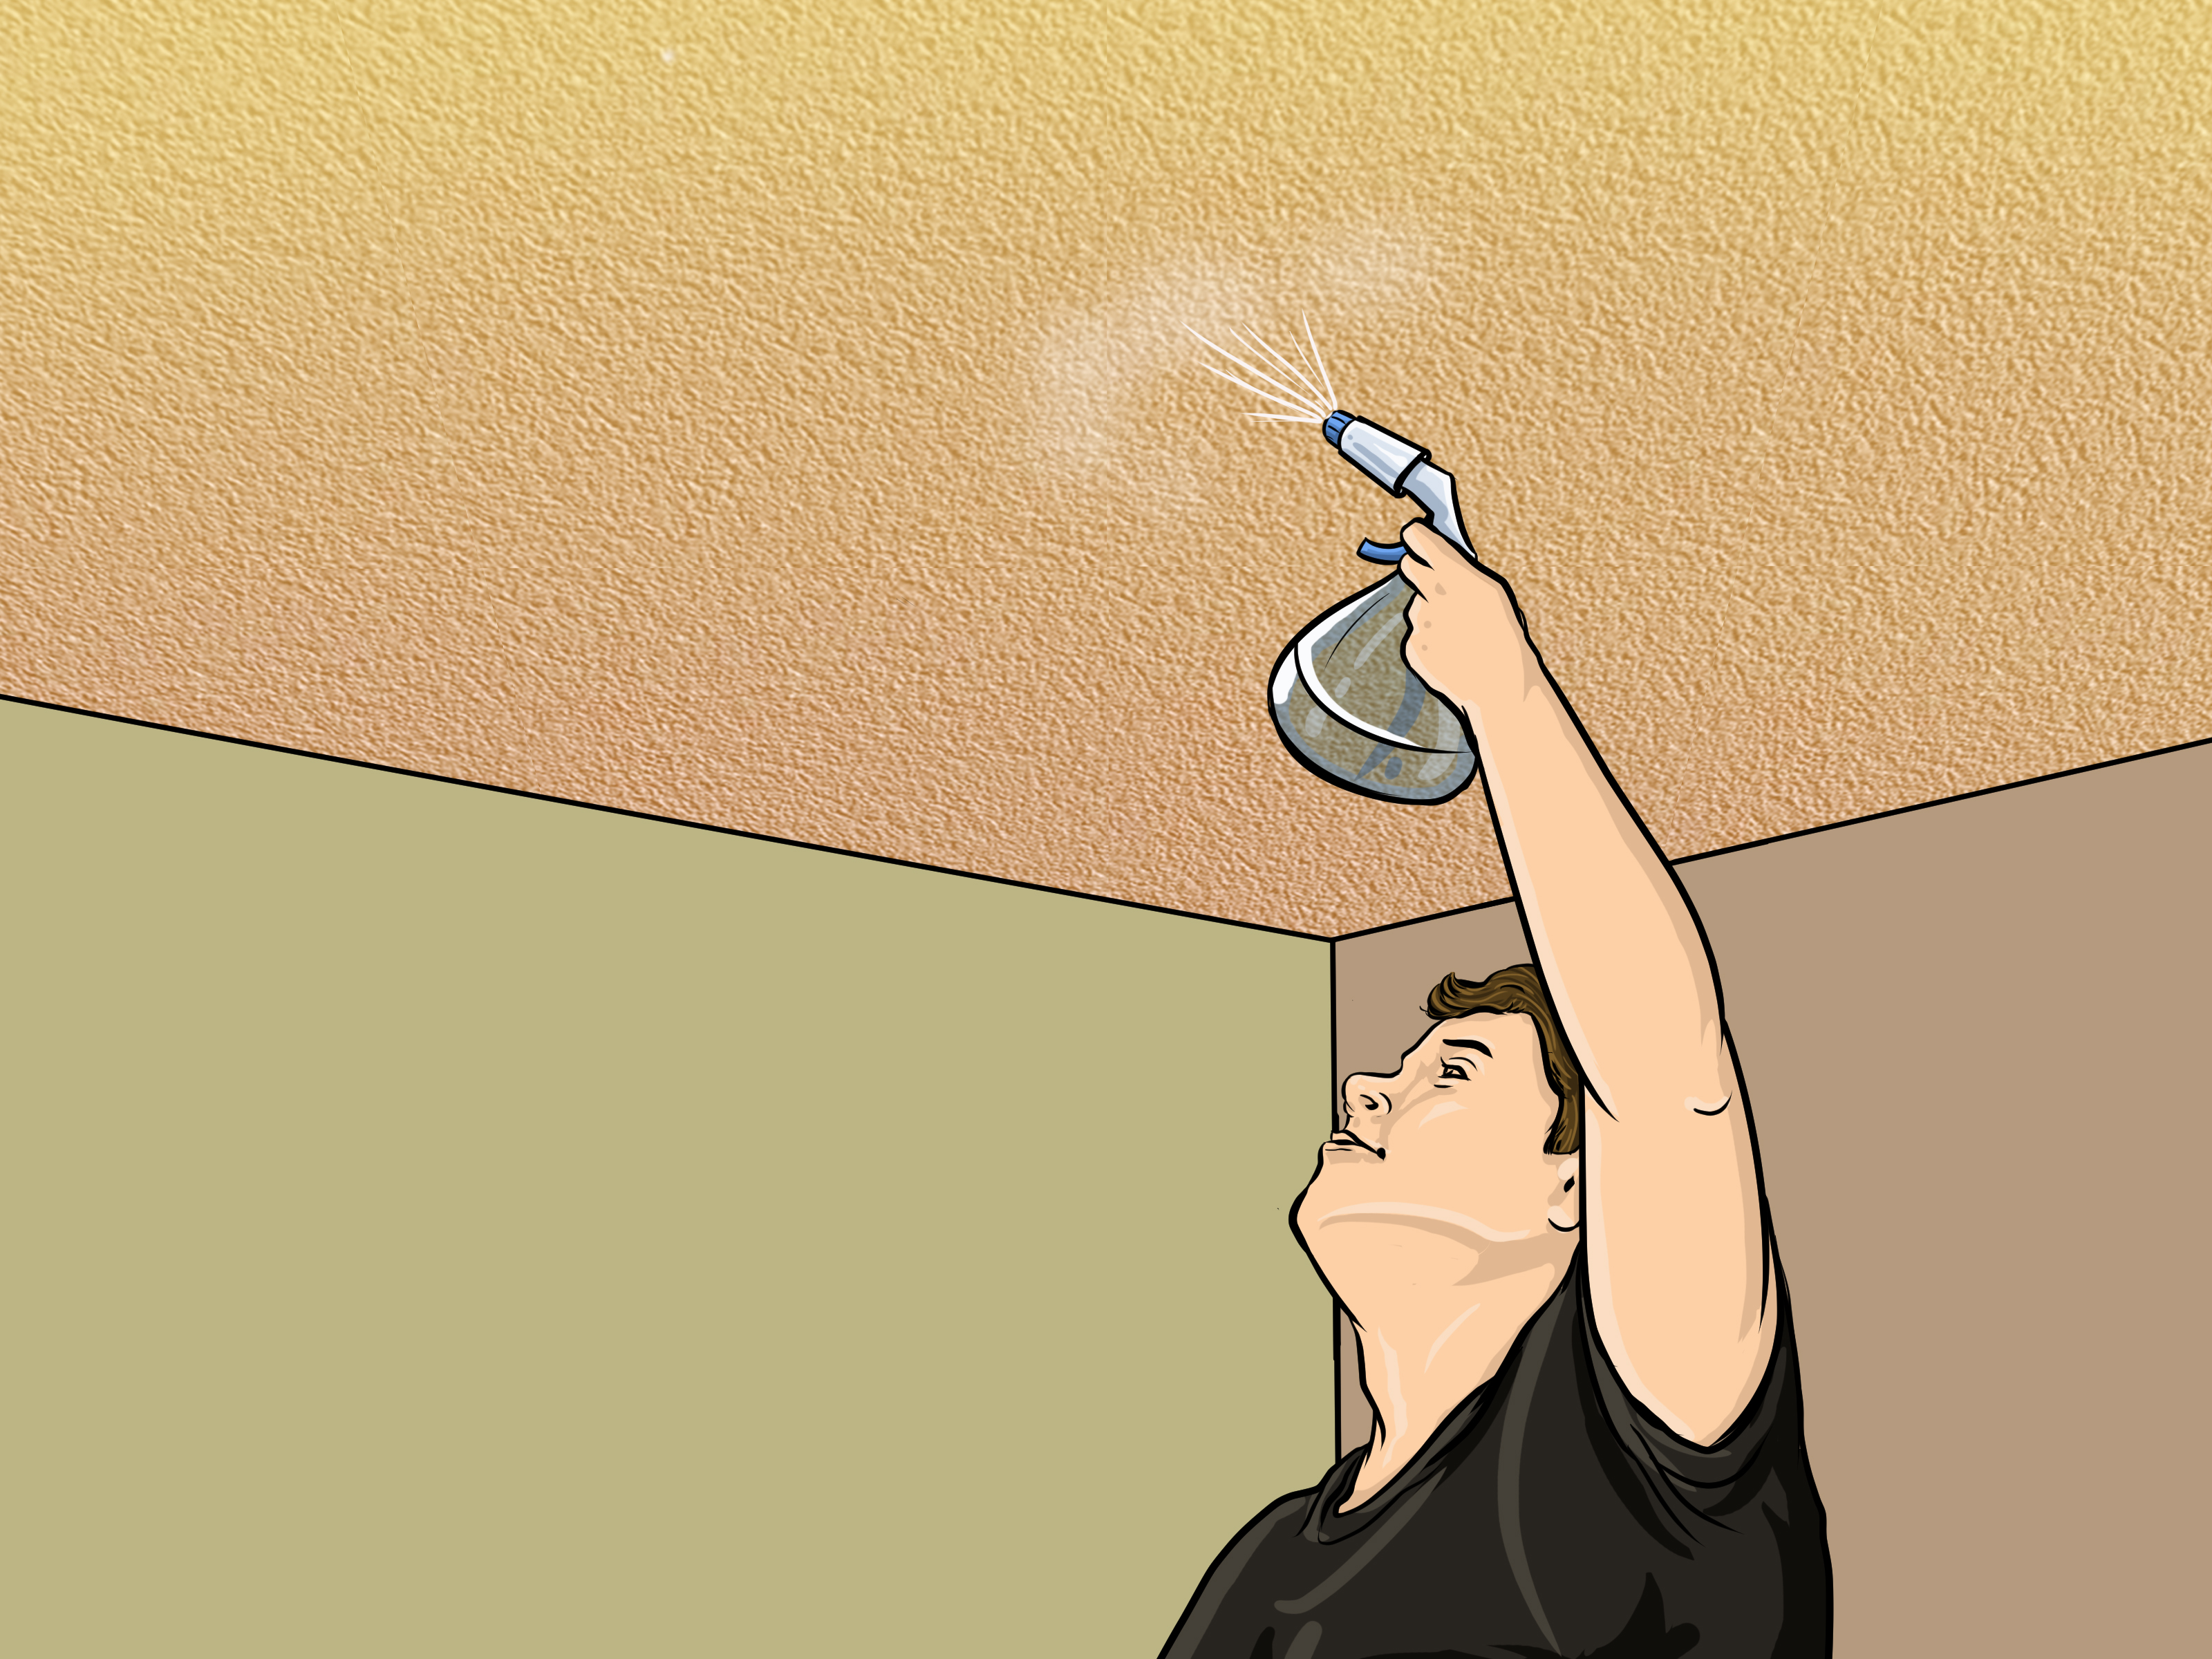
Mix a few drops of mild dish soap with warm water in a spray bottle. Do not create a bubble bath for your ceiling. Lightly mist the stained area, then gently dab with a clean sponge or microfiber cloth. Do not scrub in circles. Scrubbing can knock off the texture and leave a bald patch that looks worse than the stain.
After dabbing, let the area dry completely. Use a fan or dehumidifier to speed drying, especially in humid rooms. Check the area after several hours. If the stain has faded but is still visible, repeat the process lightly. Several gentle passes are safer than one dramatic attack.
Bleach Solution for Mildew
For mildew, use caution. Open windows and doors, wear gloves and eye protection, and never mix bleach with ammonia, vinegar, or any other cleaner. A safe starting mixture is a very diluted bleach solution, such as one part bleach to four or five parts water. Lightly mist the affected area, dab gently, and let it dry.
If mildew appears in a bathroom or near an air vent, moisture may be the real problem. Improve ventilation, run the bathroom fan during and after showers, check for leaks, and keep indoor humidity under control. Cleaning mildew without fixing moisture is like mopping during a rainstorm with the window open: technically activity, but not progress.
Water Stains Need Extra Attention
Brown or yellow water stains usually mean a leak happened at some point. Before cleaning, confirm the leak is fixed. If the ceiling is soft, sagging, crumbly, or still damp, do not clean it. Call a roofer, plumber, or drywall professional. A stained popcorn ceiling may be cosmetic, but a wet ceiling can be structural trouble wearing a funny hat.
Always Test First
Before applying any cleaning solution to a visible area, test it in a hidden corner or closet ceiling if possible. Some popcorn ceilings are painted; others are not. Some tolerate light moisture; others act like they have been personally offended by water. Testing first helps prevent discoloration, peeling, and texture loss.
Way 3: Refresh Stubborn Stains With Primer and Paint
Sometimes a popcorn ceiling is technically clean, but it still looks stained. Smoke, old water marks, and long-term yellowing can soak into the surface. When careful cleaning does not restore the ceiling, painting may be the best option. This is not cheating. It is home improvement diplomacy.
Best For
Painting is best for old stains that will not lift, uneven color, dingy ceilings, or rooms that need a brighter, fresher appearance. It is not a substitute for fixing leaks, removing mold, or dealing with asbestos. Make sure the ceiling is dry, clean, stable, and safe before painting.
Use a Stain-Blocking Primer
For water stains, smoke stains, or heavy discoloration, apply a stain-blocking primer made for ceilings. Primer helps seal the stain so it does not bleed through the new paint. Without primer, that yellow spot may return like a villain in a sequel nobody requested.
Choose a product suitable for textured ceilings and follow the label instructions. Spray primers can work well on popcorn texture because they reduce roller pressure. However, they require careful masking, ventilation, and protective coverings. If you use a roller, choose a thick-nap roller designed for textured surfaces and roll gently in one direction.
Paint Carefully
Use flat ceiling paint for the most forgiving finish. Flat paint hides imperfections better than glossy paint. Apply a light coat first and avoid overworking the same area. Too much rolling can pull down the texture, especially if it has never been painted before.
If the popcorn texture starts loosening, stop. Let the area dry and reassess. A second light coat is usually better than one heavy coat. Patience is the secret ingredient, which is annoying because patience is not sold in convenient one-gallon cans.
When to Consider Professional Help
Call a professional if the ceiling is high, heavily stained, cracked, sagging, water-damaged, or suspected of containing asbestos. You should also consider professional help if you want the popcorn texture removed entirely. Removal can be messy and may involve testing, containment, scraping, skim coating, sanding, priming, and painting. In other words, it can quickly become a full weekend project that eats three weekends and your will to live.
Common Mistakes to Avoid
Using Too Much Water
Popcorn ceiling texture can absorb moisture. Saturating it may cause staining, peeling, or crumbling. Always mist lightly rather than soaking. If the ceiling starts dripping, you have gone too far.
Scrubbing Aggressively
A stiff brush might work beautifully on tile grout, but it is too harsh for most popcorn ceilings. Use dabbing, light vacuuming, or gentle dusting instead.
Skipping the Asbestos Question
If the ceiling is old and untested, do not disturb it. Testing may feel like an extra step, but it is much easier than dealing with a contaminated room.
Painting Over Active Problems
Paint can cover a stain, but it cannot fix a leak, stop mildew, or repair damaged drywall. Find and solve the cause first.
Forgetting to Protect the Room
Even gentle cleaning can loosen dust and tiny texture particles. Cover floors, furniture, bedding, electronics, and anything else you do not want sprinkled with ceiling confetti.
How Often Should You Clean a Popcorn Ceiling?
Most popcorn ceilings benefit from dry dusting once or twice a year. Kitchens, bathrooms, laundry rooms, and rooms with fireplaces, candles, pets, or smokers may need more frequent attention. Areas around vents should be checked regularly because airflow often deposits dust in visible patterns.
A good routine is to inspect ceilings during seasonal deep cleaning. Look for cobwebs, gray areas, stains, and signs of moisture. The earlier you catch dust or mildew, the easier it is to clean without resorting to stronger methods.
Real-World Experience: What Cleaning a Popcorn Ceiling Actually Feels Like
Cleaning a popcorn ceiling sounds simple until you are standing on a ladder, wearing goggles, holding a vacuum wand above your head, and wondering why gravity has such a personal problem with you. The first lesson is that preparation matters more than enthusiasm. If you skip the drop cloths, ceiling dust will land on your sofa, your floor, your bookshelf, and somehow inside a drawer you never opened.
In practice, the best results usually come from starting gently. A vacuum with a soft brush attachment can make a dull ceiling look noticeably better in just a few minutes. The improvement is not always dramatic at first, but once you step back, the room often looks brighter. Dusty ceilings absorb light in a sneaky way. Remove the gray film, and suddenly the room feels cleaner even if you have not touched the furniture.
The second lesson is that popcorn texture is fragile. If you press too hard, small pieces can fall. If the ceiling has never been painted, it may be even more delicate. That is why slow, light passes work better than trying to finish the room at superhero speed. Unfortunately, popcorn ceilings do not reward bravery. They reward patience, gentle tools, and the emotional maturity to stop before you make things worse.
Spot cleaning is where many homeowners get into trouble. A small stain can tempt you to spray more solution, scrub harder, and keep going until the mark disappears. But textured ceilings are not countertops. They do not like being soaked. The smarter approach is to mist lightly, dab carefully, wait for the area to dry, and repeat only if needed. It feels slower, but it protects the texture and prevents water rings.
Kitchen ceilings are often the most frustrating because grease attracts dust. A ceiling near the stove may have a yellow-gray patch that does not respond to dry dusting alone. Mild dish soap and warm water can help, but it should be used sparingly. If the stain has been there for years, cleaning may only improve it, not erase it. That is when stain-blocking primer and ceiling paint become the more realistic solution.
Bathrooms bring a different challenge: moisture. If you see mildew on a popcorn ceiling, cleaning the spot is only half the job. You also need to ask why moisture is staying in the room. Maybe the exhaust fan is weak, the shower runs hot for long periods, or the door stays closed after use. Improving ventilation can prevent the stain from returning. Otherwise, you will be cleaning the same spot again, and nobody wants a monthly subscription to ceiling mildew.
Another practical tip is to clean during daylight. Natural light makes dust, cobwebs, and stains easier to see. It also helps you avoid over-cleaning areas that already look fine. If you clean at night under a single lamp, shadows can make the ceiling look worse than it is, and you may end up attacking innocent texture.
Finally, know when to stop. If the ceiling is crumbling, sagging, stained from an active leak, or possibly asbestos-containing, cleaning is not the right next step. Testing, repair, or professional evaluation comes first. A clean ceiling is nice. A safe home is better. And honestly, no one has ever looked back fondly and said, “I’m so glad I aggressively scrubbed that suspicious old ceiling without checking anything first.”
Conclusion
Learning how to clean a popcorn ceiling is mostly about restraint. Use dry methods first, apply moisture only in tiny amounts, and treat stains based on their cause. Vacuuming and dusting can handle everyday dirt. Mild soap can help with grease and smoke. Diluted bleach may help with mildew when used carefully and safely. For stains that refuse to leave, stain-blocking primer and paint can restore a clean, bright look.
The most important step is knowing what kind of ceiling you have. If your home is older and the ceiling has never been tested for asbestos, do not disturb it. Once you know the ceiling is safe to clean, work gently, protect the room, and avoid soaking or scrubbing the texture. Popcorn ceilings may be dramatic, dusty, and a little outdated, but with the right approach, they can look fresh again without raining debris on your furniture.