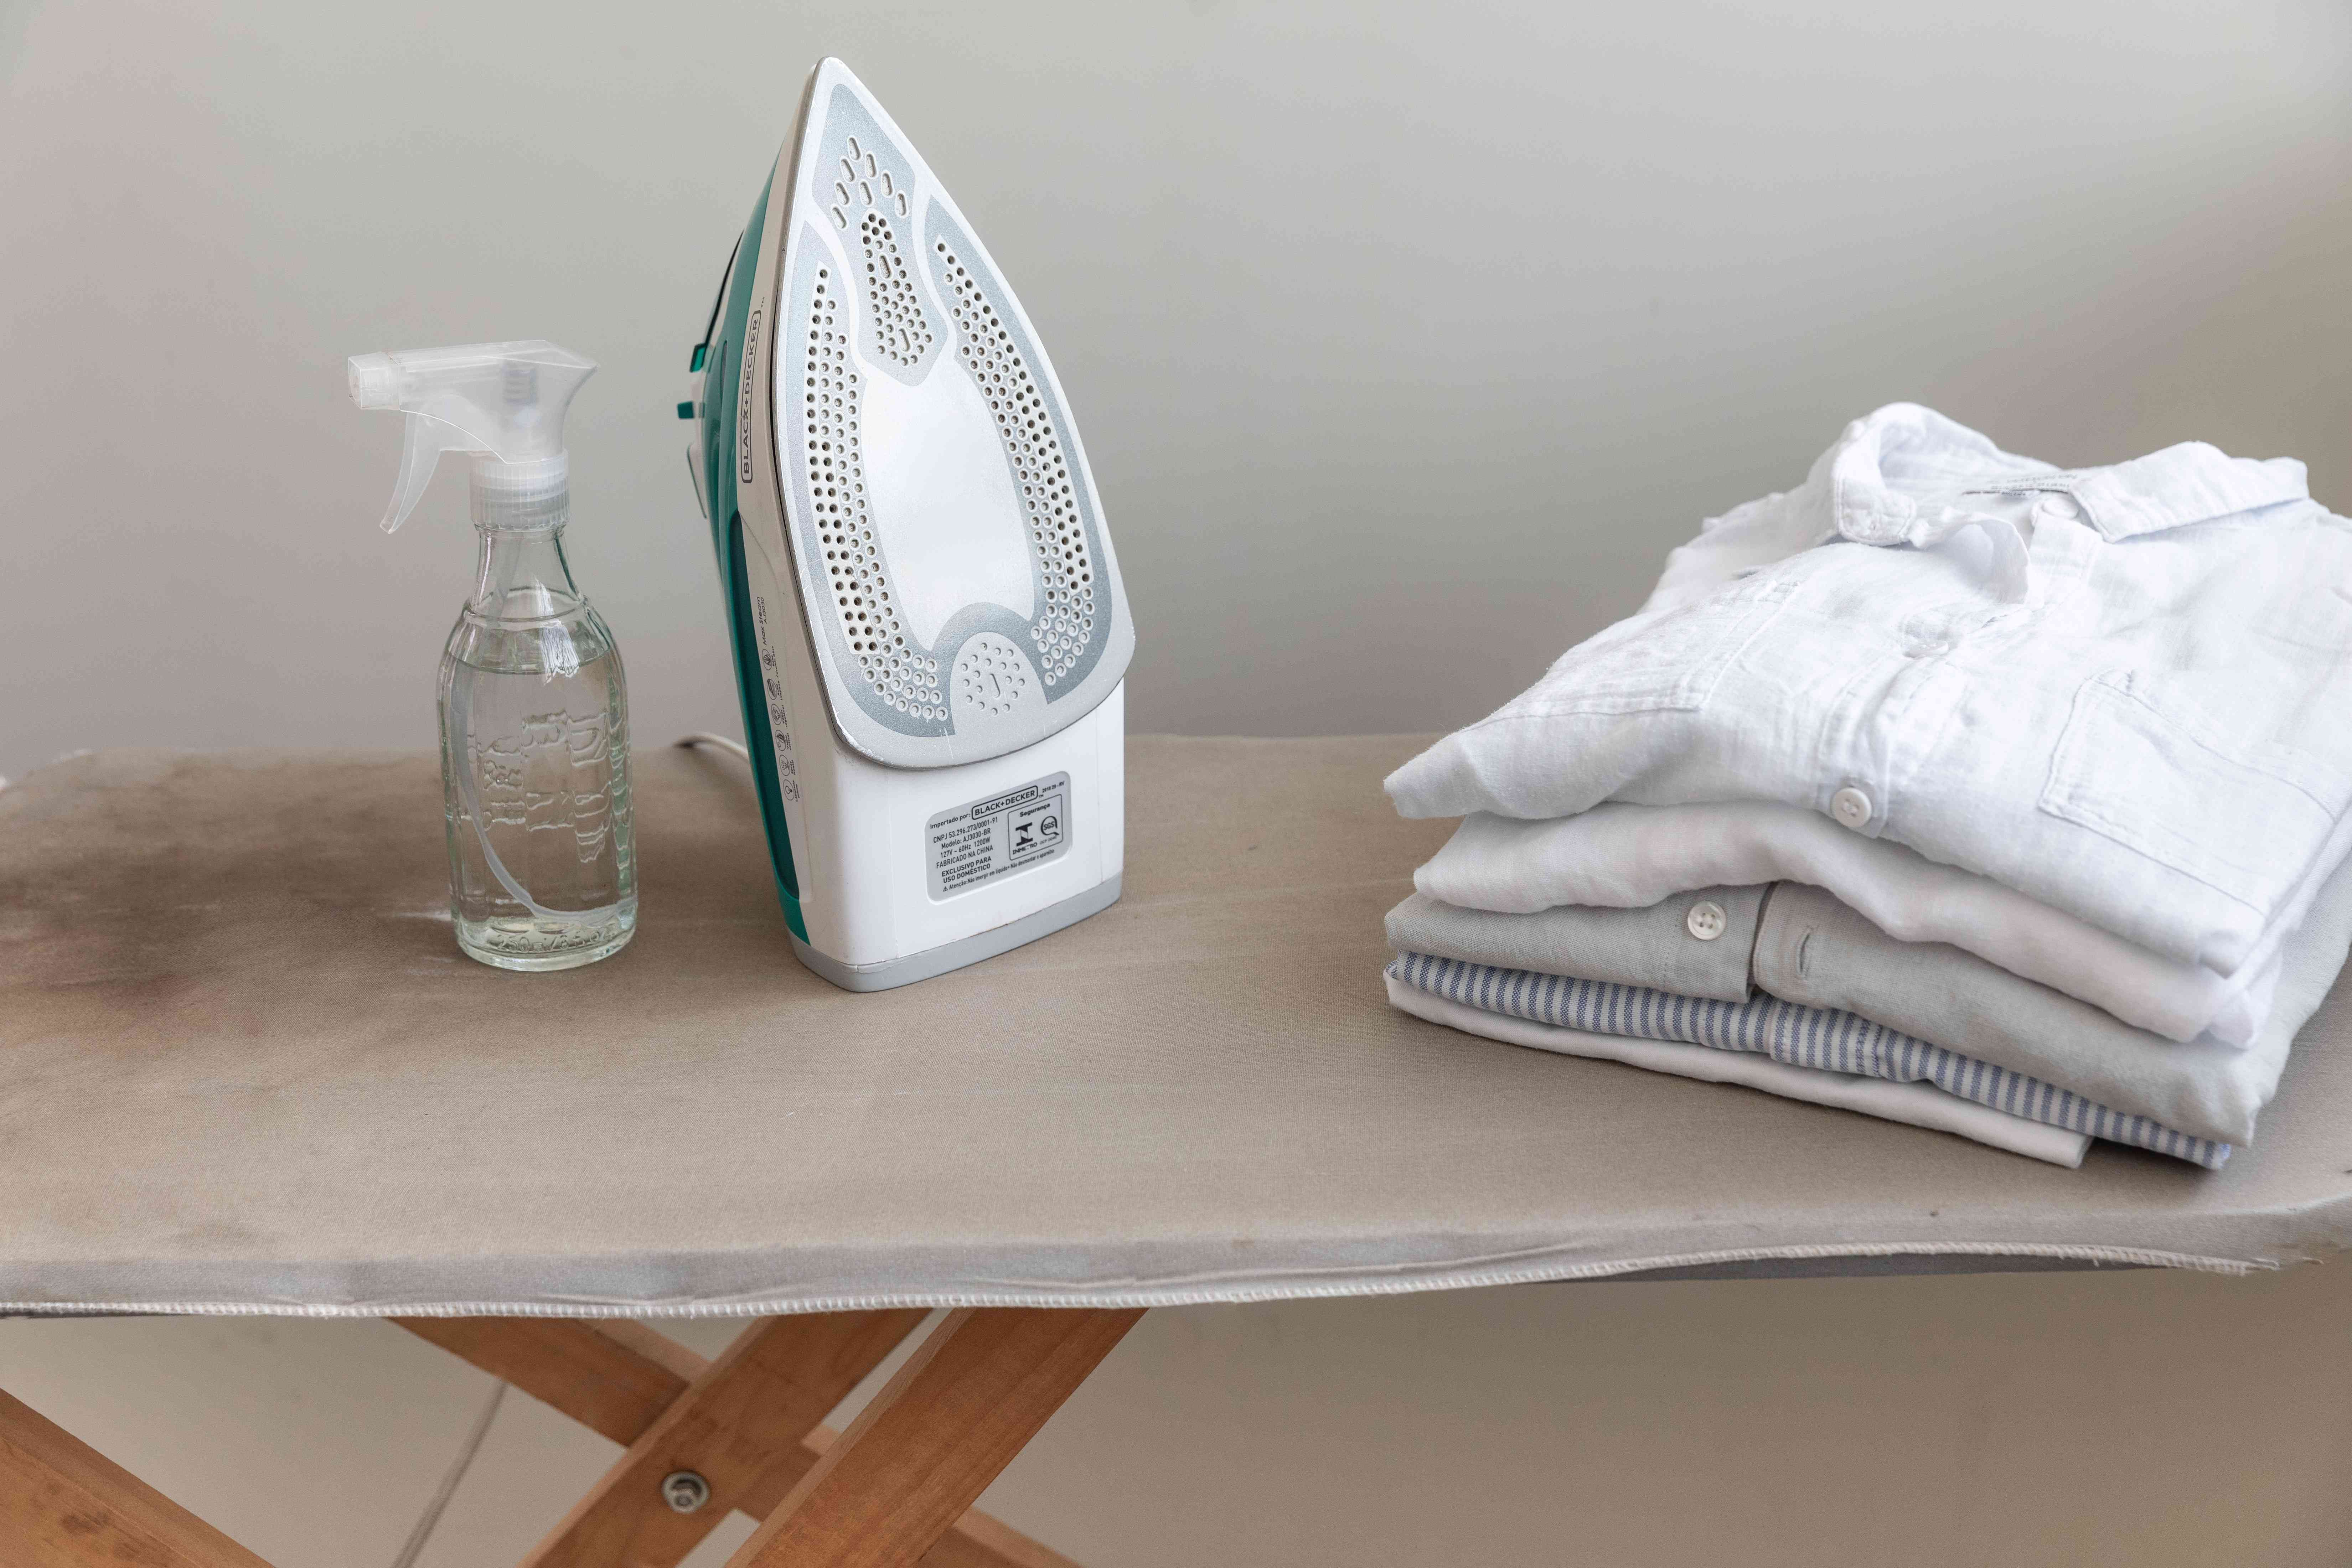
Ironing has a reputation problem. People talk about it like it is a chore invented by a villain who hates free time, happiness, and shirts with crisp collars. But the truth is much kinder: once you understand a few basics, ironing clothes is not complicated at all. It is less “mysterious domestic art” and more “small system with big rewards.”
If you have ever stared at a wrinkled button-down before work and thought, “Well, maybe if I stand very still no one will notice,” this guide is for you. The good news is that you do not need pro-level laundry skills, a fashion degree, or the emotional resilience of a person who enjoys folding fitted sheets. You just need the right setup, the right temperature, and a simple order of operations.
In this guide, you will learn how to iron clothes in four simple steps, how to avoid common mistakes, and how to handle different fabrics without turning your favorite shirt into a shiny science experiment. Whether you are ironing dress shirts, cotton pants, school uniforms, or the one blouse that wrinkles if you merely look at it too hard, these steps will help you get smooth results with less stress.
Why Learning How to Iron Clothes Still Matters
Steamers are great. Wrinkle-release sprays are handy. Hanging clothes in the bathroom during a hot shower can work in a pinch. But when you want sharp seams, crisp collars, flat cuffs, and clothes that look truly polished, ironing still wins. An iron uses direct heat and pressure, which makes it better for stubborn wrinkles and structured garments.
That matters for more than appearances. Proper ironing can help your clothes look cleaner, fit better on the body, and last longer because you are treating the fabric intentionally instead of attacking it with random heat and hope. In other words, ironing is not just about looking neat. It is about giving your clothes a fighting chance.
Before You Start: What You Need
Before jumping into the four steps, gather your supplies. A little preparation saves a lot of awkward fabric wrestling.
- A clean iron
- A sturdy ironing board or firm, heat-safe surface
- A spray bottle with water, if needed
- A pressing cloth for delicate fabrics
- A hanger for finished garments
One golden rule comes first: always check the care label. Those tiny symbols are not decorative hieroglyphics. They tell you whether the item can be ironed, whether steam is okay, and whether you should use low, medium, or high heat. If the garment says “do not iron,” believe it. This is not the moment for rebellion.
The 4 Simple Steps to Iron Clothes
Step 1: Read the Label and Set Up Your Station
The first step in how to iron clothes is also the one most people skip right before things go terribly, predictably, and a little smokily wrong. Read the care label. If you see an iron symbol, the number of dots inside it tells you the heat level:
- One dot: low heat
- Two dots: medium heat
- Three dots: high heat
As a general rule, synthetics need lower heat, silk and wool usually need medium care, and cotton or linen can handle higher heat. If a garment is a blend, go with the lower setting. If the label is missing and you truly have no clue what the fabric is, start low and test an inside seam first. Your shirt deserves caution, not gambling.
Now set up your ironing area. Use a stable board at a comfortable height, make sure the soleplate is clean, and fill the iron with water only if your model is designed for steam. A dirty iron can transfer residue to fabric, which is a deeply annoying way to create a brand-new problem while trying to solve an old one.
Also, do not iron dirty or stained clothes. Heat can lock stains into the fabric, and then your “quick touch-up” becomes “why does this shirt now permanently remember lunch?” Wash first, iron second.
Step 2: Sort Clothes by Fabric and Start Low
This step is where ironing starts to feel easier instead of chaotic. Sort your clothes by fabric type and ironing temperature. Start with garments that need the lowest heat, then move upward. Why? Because an iron heats up faster than it cools down. Starting low saves time and reduces the risk of accidentally scorching a delicate item because you forgot the iron was still set to “volcanic cotton.”
Here is a practical order:
- Synthetics like polyester, nylon, or acrylic
- Silk and blends
- Wool
- Cotton
- Linen and denim
Light moisture helps most fabrics relax. Slightly damp clothes are often easier to iron than bone-dry ones. If the garment is dry, a light mist from a spray bottle or a little steam can help. The main exception is delicate fabric that may water-spot easily, such as some silks. For those, use care, lower heat, and preferably a pressing cloth.
If you are ironing dark fabrics, embellished items, printed tees, or anything with texture, turn the garment inside out. This helps prevent shine, fading, and heat damage. A pressing cloth adds even more protection. It is a simple move that makes you look far more competent than you may feel, and frankly, we love that for you.
Step 3: Iron in Sections, Not in a Panic
Now the fun part: actually ironing. The key is to work in small sections and keep the fabric smooth. Do not shove half a shirt onto the board and hope for the best. That is not a strategy; that is textile improv.
Lay one section flat and pull it gently so it stays smooth. Then move the iron slowly over the fabric using straight, controlled passes. Avoid leaving the iron in one place too long. Keep it moving. Controlled heat is helpful. Stationary heat is how you end up explaining a shiny patch to yourself in the mirror.
Use steam for stubborn wrinkles on fabrics that allow it. If steam is not enough, lightly mist the area and press again. For delicate fabrics, use gentle pressure and a pressing cloth instead of trying to overpower the wrinkle like you are in a personal feud with a blouse.
For shirts, it helps to iron in a practical order:
- Collar
- Cuffs
- Sleeves
- Shoulders or yoke
- Front panels
- Back
For pants, start with pockets and waistband, then move to each leg. If you want a crease, align the seams carefully before pressing. For skirts and dresses, work from top to bottom and pay extra attention to pleats, hems, and seams.
If you are ironing around buttons, zippers, or decorations, slow down. Do not drag the hot soleplate directly over anything that could melt, scratch, or mark. Around buttons especially, work carefully and use the narrow tip of the iron to get close without creating damage. Neatness should never require collateral damage.
Step 4: Let Clothes Cool, Then Hang and Store Properly
This final step is underrated, and it matters more than people think. Once a garment is ironed, let it cool and dry fully before folding or wearing it. Warm fabric can wrinkle again almost immediately if you bunch it up too soon. You just did all that work. Let the shirt have a moment.
Hang shirts, dresses, and slacks right away. Fold sturdier pieces only after they cool completely. This helps preserve the smooth finish and keeps new creases from forming five seconds after victory.
Then take care of your iron. Unplug it, let it cool, empty the water tank if needed, and store it upright. Leaving water sitting in the reservoir can encourage mineral buildup and shorten the life of the appliance. In other words, your iron also needs closure after an intense session.
Fabric-Specific Ironing Tips
Cotton
Cotton is usually forgiving and responds well to medium-high or high heat. Slight moisture or steam helps a lot. This is the fabric that lets beginners feel like pros.
Polyester
Use low to medium heat. Too much heat can melt, shine, or distort the fabric. If in doubt, press gently and keep the garment inside out.
Silk
Use low heat, little to no steam unless the label allows it, and always iron on the wrong side or with a pressing cloth. Silk is elegant, dramatic, and fully willing to punish carelessness.
Wool
Use medium heat and a pressing cloth. Steam can help, but direct pressure on wool can create shine. Think “gentle persuasion,” not “flatten this immediately.”
Linen
Linen likes heat and moisture. Use high heat if the label allows it, and iron while slightly damp for the best results. Linen wrinkles just by existing, so do not expect spiritual perfection.
Common Ironing Mistakes to Avoid
- Ignoring the care label and guessing the temperature
- Ironing stained or dirty clothing
- Using a dirty soleplate
- Leaving the iron in one spot too long
- Using too much heat on blends or synthetic fabrics
- Ironing the right side of delicate, dark, or printed garments without protection
- Folding or wearing the item before it cools
These mistakes are common because they seem small. But in fabric care, small mistakes can leave very visible souvenirs.
How to Make Ironing Faster
If you want to spend less time ironing, the trick starts before the iron even turns on. Remove clothes from the dryer promptly. Hang garments as soon as possible. Wash wrinkle-prone items on permanent-press or similar cycles when the label allows it. And when you do iron, batch similar fabrics together so you are not changing temperatures every two minutes like a DJ with laundry responsibilities.
You can also keep a spray bottle nearby for quick wrinkle release and use hangers right next to your board so finished pieces go straight into recovery mode instead of onto a chair that definitely does not deserve them.
Real-Life Experience: What Ironing Taught Me the Hard Way
The first time many people iron clothes, they approach it with the confidence of someone who has watched exactly one online video and now considers themselves a garment engineer. That confidence usually lasts until they meet a fabric blend, a mystery care label, or a dress shirt with enough corners to qualify as architecture.
One of the most common experiences is learning that ironing is really about patience. Not a huge amount. Not monk-level patience. Just enough patience to stop rushing. The minute you try to iron an entire shirt in one sweeping move, the board shifts, the fabric bunches, and suddenly you are creating wrinkles faster than you are removing them. Ironing gets easier the moment you stop treating it like a race.
Another lesson people learn quickly is that heat is not the hero in every situation. It is tempting to think more heat equals faster results, but that logic has betrayed many perfectly innocent garments. A low setting on the right fabric often works better than blasting everything on high and hoping for mercy. In real life, the best ironing results usually come from matching the fabric, using a little moisture, and working in sections.
There is also the humbling experience of discovering how much difference a clean iron makes. Many people blame fabric when the real problem is buildup on the soleplate, old water in the tank, or residue from past use. Once the iron is clean and the settings are right, the process suddenly feels less like combat and more like a simple routine.
Perhaps the biggest real-world insight is that ironing changes from “annoying task” to “easy maintenance habit” once you stop saving it all for one giant mountain of laundry. Ironing one shirt before an event feels painful. Ironing three or four similar pieces in a row on the same heat setting feels efficient. The board is already out, the iron is already hot, and your future self gets to enjoy clothing that looks like it has its life together.
And yes, there is something unexpectedly satisfying about finishing a shirt, smoothing the final sleeve, and hanging it up crisp and ready. It is a small win, but a real one. Ironing will probably never become everyone’s favorite hobby, and that is completely fair. But it does become much less intimidating when you realize it is just a sequence: read, sort, press, cool. Once you know the rhythm, it stops feeling like a chore designed by chaos and starts feeling like a skill you can actually use whenever your clothes need a little help getting their act together.
Final Thoughts
If you have been overcomplicating how to iron clothes, here is the simple truth: read the label, sort by heat, iron in sections, and let the garment cool before storing it. That is the whole system. Not glamorous, maybe, but extremely effective.
Master these four simple steps and you will get better results, avoid fabric disasters, and spend less time fighting wrinkles that never asked to be there in the first place. A good iron, a little attention, and the willingness to start on low heat will take you surprisingly far.