A patchwork quilt is one of those magical projects that looks wildly impressive from across the room and mildly chaotic from three inches away. That is part of the charm. Tiny pieces of fabric become something warm, useful, and personal, which is a pretty good return on investment for a pile of cotton squares and a stubborn determination to sew straight.
If you have been wondering how to make a patchwork quilt, the good news is that there is not just one correct path. In fact, there are several. Some quilters love a clean, classic grid. Others swear by strip piecing because it saves time and reduces the number of times they need to ask, “Why did I cut this piece upside down?” And then there are the creative rebels who build scrap quilts and improv designs that look effortless, even though the sewing room may briefly resemble a fabric tornado zone.
In this guide, you will learn three practical ways to make a patchwork quilt, along with tips for fabric selection, cutting, piecing, quilting, and finishing. Whether you are a beginner or a confident sewer ready to finally tackle quilting, these methods will help you create a quilt that looks intentional, polished, and delightfully handmade.
What You Need Before You Start
Before you dive into patchwork, gather the basics. You do not need a sewing machine that looks like it belongs in a spaceship. You do need tools that help you cut and sew accurately. A simple straight-stitch machine can absolutely handle a beginner quilt.
- 100% quilting cotton or another stable woven fabric
- Rotary cutter, self-healing mat, and clear acrylic ruler
- Sewing machine with fresh needle and quality thread
- Iron and ironing board or pressing mat
- Pins or clips
- Batting
- Backing fabric
- Binding fabric
Many quilters also recommend choosing fabrics with a mix of light, medium, and dark values. That contrast helps your patchwork design show up instead of blending into one polite but slightly confused blur. If you want your quilt blocks to pop, value matters just as much as color.
Another beginner-friendly tip is to decide early whether you will prewash your fabrics. Some quilters prewash to reduce shrinkage and remove excess dye, while others prefer the crisp finish of unwashed fabric. Either approach can work. The real secret is consistency. Mixing washed and unwashed fabric without a plan is how your quilt starts making decisions without consulting you.
Way 1: Make a Classic Grid Patchwork Quilt
Why this method works
A classic grid patchwork quilt is the best place to start if you are new to quilting. This method uses squares or simple blocks arranged in rows and columns. Think checkerboard, four-patch, nine-patch, or plain square patchwork. It is straightforward, easy to measure, and forgiving enough that beginners can learn accuracy without feeling like they are taking a geometry exam.
How to do it
Start by choosing a finished block size. For example, if you want 5-inch finished squares, you will cut your fabric squares at 5 1/2 inches to account for seam allowances. That extra half inch matters. In quilting, the 1/4-inch seam allowance is basically sacred. Ignore it, and your blocks will slowly drift off course like shopping carts with one bad wheel.
Lay out your squares on a flat surface before sewing. This step helps you balance prints, colors, and contrast. You may think you can “just wing it,” but laying out blocks first often prevents the classic quilting moment of discovering three loud florals shouting at each other in the same corner.
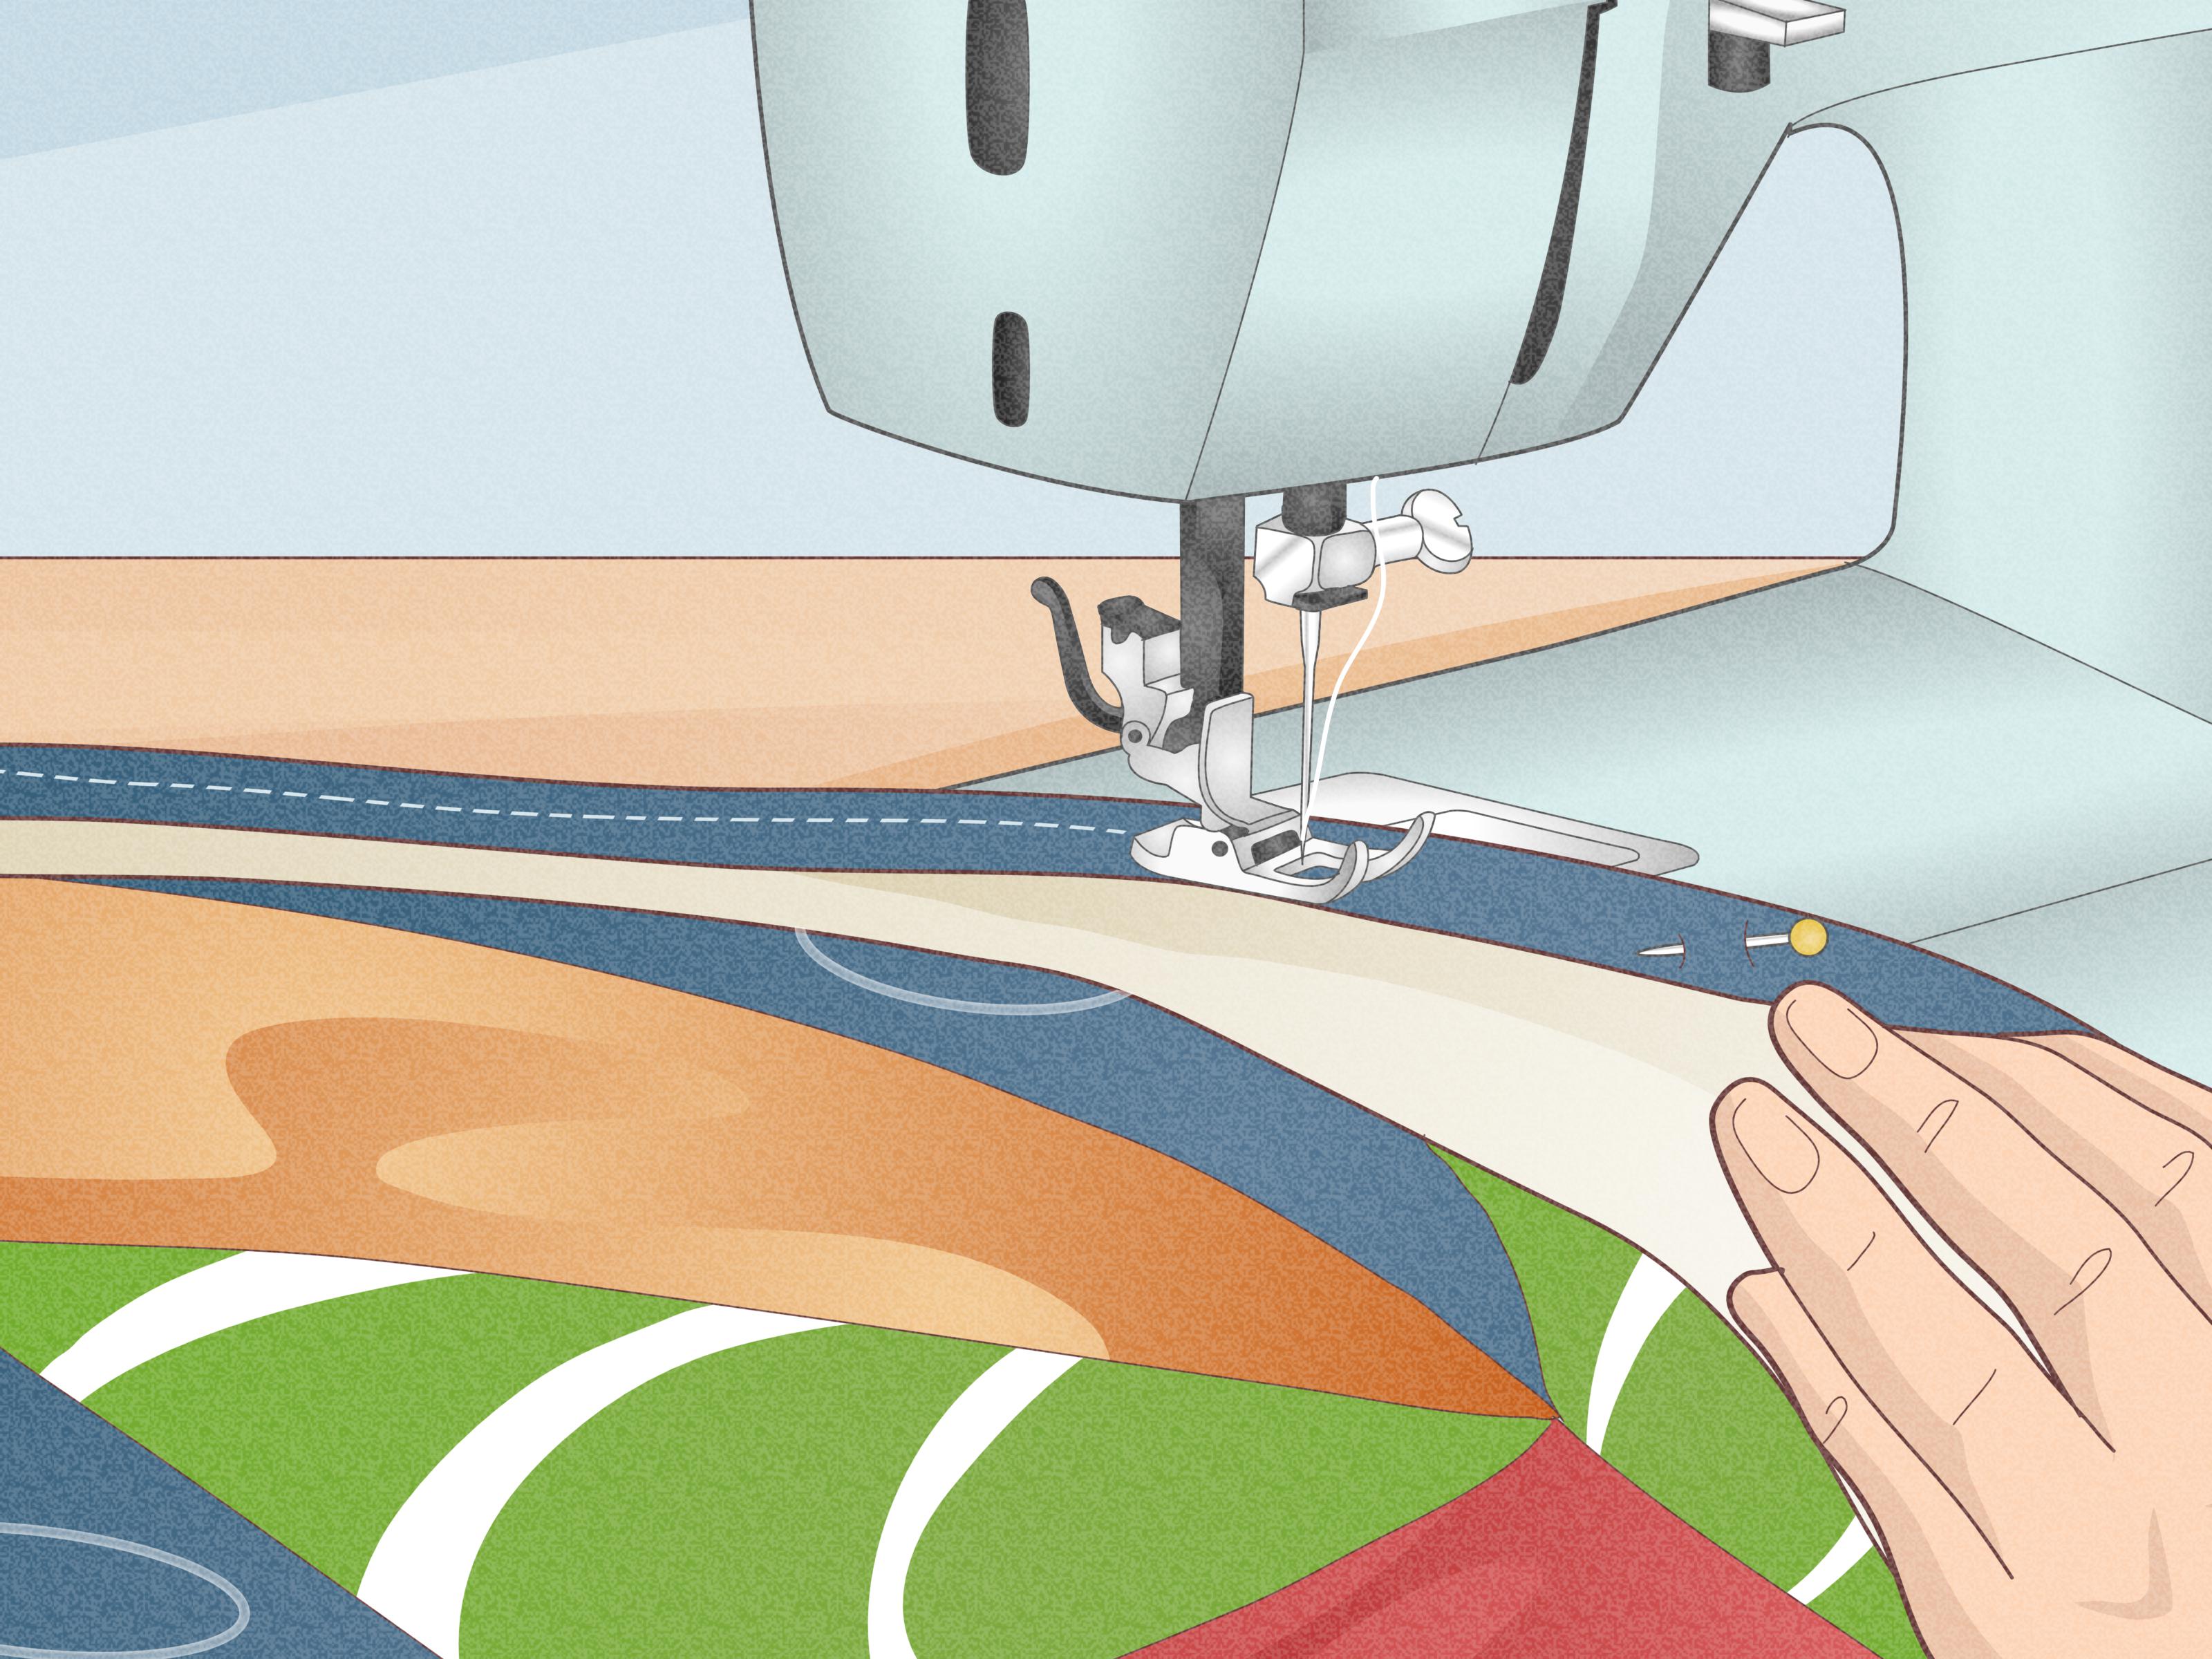
Sew the squares together into rows using a consistent 1/4-inch seam. Then join the rows to create the quilt top. Press as you go. Pressing is not the same as ironing, which tends to involve dragging the iron around like you are trying to erase evidence. Pressing means lifting and lowering the iron to keep your fabric from stretching out of shape.
Best fabric choices
This style works beautifully with charm packs, fat quarters, leftover quilting cotton, or coordinated fabric collections. If you want a timeless patchwork quilt, try traditional florals, gingham, calicos, or solids. For a more modern patchwork quilt, combine bold solids, black-and-white prints, and plenty of negative space.
Example project idea
A throw-size grid quilt made from 6-inch finished squares is a great first project. Use forty-eight to sixty squares depending on the finished size you want. Add a narrow border if you would like the design to feel more framed and polished.
Way 2: Make a Strip-Pieced Patchwork Quilt
Why this method works
Strip piecing is the speed-friendly cousin of traditional block quilting. Instead of sewing together dozens of tiny individual pieces one by one, you sew long fabric strips together first and then cut them into units. This technique is ideal if you want to make a patchwork quilt faster, especially when using repeated shapes like rail fence blocks, log cabin variations, or strip quilts.
It is also a wonderful option for beginners who enjoy efficiency and would rather not cut 147 separate rectangles while questioning every life choice that led to this moment.
How to do it
Choose two to five fabrics that work well together. Cut them into long strips of equal width, such as 2 1/2 inches. Sew the strips together along the long edges, creating strip sets. Press the seams carefully, then crosscut the strip sets into smaller units. These units can be sewn into rows, rotated for visual variety, or combined into larger patchwork blocks.
A simple rail fence quilt is one of the easiest examples. Sew three strips together, cut the strip set into equal segments, and then rotate the segments to create movement in the overall design. It looks more complicated than it is, which is always a nice bonus.
Benefits of strip piecing
Strip piecing improves speed, reduces repetitive cutting, and helps keep units more uniform. It is especially useful when making larger quilts, because repeated sections come together quickly. This method also works beautifully with jelly rolls or fabric strips cut from stash fabric.
If you want to make a patchwork quilt with clear rhythm and visual flow, strip piecing is an excellent choice. Long strips naturally create direction, which can make a quilt feel more dynamic even when the shapes are simple.
Design tips
Use strips with obvious contrast so the design does not disappear. Mix small prints, medium prints, and solids. If all the fabrics are equally busy, the finished quilt can look like a very stylish traffic jam. Adding a solid or low-volume print gives the eye a place to rest.
Also, square up your strip sets before sewing them into the quilt. That little trimming step can make a huge difference in how nicely the rows line up later.
Way 3: Make a Scrap or Improv Patchwork Quilt
Why this method works
If your fabric stash has become a colorful mountain with emotional significance, a scrap quilt may be your destiny. Scrap and improv patchwork quilts use leftover pieces, odd shapes, or loosely planned layouts to create a finished quilt that feels organic and highly personal. This method is fantastic for using fabric efficiently and creating a one-of-a-kind design.
Unlike a strict grid quilt, a scrap quilt does not demand that every block match perfectly. It welcomes variety. It forgives quirks. It says, “Come as you are, little fabric leftovers.” That is deeply refreshing.
How to do it
Start by sorting your scraps by color family, value, or size. Then choose a basic structure. You can sew random squares into blocks, create crumb pieced panels from tiny leftovers, make string quilt blocks on a paper or fabric foundation, or improvise larger patchwork sections and trim them to size later.
A popular beginner-friendly option is the string quilt. Sew narrow strips of fabric diagonally across a foundation, one strip at a time, then trim the block to a square. Another easy method is crumb quilting, where very small irregular scraps are sewn into larger units and then squared up. It is like fabric recycling, but prettier.
How to keep it from looking messy
Scrap quilts are free-spirited, not random in a reckless way. To make them successful, repeat something throughout the quilt. That might be a background fabric, one accent color, a consistent block size, or a repeating layout. Repetition is what turns scraps into design.
For example, you might use warm-toned scraps with a white background, or mix every print under the sun but keep all blocks at 10 1/2 inches unfinished. That consistency gives the eye a pattern to follow.
Who should try this method
This is the perfect patchwork quilt method for creative sewists, stash lovers, and anyone who gets hives from the phrase “make twenty-four identical blocks.” If you enjoy experimentation and want your quilt to feel spontaneous, this approach can be incredibly satisfying.
How to Turn Your Patchwork Top Into a Finished Quilt
Once your quilt top is complete, the project is only mostly complete. Now you need to make the quilt sandwich. This means layering the quilt backing on the bottom, batting in the middle, and patchwork top on the front. Smooth everything carefully and baste the layers with safety pins, spray baste, or long temporary stitches.
At this stage, make sure your backing and batting are slightly larger than the quilt top. That extra margin gives you room for shifting during quilting and trimming later. It is one of those small details that saves big frustration.
Next comes quilting. For beginners, straight-line quilting is the easiest option. Use a walking foot if you have one and quilt in evenly spaced vertical, horizontal, or diagonal lines. Stitch-in-the-ditch, where you sew directly in the seams, is another common technique, though it can be a bit trickier than it sounds. The ditch has a sneaky personality.
Finally, trim the edges and attach the binding. Binding is the fabric strip that wraps around the raw outer edges of the quilt. It gives the quilt a clean finish and protects the edges over time. You can sew binding by machine, hand-finish it on the back, or machine-stitch both sides if speed is your priority.
Mistakes to Avoid When Making a Patchwork Quilt
- Skipping accurate cutting: Even a small cutting error multiplies across many pieces.
- Ignoring seam consistency: A wobbly seam allowance can turn a perfect plan into puzzle pieces that refuse to cooperate.
- Not pressing as you sew: Pressing helps blocks stay flat and fit together better.
- Using stretchy or slippery fabric for a first quilt: Save satin, knits, and drama for another day.
- Choosing too many similar prints: Without contrast, the patchwork design can disappear.
- Rushing the finishing: Quilting and binding are part of the final look, not just chores standing between you and a nap.
Which of the 3 Ways Should You Choose?
If you are brand new to quilting, start with the classic grid patchwork quilt. It teaches the core skills clearly and sets you up for future success. If you want speed and efficiency, strip piecing is probably your best match. If you love using leftovers and making something artistic and original, go with a scrap or improv patchwork quilt.
There is no wrong answer here. The best patchwork quilt method is the one that fits your personality, your fabric stash, and your tolerance for measuring things twice. Some quilters fall in love with precision. Others discover they are happiest making beauty out of scraps. Most eventually do both.
Extra Experience and Lessons From Making Patchwork Quilts
One of the most memorable things about making a patchwork quilt is how quickly it stops being “just a sewing project” and turns into a story. The first time I made one, I was convinced the hardest part would be the sewing. It was not. The hardest part was choosing fabrics without behaving like a person who suddenly had opinions about forty-two shades of blue. Once the cutting started, though, the quilt became less intimidating and more addictive.
I learned early that fabric arrangement matters more than I expected. Two prints that looked lovely side by side on a shelf could become sworn enemies once they were cut into blocks and repeated across a quilt. Laying everything out on the floor helped me spot the loud spots, the boring patches, and the corner that looked like it was trying to start its own separate quilt.
Another lesson came from seam allowances. I used to think “close enough” was a charming personal philosophy. Quilting disagreed. Patchwork rewards consistency in a very direct way. When your 1/4-inch seam is steady, blocks line up beautifully. When it wanders, the quilt still gets made, but it may develop a personality that is slightly more abstract than planned.
Pressing also changed everything. At first, I rushed through it because I wanted visible progress. Then I made a few blocks that refused to match, and suddenly the iron became my best friend. Proper pressing flattened seams, improved accuracy, and made the whole quilt top look sharper. It felt like the difference between “homemade with love” and “homemade during a windstorm.”
Patchwork quilting also taught me patience in a surprisingly pleasant way. A quilt grows slowly. One row becomes three. Three rows become a top. Then the top becomes a quilt sandwich, then a quilted piece, then a finished quilt. It is a project built on small wins. That rhythm is one reason many people come back to quilting again and again. The process is calming, tactile, and satisfying in a world that usually wants everything done by Tuesday.
Perhaps my favorite experience with patchwork quilts is how personal they become without trying too hard. A scrap from an old dress, leftover fabric from curtains, a print bought on vacation, a pattern chosen because it reminded you of someone you lovethose details quietly collect meaning as you sew. By the time the binding is attached, the quilt feels less like an object and more like a record of time, taste, and memory.
That is why patchwork quilts make such wonderful gifts. They hold warmth in more than one sense. Even a simple beginner quilt can become something treasured because it was made piece by piece, with thought in every seam. And if your corners are not mathematically perfect? Welcome to the club. Most people who receive a handmade quilt are not checking your points with a ruler. They are wrapping up in something made with care.
In the end, making a patchwork quilt is part skill, part creativity, and part willingness to learn as you go. Every quilt teaches something new. One may teach color balance. Another may teach patience. A third may teach that you should absolutely label your cut pieces before the cat “helps.” That, too, is quilting wisdom.
Conclusion
Learning how to make a patchwork quilt does not require years of experience or a studio packed with elite equipment. It starts with fabric, a plan, and a method that suits the way you like to create. A classic grid quilt offers structure. Strip piecing brings speed. Scrap and improv quilting offer freedom. All three can lead to a beautiful finished quilt that is warm, practical, and packed with personality.
The best advice is simple: start with a manageable project, focus on accuracy more than speed, and let yourself enjoy the process. Patchwork quilting is one of those crafts where little pieces become something far bigger than the sum of their parts. Also, it gives you an excellent excuse to buy fabric “for a project” and mean it with total sincerity.