Text files and CSV files are the plain white T-shirts of the data world: simple, lightweight, useful, and not always ready for a boardroom presentation. Excel workbooks, on the other hand, let you format, filter, calculate, chart, protect, and share data in a way that feels less like “raw ingredients” and more like “dinner is served.” If you have a .txt or .csv file and want to turn it into an .xlsx spreadsheet, the good news is that you do not need wizard-level computer powers. You just need the right method.
This guide explains how to convert text and CSV files to Excel using two easy methods: opening the file directly in Excel, and importing it with Excel’s Get Data / Power Query tools. Along the way, you will learn how to avoid common problems like columns merging together, dates changing mysteriously, leading zeros disappearing, special characters turning into tiny alien symbols, and Excel treating your ZIP codes like math homework.
Whether you are cleaning a customer list, preparing sales data, exporting reports from software, organizing survey results, or trying to make sense of a file named something cheerful like final_final_REAL_export_3.csv, this article will help you convert it into a clean Excel workbook.
What Are Text and CSV Files?
Before converting anything, it helps to know what you are working with. A text file is a basic file that stores plain characters. It usually ends in .txt. A text file may contain paragraphs, lists, logs, exported database rows, or structured data separated by tabs, spaces, semicolons, pipes, or another delimiter.
A CSV file, short for comma-separated values, is a type of text file that stores data in rows and columns. Each row is usually a line of data, and each value is separated by a comma. For example:
When Excel reads that CSV file correctly, it places “Name,” “Email,” and “City” into separate columns. When Excel reads it incorrectly, everything may land in one column like a data traffic jam. That is where the conversion method matters.
Why Convert Text or CSV Files to Excel?
Text and CSV files are excellent for moving data between apps because they are small, simple, and widely supported. Many platforms export data as CSV, including accounting software, ecommerce dashboards, email marketing tools, customer relationship management systems, inventory systems, analytics platforms, and online forms.
However, CSV and TXT files do not preserve Excel features such as formulas, cell colors, pivot tables, charts, frozen panes, filters, multiple worksheets, comments, or advanced formatting. Once you convert the file to an Excel workbook (.xlsx), you can sort, filter, calculate, clean, format, and analyze the data without worrying that every save will flatten it back into plain text.
Before You Start: Check the File
Open your text or CSV file in a simple text editor first, such as Notepad on Windows or TextEdit on Mac in plain-text mode. You are not editing the data yet; you are just checking its structure. Look for the separator between values. It may be a comma, tab, semicolon, pipe symbol, or fixed spacing.
Common Delimiters You May See
- Comma: name,email,city
- Tab: values appear with large spaces between them
- Semicolon: name;email;city
- Pipe: name|email|city
- Fixed width: columns align by character position instead of a symbol
You should also notice whether the file has a header row, such as “First Name, Last Name, Email.” Headers make conversion easier because Excel can use them as column names.
Method 1: Open the Text or CSV File Directly in Excel
The fastest way to convert a simple text or CSV file to Excel is to open it directly in Excel and then save it as an Excel workbook. This method works best when the file is clean, uses a standard delimiter, and does not contain tricky data such as leading zeros, unusual date formats, or special characters from another language.
Step 1: Open Excel
Launch Microsoft Excel. You can start with a blank workbook, but you do not have to. The key is to open the text or CSV file from inside Excel instead of double-clicking randomly and hoping the spreadsheet gods are in a good mood.
Step 2: Go to File > Open
Select File, then choose Open. Browse to the folder where your .txt or .csv file is saved. If you do not see the file, change the file type filter to show text files, CSV files, or all files.
Step 3: Open the File
If the file is a standard CSV, Excel will usually separate the values into columns automatically. If the file is a TXT file, Excel may launch the Text Import Wizard or open a preview that asks how the data should be split. Choose the correct delimiter, such as comma, tab, semicolon, or space.
Step 4: Review the Data
Do not save yet. First, scan the spreadsheet. Make sure names are in the name column, email addresses are in the email column, and dates look like dates instead of cryptic serial numbers. Check numbers with leading zeros, such as ZIP codes, product codes, employee IDs, or SKU numbers. Excel may remove leading zeros if it treats those values as numbers.
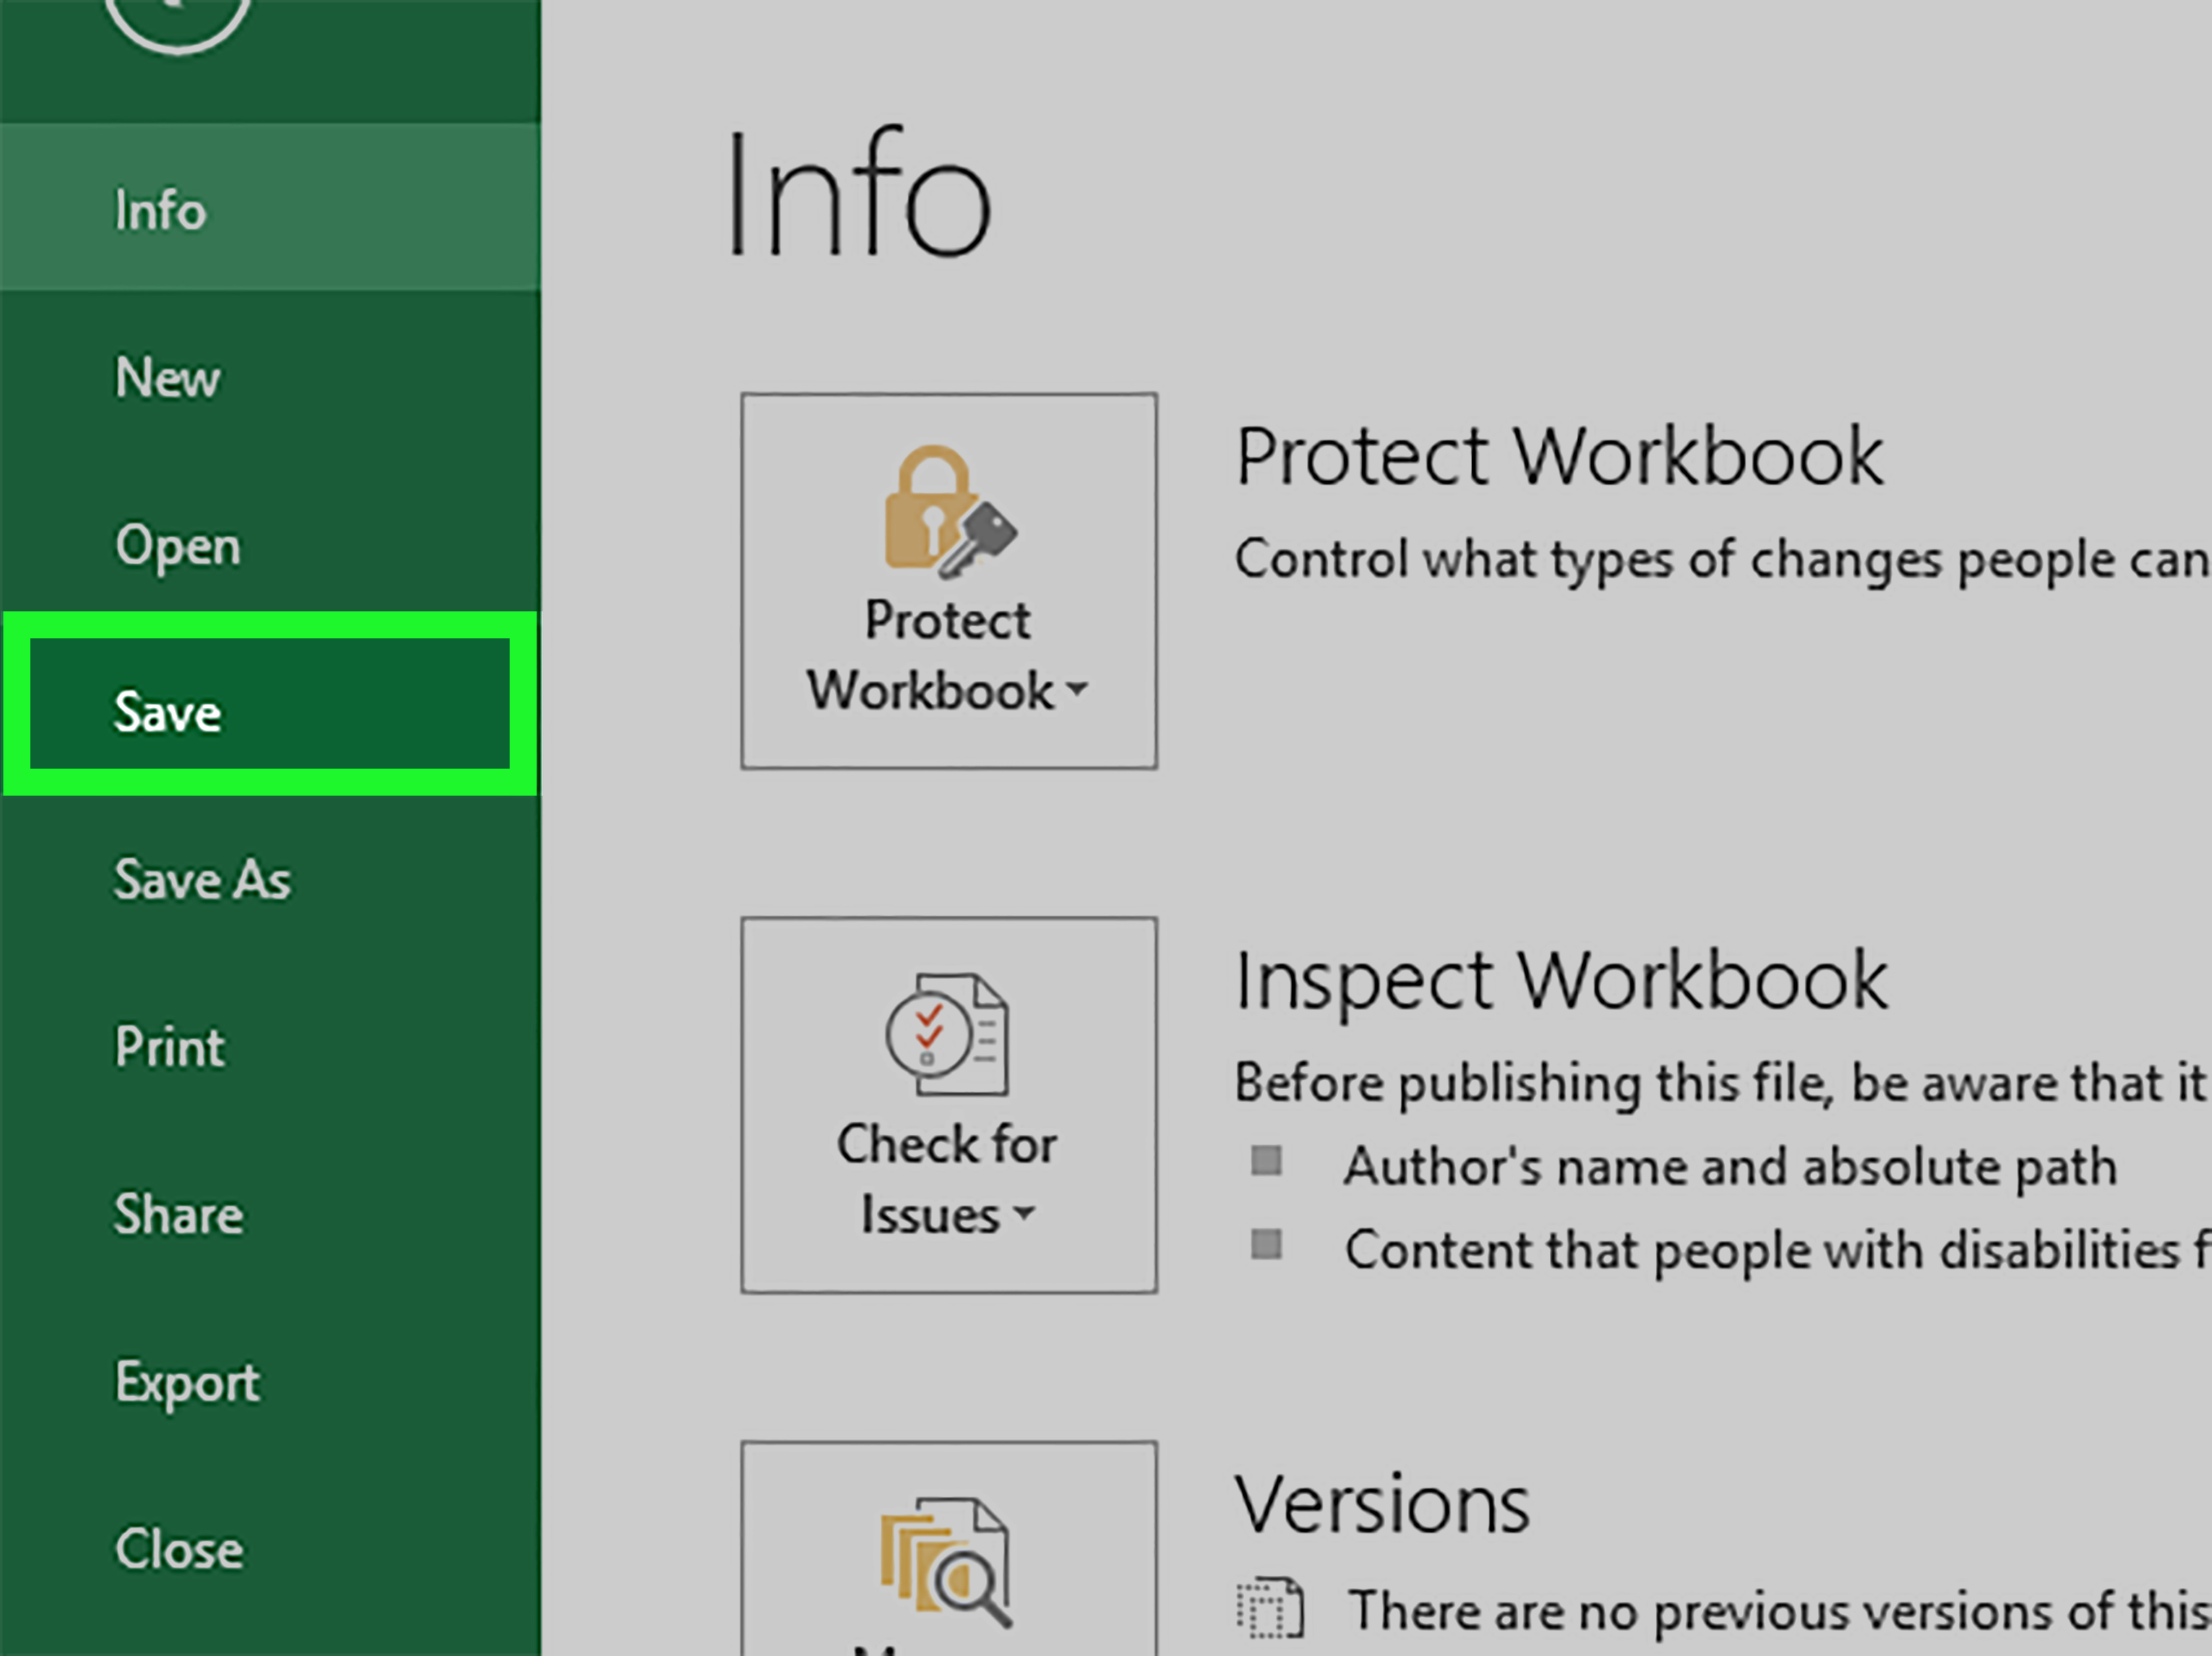
Step 5: Save as an Excel Workbook
Once the data looks correct, go to File > Save As. Choose a location, enter a file name, and select Excel Workbook (*.xlsx) as the file type. Click Save. Congratulations: your plain text or CSV file is now an Excel workbook.
Best Uses for Method 1
This direct-open method is perfect for quick jobs. Use it when you have a small or medium-sized CSV file, standard comma-separated data, simple columns, and no special formatting concerns. For example, a basic contact list with columns for name, email, phone, and city can usually be converted this way in less than a minute.
When Method 1 Can Go Wrong
The direct method is convenient, but it can make assumptions. Excel may guess data types automatically. That sounds helpful until it changes “00125” into “125,” converts a product code into a date, or displays international characters incorrectly. If the file contains sensitive formatting, non-U.S. date formats, IDs, codes, or multilingual text, use Method 2 instead.
Method 2: Import the File with Get Data / Power Query
The second method is slightly more controlled and much more reliable. Excel’s Get Data feature, also known through Power Query, lets you preview the file, choose the delimiter, control encoding, transform columns, and decide how Excel should treat each field before loading the data. In plain English: this method lets you tell Excel what to do instead of letting Excel guess and then apologizing to your spreadsheet later.
Step 1: Open a Blank Workbook
Start Excel and open a blank workbook. This gives you a clean place to import the data. If you already have a workbook where the data should go, open that workbook instead.
Step 2: Go to Data > Get Data
On the Excel ribbon, select the Data tab. Choose Get Data, then select From File, and then choose From Text/CSV. In some versions of Excel, you may see a button named From Text/CSV directly on the Data tab.
Step 3: Select Your Text or CSV File
Browse to your file and select it. Excel will show a preview window. This is where the magic happens. You can check whether the data is splitting into columns correctly before you load it into the worksheet.
Step 4: Choose the Correct Delimiter
If the preview shows everything in one column, the delimiter is probably wrong. Use the delimiter dropdown to choose comma, tab, semicolon, colon, space, or a custom delimiter. For pipe-separated files, choose a custom delimiter and enter the pipe symbol: |.
Step 5: Check File Origin or Encoding
If special characters look broken, such as names with accents or symbols, check the file origin or encoding setting. Many modern files use UTF-8. Choosing the correct encoding can fix characters that otherwise appear as question marks, boxes, or strange symbols. This step is especially important for international customer lists, product catalogs, and exported reports from web applications.
Step 6: Transform Data if Needed
If the preview looks mostly correct but you need more control, click Transform Data. This opens Power Query Editor. Here you can rename columns, remove blank rows, split columns, change data types, remove duplicates, trim spaces, filter rows, and clean the file before it reaches Excel.
For example, if your CSV includes a “Full Name” column, you can split it into “First Name” and “Last Name.” If your export includes extra footer rows like “Report generated on Friday,” you can remove those rows. If a column contains ZIP codes, product IDs, or account numbers, set the data type to Text so Excel does not remove leading zeros.
Step 7: Load the Data
When everything looks right, click Close & Load. Excel will place the cleaned data into a worksheet table. From there, save the file as an Excel Workbook (.xlsx).
Best Uses for Method 2
Use the import method when accuracy matters. It is best for large files, messy exports, files with unusual delimiters, international characters, custom date formats, leading zeros, fixed-width text, or recurring reports. If you receive the same CSV every week, Power Query can also make future imports easier because the cleaning steps can be reused.
Quick Comparison: Which Method Should You Use?
| Situation | Best Method | Why |
|---|---|---|
| Simple CSV with standard columns | Method 1 | Fast and easy |
| TXT file with tabs or custom separators | Method 2 | Lets you choose the delimiter |
| Data has leading zeros | Method 2 | You can set columns as text |
| Names or symbols display incorrectly | Method 2 | You can adjust encoding |
| One-time quick conversion | Method 1 | Minimal setup |
| Recurring monthly report | Method 2 | Power Query can repeat cleanup steps |
How to Convert a TXT File with Fixed-Width Columns
Not every text file uses commas or tabs. Some older systems export fixed-width text files, where each field begins at a specific character position. The file may look aligned in a text editor, almost like a spreadsheet made out of spaces. For fixed-width files, importing through Excel is usually better than opening directly.
Use Data > Get Data > From File > From Text/CSV. If Excel detects fixed-width structure, review the preview carefully. If you use the legacy Text Import Wizard, choose Fixed width, then set break lines where each column should begin. After importing, review each column and save the file as .xlsx.
How to Prevent Common Conversion Problems
Problem 1: Everything Appears in One Column
This usually means Excel used the wrong delimiter. A file may be called CSV even if it actually uses semicolons or tabs. Import it with Method 2 and choose the correct delimiter. If you are not sure, open the file in a text editor and inspect the character between values.
Problem 2: Leading Zeros Disappear
Excel often treats values like 00123 as numbers, then removes the zeros because numbers do not need them. Unfortunately, ZIP codes, IDs, account numbers, and SKUs often do need them. During import, set those columns to Text. This preserves the exact value.
Problem 3: Dates Change Format
Date confusion is common because different regions use different date formats. For example, 03/07/2026 could mean March 7 or July 3 depending on the format. In Power Query, set the correct data type and locale when needed. For important reports, always verify a few sample dates after importing.
Problem 4: Special Characters Look Strange
If names, currency symbols, accents, or non-English characters look wrong, the file encoding may be the issue. Try importing with UTF-8 encoding. CSV files saved with UTF-8 are usually safer for modern systems, especially when data includes international text.
Problem 5: Large Files Open Slowly
Excel can handle large datasets, but very large CSV files may be slow or may exceed worksheet row limits. Excel worksheets support a limited number of rows and columns. If the file is too large, consider importing only the needed columns, filtering rows in Power Query, splitting the file, or using a database tool before bringing the final dataset into Excel.
Tips for Cleaning Data After Conversion
After converting your text or CSV file to Excel, spend a few minutes cleaning the worksheet. Turn the data range into an Excel table by selecting the data and pressing Ctrl + T. Tables make filtering, sorting, and formatting easier. Freeze the top row so headers remain visible. Auto-fit columns so you can actually read the data without playing spreadsheet peekaboo.
Use Remove Duplicates if you are working with contact lists or product records. Use TRIM to remove extra spaces, PROPER to clean up names, and TEXT functions when you need consistent formatting. If the file includes blank rows, totals, notes, or export timestamps, remove them before analysis.
CSV vs. Excel Workbook: What Changes After Conversion?
When you save a CSV file as an Excel workbook, you move from a plain-text data format to a richer spreadsheet format. CSV files usually store only raw values. Excel workbooks can store multiple sheets, formulas, formatting, charts, pivot tables, filters, images, comments, and data validation. That is why converting to .xlsx is useful when you plan to work with the data instead of simply transfer it.
However, remember that saving back to CSV will remove many Excel-only features. If you add formulas, colors, or extra sheets, keep an .xlsx copy. Export a CSV copy only when another system requires it.
Real-World Example: Converting a Customer CSV to Excel
Imagine you export a customer list from an ecommerce platform. The CSV includes customer names, emails, order totals, ZIP codes, signup dates, and country names. If you open it directly, Excel may convert ZIP codes like 02108 into 2108. That is not a tiny formatting issue; that is a ZIP code moving from Boston to Spreadsheet Narnia.
Using Method 2, you import the file through Data > From Text/CSV. In the preview, you set the ZIP code column as text, confirm the delimiter is comma, check that dates are interpreted correctly, and load the data into Excel. Then you save it as an .xlsx workbook. Now the file is ready for filtering by state, calculating order totals, creating pivot tables, or sharing with your team.
Real-World Example: Converting a Tab-Delimited TXT Report
Now suppose your accounting system exports a .txt file with tab-separated columns. When you open it in a text editor, the columns appear spaced apart. If you double-click it, your computer may open the file in Notepad instead of Excel. No drama. Open Excel, use Get Data, select the TXT file, and choose Tab as the delimiter. Review the preview, load the table, and save it as an Excel workbook.
This method is especially helpful for reports from older business systems, inventory tools, shipping platforms, and internal databases. Many of these exports are technically text files, but Excel can structure them beautifully when you choose the right import settings.
Extra Experience: Practical Lessons from Converting Text and CSV Files to Excel
After working with enough text and CSV files, you learn one important truth: the file extension does not always tell the whole story. A file named customers.csv may be clean and comma-separated, or it may be semicolon-separated because it came from a system using regional settings where commas are used as decimal separators. A file named report.txt may contain paragraphs, or it may be a perfectly structured table separated by tabs. The smartest habit is to inspect the file before importing it.
One of the most useful real-world practices is to keep the original file untouched. Before converting, make a copy of the CSV or TXT file and work from the copy. This gives you a safety net. If something imports incorrectly, you can start again without worrying that you changed the raw export. This is especially important when working with financial records, customer lists, product inventories, or school data.
Another experience-based tip is to slow down when dealing with identifiers. Excel is extremely eager to help, which is lovely in theory and occasionally chaotic in practice. Product codes, barcodes, ZIP codes, student IDs, invoice numbers, and tracking numbers should often be treated as text, not numbers. If Excel converts them automatically, it may remove leading zeros or display long numbers in scientific notation. That tiny-looking change can break uploads to other systems later.
Dates deserve the same caution. If you receive files from different countries, departments, or software systems, date formats may vary. A U.S. date format may use month/day/year, while another system may use day/month/year or year-month-day. When a date column matters, do not just glance at the first row and celebrate. Check several rows, especially dates where both the day and month are 12 or lower. Those are the sneaky ones because they can look valid even when they are wrong.
For recurring work, Power Query is usually worth learning. The first import may take a few extra minutes, but it can save hours later. If you receive the same monthly sales report, weekly lead export, or daily inventory file, Power Query can remember cleanup steps such as removing columns, changing types, filtering rows, and renaming headers. Instead of repeating the same manual cleanup like a spreadsheet hamster wheel, you refresh the query and let Excel repeat the process.
It is also smart to create a simple checklist for important conversions. Check the delimiter. Check encoding. Check row counts. Check column names. Check leading zeros. Check dates. Save as .xlsx. Then, if needed, create a separate CSV export for uploading elsewhere. This small routine prevents most conversion mistakes before they become bigger problems.
Finally, remember that Excel is not just a destination; it is a cleanup station. Once the text or CSV file becomes an Excel workbook, you can use filters, conditional formatting, formulas, pivot tables, charts, and validation rules to make the data easier to understand. The conversion is only step one. The real value comes from turning plain rows and columns into something you can analyze, explain, and act on.
Conclusion
Converting text and CSV files to Excel is simple once you choose the right method. For clean, basic files, open the file directly in Excel and save it as an .xlsx workbook. For files with custom delimiters, encoding issues, leading zeros, tricky dates, or recurring cleanup needs, use Data > Get Data > From Text/CSV and control the import settings before loading the data.
The main rule is this: if the data is simple, go fast; if the data is important, go carefully. Excel can convert text and CSV files beautifully, but you should always review the result before saving. A few extra seconds checking columns, dates, and codes can save you from hours of cleanup later. Your spreadsheet will thank you, probably silently, because spreadsheets are not known for emotional range.
Note: This article is written for web publication and synthesized from current, real-world spreadsheet conversion practices, including official Excel import, export, delimiter, encoding, and Power Query workflows.