Suede shoes are the charming overachievers of the closet: soft, stylish, slightly dramatic, and somehow able to find the one sharp table leg in an otherwise peaceful room. A small tear in suede can feel like a fashion emergency, but before you hold a tiny funeral for your favorite loafers, boots, or sneakers, take a breath. Many minor suede tears can be repaired at home with patience, the right adhesive, a hidden backing patch, and a little respect for the napthe fuzzy surface that gives suede its signature look.
This guide explains simple ways to repair torn suede shoes in 11 practical steps. The goal is not to pretend a ripped shoe is brand new. The goal is smarter: stabilize the tear, make it less visible, restore texture as much as possible, and extend the life of shoes that still have miles left in them. Think of it as shoe first aid, minus the tiny ambulance.
Why Torn Suede Shoes Need Gentle Repair
Suede is leather with a soft, raised, velvety surface. That beautiful texture is also why suede behaves differently from smooth leather. It absorbs moisture quickly, holds stains easily, and can become shiny, flat, or rough if scrubbed too hard. When suede tears, the fuzzy fibers around the opening can fray, curl, or darken, making the damage look bigger than it really is.
The best suede shoe repair starts with three rules: keep the shoe dry, use flexible materials, and work slowly. Regular super glue may dry too stiff and create a hard spot that cracks when the shoe bends. A flexible shoe adhesive or leather/fabric repair adhesive is usually a better choice because shoes flex constantly while walking. The repair also needs support from behind the tear. Without a backing patch, the glued edges may separate again the first time you confidently stride across a parking lot like you are in a shoe commercial.
Tools and Materials You Will Need
Before repairing torn suede shoes, gather everything in one place. This prevents the classic DIY moment where one hand is sticky, the shoe is half-open, and the scissors have vanished into another dimension.
- Suede brush or soft toothbrush
- Suede eraser, art gum eraser, or clean white pencil eraser
- Microfiber cloths
- Flexible shoe glue, leather glue, or fabric/leather repair adhesive
- Thin suede, leather, canvas, or fabric patch for backing
- Tweezers or a toothpick for precise placement
- Small scissors
- Painter’s tape or low-tack tape
- Wax paper or parchment paper
- Shoe tree, crumpled paper, or clean socks for shaping
- Suede protector spray after the repair fully cures
Choose a patch that is thin, flexible, and slightly larger than the tear. If the tear is on a highly visible area, use a backing patch rather than an outside patch unless the outside patch is part of the design. A hidden patch keeps the shoe looking cleaner and avoids the “my shoe is wearing a bandage” effect.
Simple Ways to Repair Torn Suede Shoes: 11 Steps
1. Inspect the Tear Before You Touch Anything
Look closely at the damage. Is it a clean slice, a jagged rip, a flap, a hole, or a seam separation? A clean tear is usually easier to repair because the edges can meet neatly. A missing chunk requires a patch, color blending, or professional help. Check whether the tear is on a bending area such as the toe crease, side vamp, or heel counter. Areas that bend need extra flexibility and more curing time.
Also inspect the lining inside the shoe. If the tear goes through the suede but the lining is intact, the repair may be straightforward. If the lining is ripped too, the shoe needs stronger internal support. Expensive shoes, vintage suede, or boots with structural damage may deserve a cobbler. DIY is wonderful, but it should not turn a $300 boot into a craft project with laces.
2. Dry the Shoe Completely
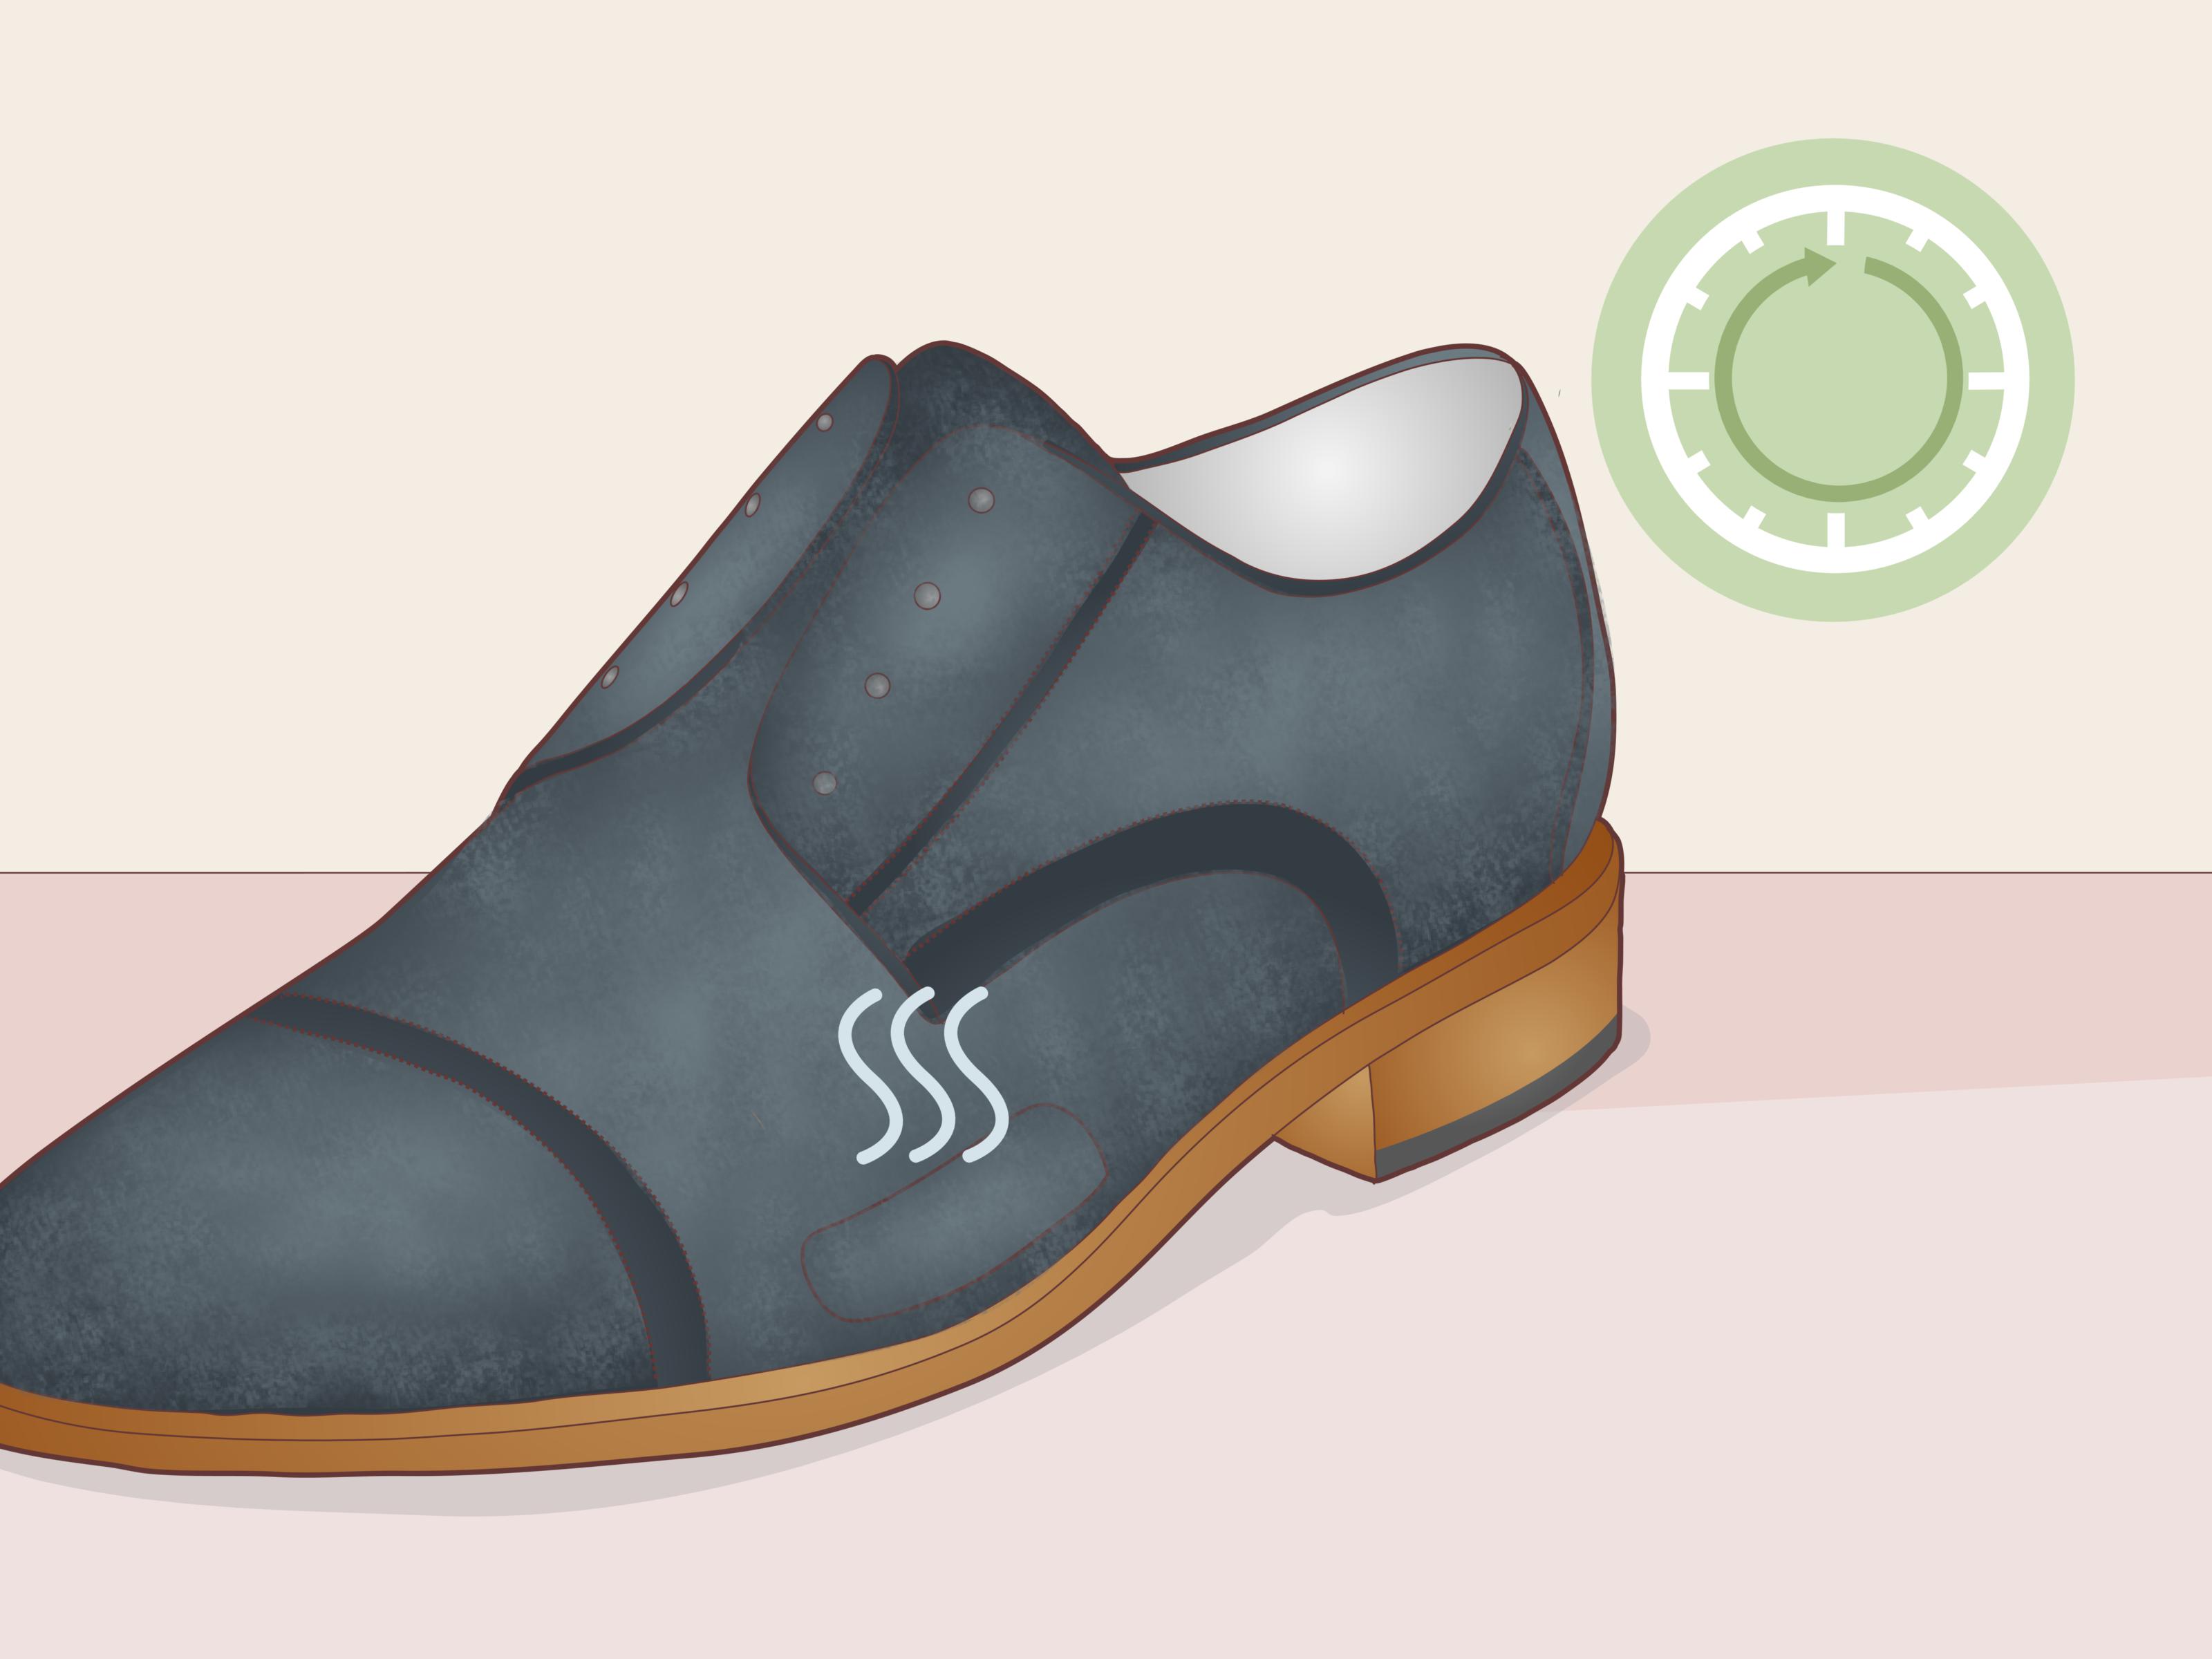
Never repair damp suede. Moisture can weaken adhesive, stain the suede, and flatten the nap. If the shoe got wet, let it air dry naturally at room temperature. Stuff the shoe with clean paper, a shoe tree, or a rolled towel to help it hold shape. Avoid direct sunlight, radiators, hair dryers on high heat, and dryers. Heat can shrink, stiffen, or discolor suede.
Give the shoe enough time to dry all the way through. The outside may feel dry before the inner layers are ready. A rushed repair often fails because glue cannot bond properly to a damp, dusty, or oily surface.
3. Brush Away Dirt and Lift the Nap
Use a suede brush or a soft toothbrush to remove dust, grit, and loose fibers around the tear. Brush gently in the direction of the nap first. For matted areas, use short back-and-forth motions, but keep the pressure light. The goal is to clean the surface, not sand the shoe into emotional distress.
This step matters because dirt can prevent glue from bonding. It also helps you see the true edges of the tear. If the shoe has mud on it, wait until the mud dries, then brush it off. Wet scrubbing usually pushes grime deeper into suede.
4. Remove Surface Marks Before Gluing
If the damaged area has scuffs or dry stains, use a suede eraser or clean white eraser. Rub lightly and check your progress often. For oily stains near the repair, sprinkle cornstarch or baking soda on the spot and let it sit for several hours or overnight, then brush it off. For stubborn non-oil marks, lightly dab with a microfiber cloth barely moistened with white vinegar or rubbing alcohol, then let the area dry fully before continuing.
Do not soak suede. Do not use heavy soap. Do not attack the tear with a wet sponge like you are scrubbing a casserole dish. Suede rewards patience and punishes enthusiasm.
5. Trim Loose Threads and Fuzzy Frays
Use small scissors to trim only the loose fibers that prevent the torn edges from meeting. Do not cut into stable suede. If a flap is still attached, keep it. That flap may become the most useful part of the repair because it can be glued back into place.
For a jagged tear, test how the edges align before applying adhesive. Use tweezers to gently position the suede. If the edges overlap too much, the repair may create a ridge. If they do not meet at all, plan for a backing patch and possibly a tiny surface fill with color-matched suede fibers or professional refinishing.
6. Cut a Flexible Backing Patch
Cut a patch from thin leather, suede, canvas, or durable fabric. The patch should be large enough to extend at least a quarter inch beyond the tear on all sides, but small enough to sit flat inside the shoe. Round the corners so they do not peel up later. Sharp patch corners are like tiny invitations for failure.
If the tear is near the toe or side of the shoe, slide the patch inside with tweezers. If access is difficult, use a toothpick to guide it into position. Place wax paper between the repair area and any surface you do not want glued accidentally. Adhesive has a talent for bonding the wrong things together, especially when you are feeling optimistic.
7. Apply Flexible Adhesive in a Thin Layer
Apply a small amount of flexible shoe glue to the backing patch and the underside of the torn suede edges. Use a toothpick, craft stick, or the nozzle of the adhesive tube for control. Less is better. Too much glue can squeeze out, darken the suede, stiffen the nap, or leave shiny spots.
Work in a ventilated area and follow the adhesive label for open time and curing time. Some adhesives bond best when pressed together immediately; others require a short waiting period. Always check the product instructions. The right glue used the wrong way is just expensive goo with ambition.
8. Press the Tear Closed and Shape the Shoe
Gently press the torn edges together over the backing patch. Align the nap so the fibers point in the same direction as the surrounding suede. Use tweezers for fine adjustments. If glue seeps out, remove it quickly with a clean toothpick or dry cloth before it spreads.
Stuff the shoe firmly with a shoe tree, clean socks, or paper so the upper keeps its natural shape while drying. If the shoe collapses inward, the repair may cure with a dent. For curved areas, shape support is essential. Suede remembers awkward drying positions the way people remember embarrassing middle school haircuts.
9. Secure the Repair Without Crushing the Nap
Use low-tack tape, painter’s tape, or a light clamp arrangement to hold the tear closed while it cures. Avoid strong tape directly on delicate suede if possible; it can pull fibers when removed. A safer method is placing wax paper over the repair and gently wrapping the area with a soft cloth or elastic bandage.
The pressure should be firm enough to keep the edges together but not so tight that it flattens the nap or leaves marks. If the repair is on the toe box, make sure the shoe keeps its rounded shape. If it is on the side panel, keep the panel smooth and aligned.
10. Let the Adhesive Cure Fully
Most shoe repairs need overnight drying at minimum, and some flexible adhesives need 24 to 48 hours to cure completely. Follow the product instructions. Do not wear the shoes early “just to test them.” Walking too soon can stretch the tear, shift the patch, or break the bond before it has strength.
Place the shoe in a dry, cool, airy area. Keep pets away unless you want to explain why the repair has one cat hair permanently laminated into it. After curing, remove tape and wax paper carefully. If anything resists, slow down. Pulling quickly can disturb the repair.
11. Brush, Blend, Protect, and Walk-Test
Once the repair is cured, gently brush the suede to lift the nap and blend the repaired area. Use light strokes. If the area looks slightly flat, a suede brush or crepe brush may help restore texture. For color differences, use a suede-renovating spray only if it matches the shoe and is made for suede. Test any product on a hidden spot first.
Finish with a suede protector spray after the adhesive has fully cured and the shoe is clean. Spray lightly and evenly according to the product directions, then let the shoe dry. Finally, walk-test indoors for a few minutes. Bend the shoe naturally. Check whether the tear stays closed and whether the patch feels comfortable. If it rubs your foot, trim or smooth the inside if accessible, or take the shoe to a cobbler.
What Not to Do When Repairing Torn Suede Shoes
Avoid soaking suede in water, using heavy household cleaners, applying rigid glue, or brushing aggressively. Avoid nail polish, permanent marker, thick paint, hot glue on visible areas, and duct tape. These “solutions” may hide the tear for about six minutes and then create a larger problem with a more tragic personality.
Do not use acetone or harsh solvents on suede unless a product specifically says it is safe and you have tested it. Solvents can strip color or create rings. Also avoid over-conditioning suede with oils meant for smooth leather. Suede should stay soft and textured, not greasy and shiny.
When a Cobbler Is the Better Choice
Home repair works best for small tears, minor flaps, and non-structural damage. Visit a professional shoe repair shop if the tear is large, the suede is missing, the shoe lining is torn, the sole is separating, or the damage sits on a major stress point. A cobbler can stitch from the inside, replace panels, reinforce seams, dye suede, and reshape the upper with tools most people do not keep next to the coffee maker.
Professional repair is also smart for designer shoes, sentimental pairs, rare colors, or boots with complicated construction. DIY can save money, but knowing when not to DIY is part of being a stylish adult. Very annoying, but true.
How to Prevent Future Suede Tears
After repairing suede shoes, prevention becomes your best friend. Brush suede regularly to remove grit that can weaken fibers. Store shoes with shoe trees or paper stuffing so the uppers do not crease sharply. Keep suede away from damp floors, salt, and heavy rain when possible. Use a suede protector spray before regular wear and reapply as directed after cleaning.
Rotate your shoes instead of wearing the same pair every day. Suede benefits from rest because moisture from feet and the environment needs time to evaporate. If you drive often, check whether your heel or side panel rubs against the car mat or pedal area. Many mysterious suede scuffs are not mysterious at all; they are just your daily routine quietly sanding your shoes.
Experience Notes: What Usually Works Best in Real-Life Suede Repairs
Small suede tears often look worse at first glance than they are. One common example is a boot that catches on the metal edge of a chair, leaving a crescent-shaped flap near the ankle. The owner usually panics because the fuzzy surface makes the tear look like a tiny canyon. In that situation, the best repair is usually not an outside patch. A thin backing patch slipped inside the boot, a careful layer of flexible adhesive, and slow alignment of the flap can make the damage much less noticeable. The key is resisting the urge to flood the area with glue. Too much adhesive turns a soft repair into a shiny scar.
Another frequent case is a suede sneaker torn near the toe crease. This is trickier because every step bends that area. A repair can still work, but it needs a flexible patch and a longer cure. If the shoe is worn too soon, the tear usually reopens along the same line. People often think the glue failed, but the real problem is impatience. Shoes are motion machines. They need a bond that can handle flexing, and that bond needs time to form.
Color matching is another lesson learned the hard way. Black suede is forgiving. Medium brown suede is moderately forgiving. Light tan suede is basically a lie detector. Any glue seepage, water ring, or aggressive brushing can show. For lighter suede, it is better to use the smallest possible amount of adhesive and protect the surface around the tear with wax paper. If cleaning is needed, do it before gluing and allow full drying time. Trying to clean around a fresh repair can weaken the bond and spread residue.
Inside comfort matters too. A repair can look good outside and still feel awful if the patch edge rubs the foot. This happens often with loafers, ballet flats, and unlined suede shoes. A rounded patch, thin material, and smooth placement reduce the risk. If the shoe has removable insoles, take them out while working so you can position the patch better. After curing, wear the shoe indoors with socks for a short test. If you feel a ridge immediately, do not ignore it. A tiny rub during a two-minute test can become a blister with a villain origin story after an afternoon.
The best-looking repairs usually combine restraint and maintenance. Glue stabilizes the tear, but brushing blends the texture. Protector spray helps guard against future moisture and dirt, but it should not be used as a magic force field. Suede still needs gentle care. The repaired shoe may not be perfect under a spotlight, but in normal lifewalking to brunch, commuting, meeting friends, pretending you did not buy another pair of shoesit can look perfectly wearable again.
Conclusion
Repairing torn suede shoes at home is possible when the damage is small, the suede is dry, and the repair is supported from the inside. The best method is simple: clean gently, trim carefully, use a thin backing patch, apply flexible adhesive sparingly, hold the shape while curing, then brush and protect the suede afterward. For large tears, missing suede, expensive footwear, or uncomfortable repairs, a professional cobbler is worth it.
Note: This guide is intended for minor suede upper repairs. Always test cleaners, sprays, and adhesives on a hidden area first. When in doubt, choose professional repair over heroic guessing.